10 Air Dry Clay Beginner Guide Ideas That Make Your First Project Easy and Fun

Air dry clay is one of the friendliest crafts you can try, because it asks for almost nothing — no kiln, no special oven, no expensive tools. You open the pack, shape something with your hands, and let the air do the rest. If you have ever felt curious about clay but worried it would be too messy or too technical, this is your invitation to start.
The ten ideas below walk you through your very first project from start to finish, one small step at a time. Each one is simple on its own, and together they give you everything you need to make something you will be proud to keep or gift. Ready to get your hands a little dusty?
1. Pick the Right Clay for Your First Project
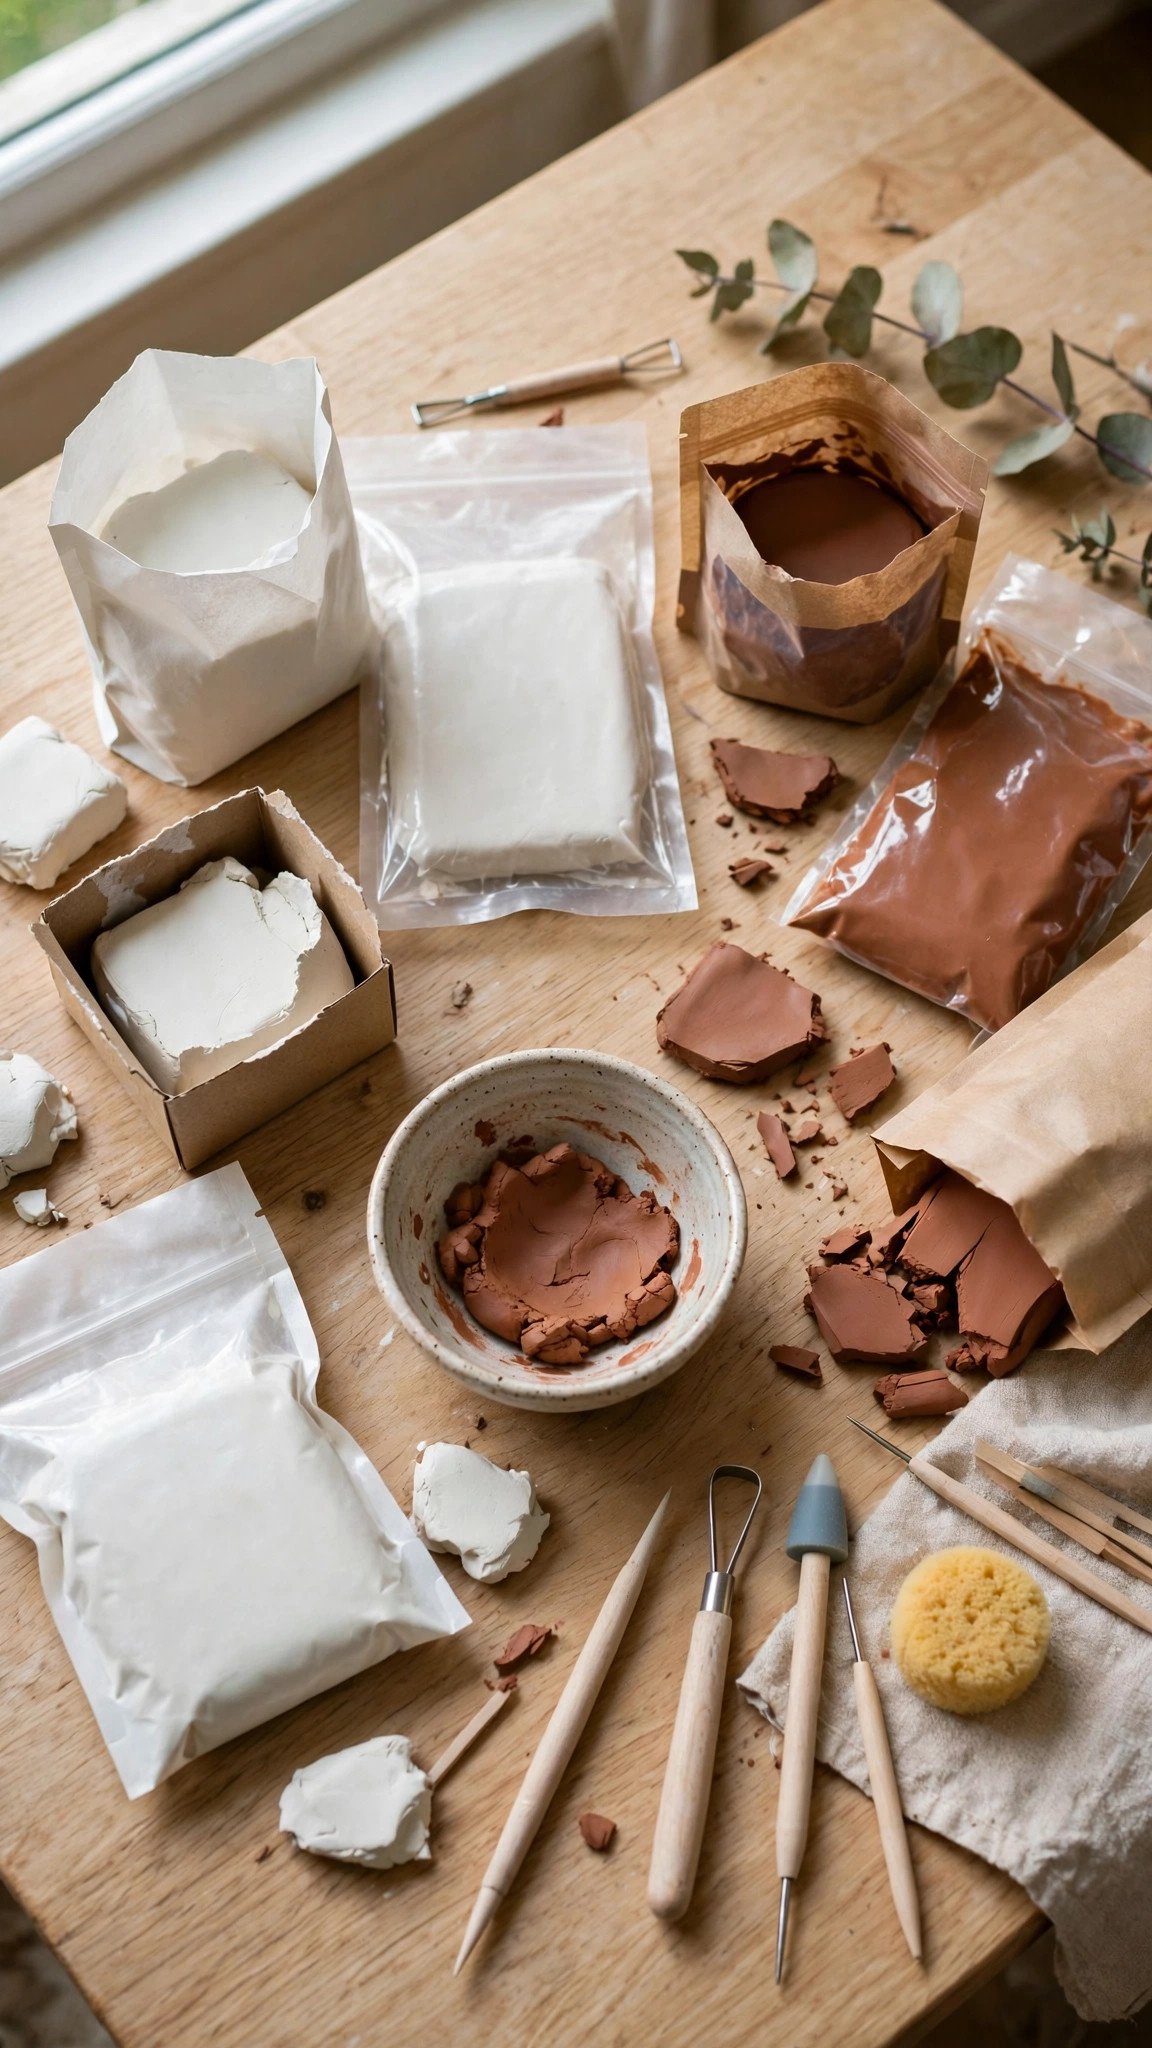
Not all air dry clays behave the same way, and choosing the right one makes your first project far easier. Look for a soft, smooth clay labeled for beginners or general crafting — it should feel pliable straight out of the pack, not crumbly or stiff. White clay is a great first choice because it takes paint beautifully and shows you exactly where you need to smooth.
Avoid the temptation to buy the cheapest huge block you can find. A smaller, quality pack of a well-known brand will crack less, dry more evenly, and give you a much better first experience. If you are unsure, check the label for words like “smooth finish” or “low cracking” — both are good signs for a beginner.
Keep your opened clay in an airtight bag or container between sessions, and press out as much air as you can before sealing it. Clay that dries out in the pack becomes hard to condition and frustrating to work with, so storage matters just as much as the brand you choose.
Once you have your clay picked out, a little seasonal inspiration can spark your first project — these air dry clay fall decor ideas are simple enough for beginners and lovely on a shelf.
2. Gather a Simple Starter Toolkit
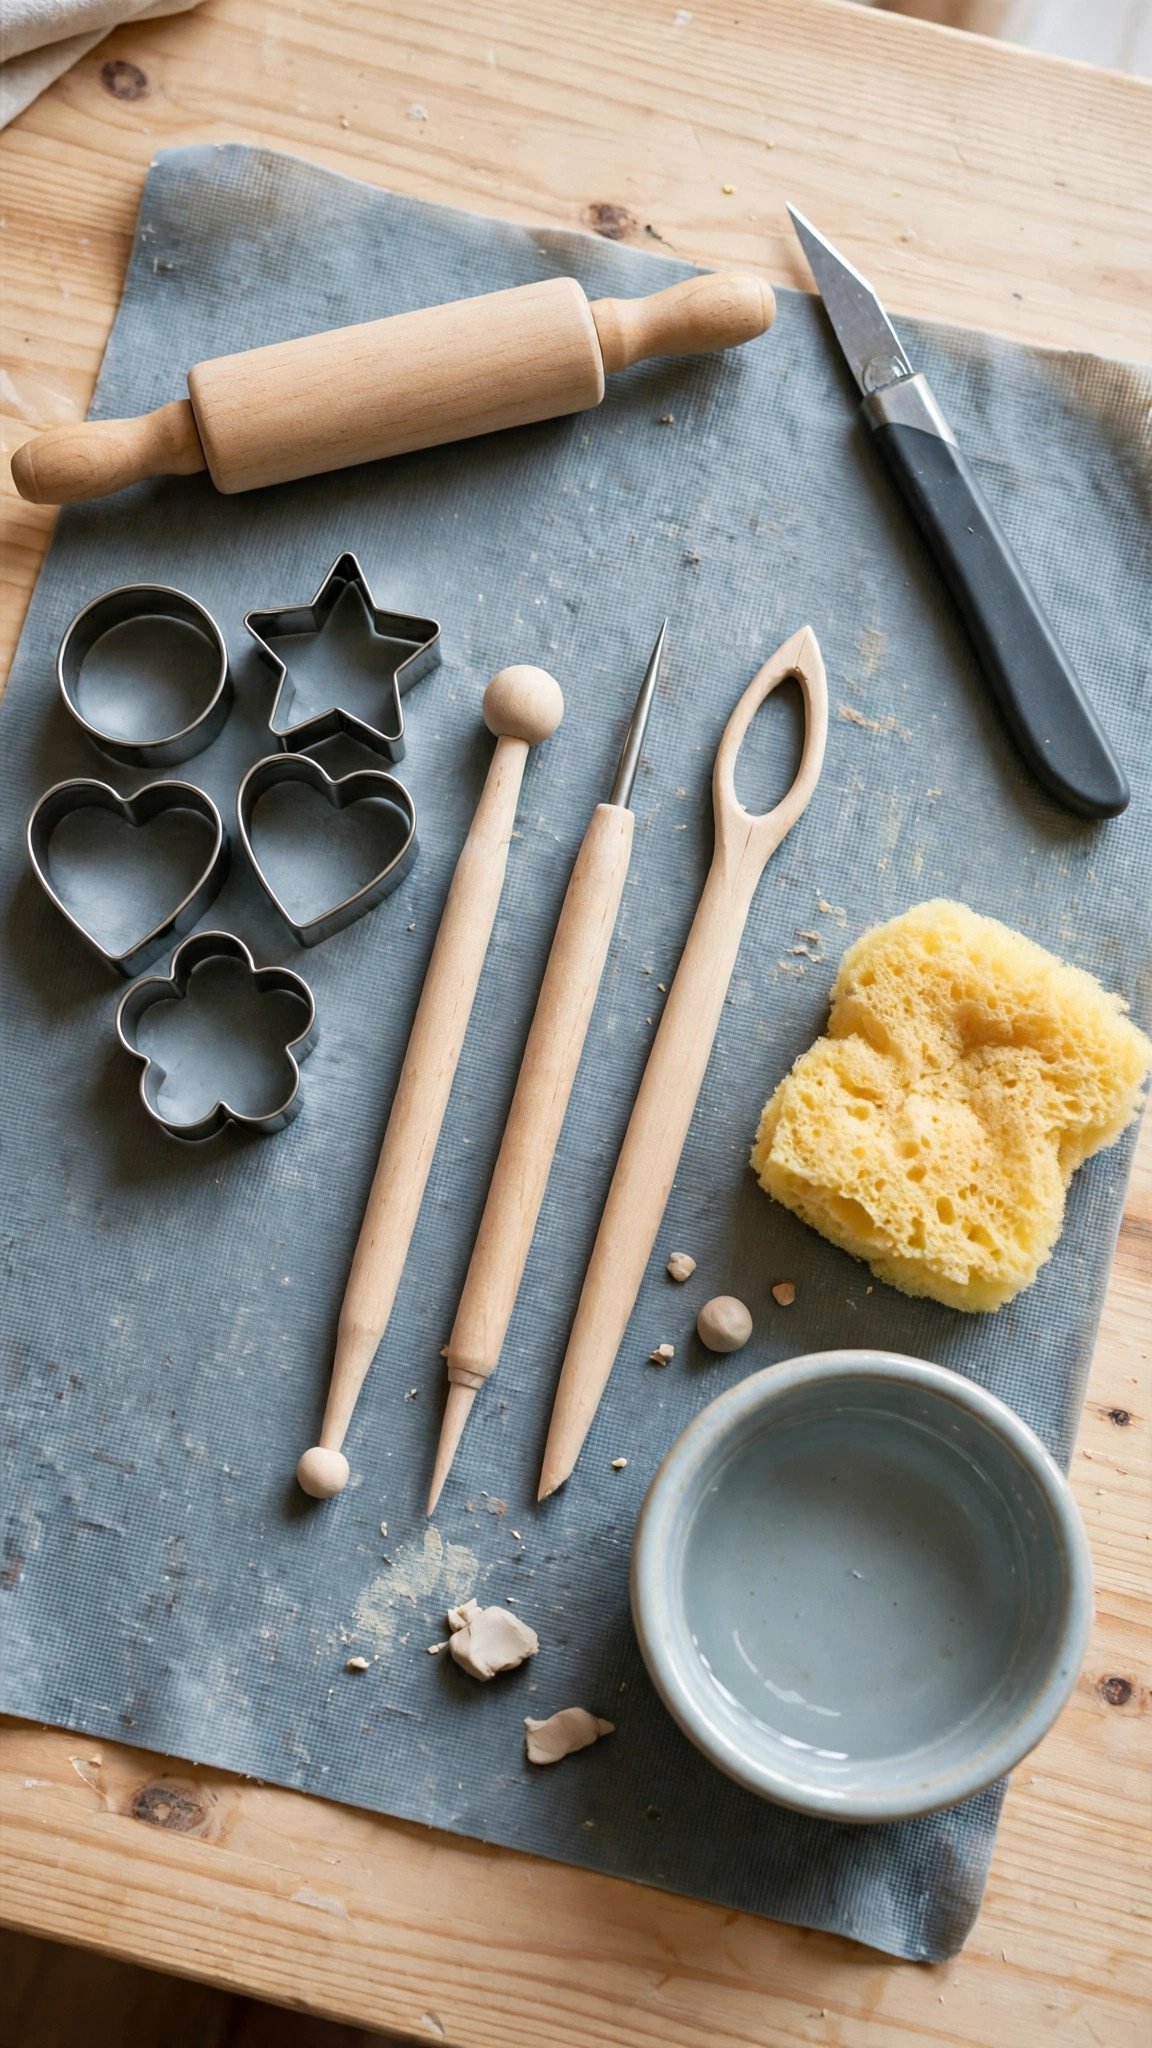
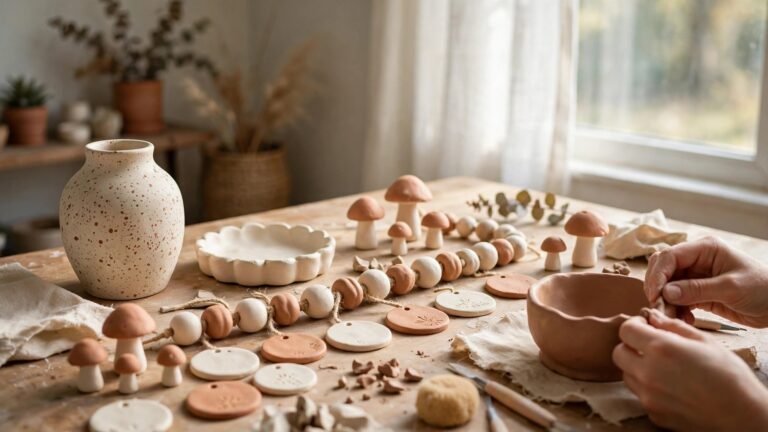
You do not need a craft store’s worth of tools to begin. A rolling pin, a butter knife or craft knife, a small bowl of water, a sponge, and a flat work surface will carry you through your first several projects. A silicone mat or a sheet of wax paper keeps your table clean and stops the clay from sticking.
Add a few everyday household items and you have a surprisingly capable kit. A toothpick works for fine details and tiny holes, an old credit card makes a great smoothing tool, and cookie cutters give you clean shapes with zero freehand drawing. You probably already own most of what you need.
Set everything out before you open the clay, and keep a damp cloth nearby for your hands. Working with your tools in reach means you spend your time shaping, not hunting through drawers with clay-covered fingers.
If you enjoy making things by hand, you will love these cozy fall craft ideas for a handmade autumn at home — several of them pair beautifully with a fresh batch of clay pieces.
3. Condition the Clay Until It Feels Soft and Smooth
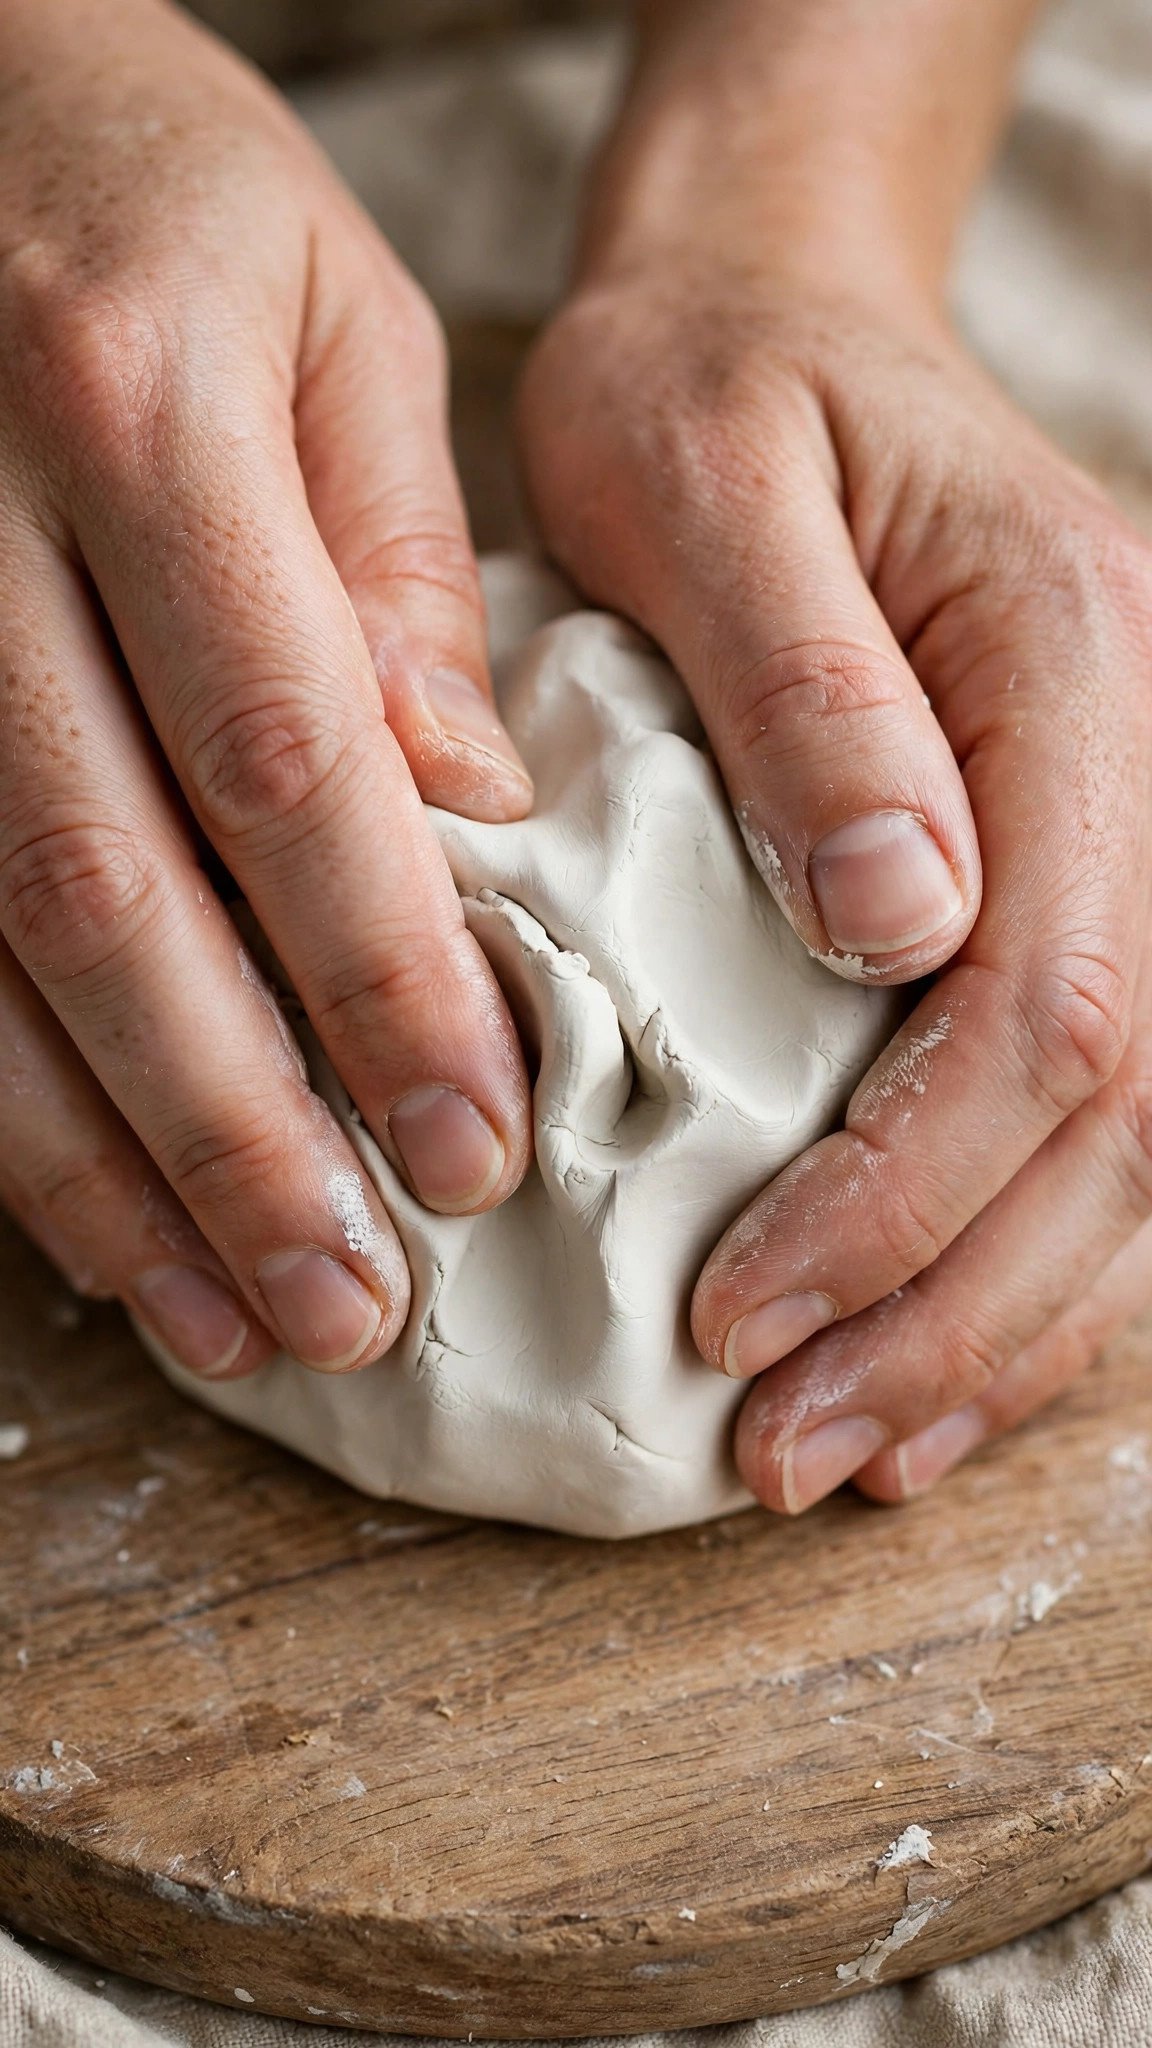
Conditioning is just a fancy word for kneading, and it is the single most important step before you shape anything. Take a chunk of clay and work it in your hands — fold it, press it, roll it — until it feels soft, warm, and completely smooth, with no lumps or dry cracks. This usually takes two or three minutes.
Well-conditioned clay is easier to roll, less likely to crack while drying, and much more forgiving when you make a mistake. If the clay feels stiff, add a tiny drop of water and keep kneading; if it feels sticky, let it rest uncovered for a few minutes. You are looking for a texture like soft play dough.
Do not skip this step, even when you are impatient to start shaping. A few minutes of kneading now saves you from cracks and crumbling later, and it is honestly one of the most satisfying parts of the whole process.
Conditioning is also the secret behind the smooth finishes in these easy air dry clay fall projects — soft clay is what makes those clean shapes possible.
4. Roll Even Slabs With Simple Guides
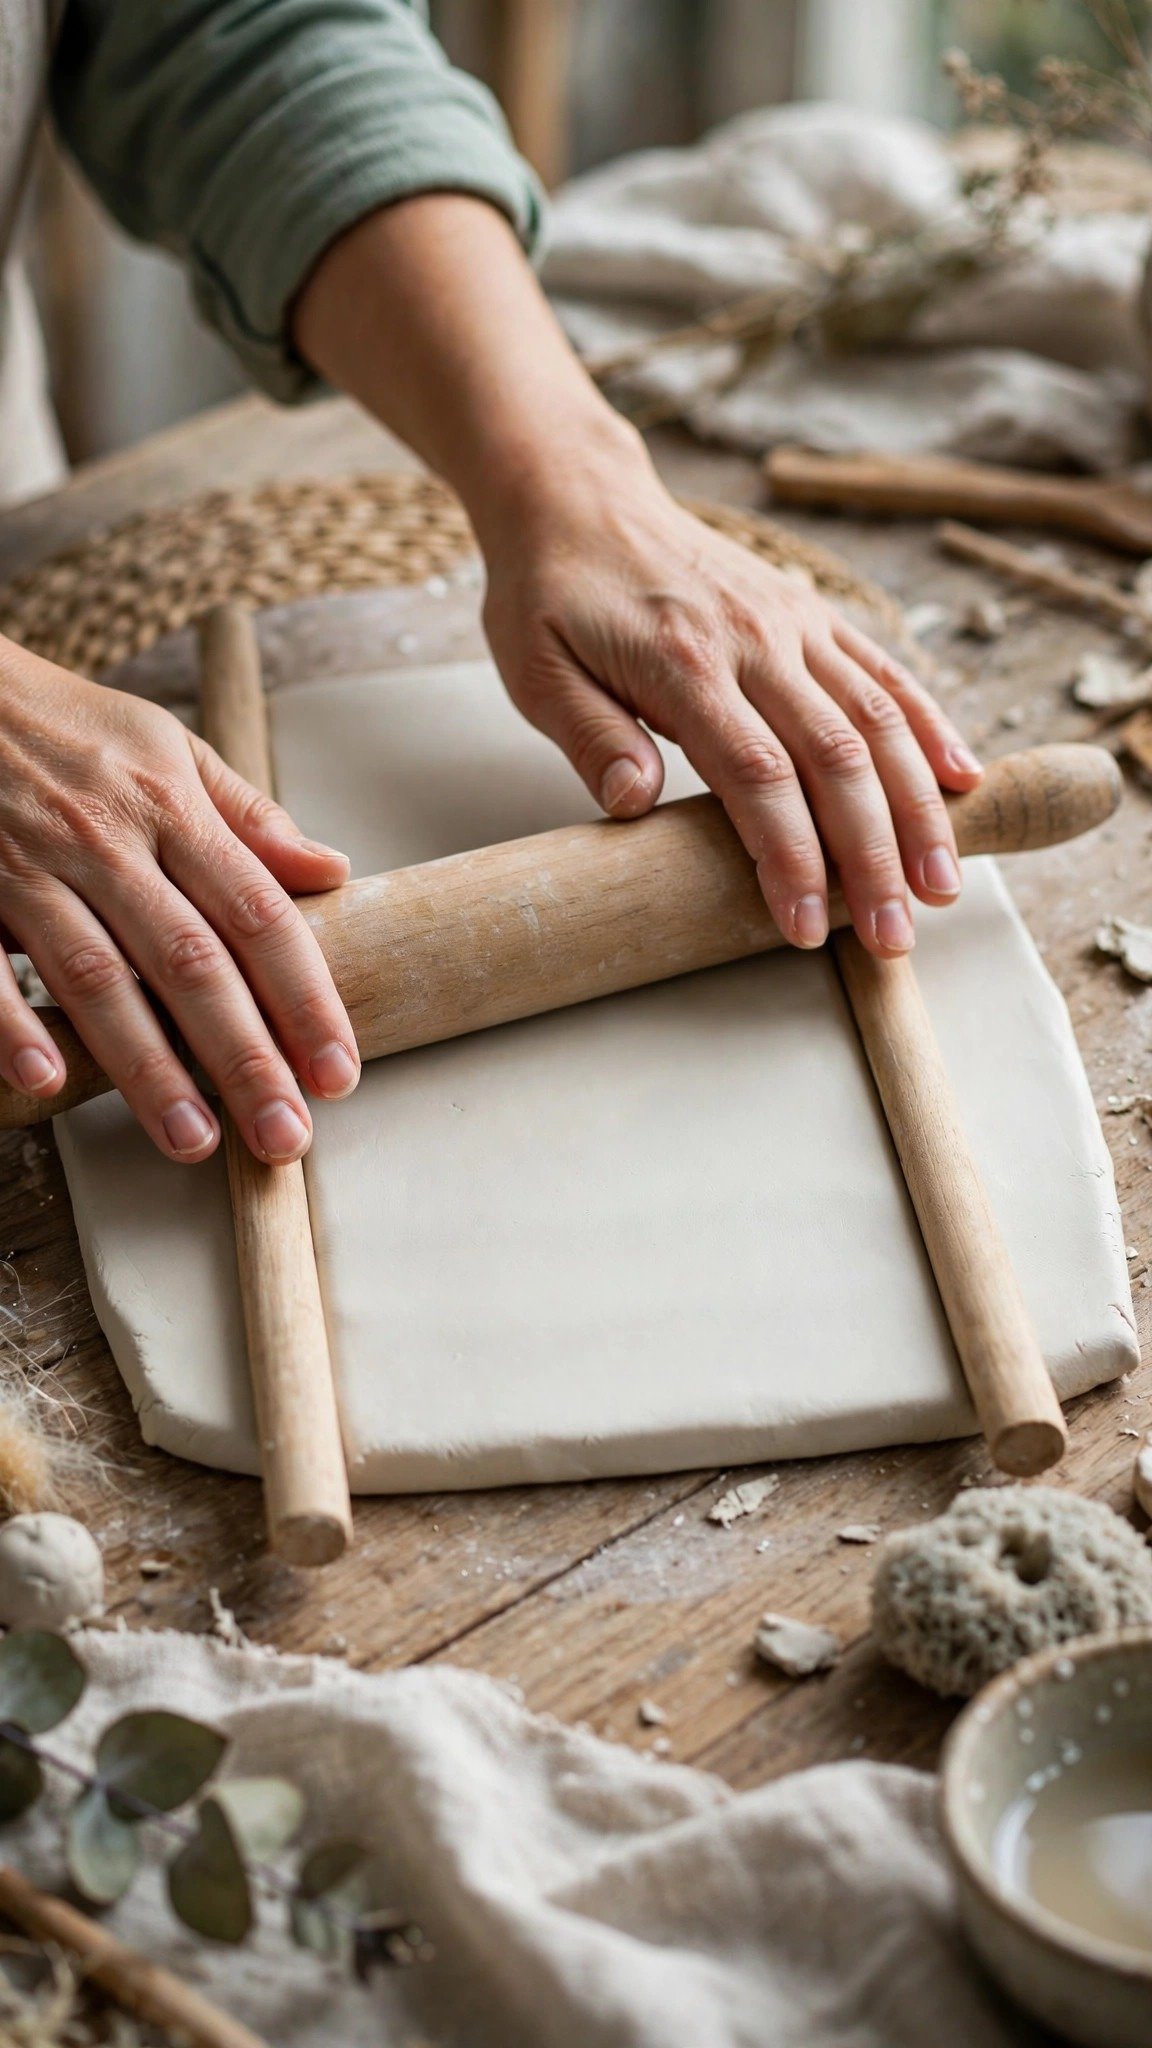
Even thickness is the difference between a piece that dries flat and one that warps or cracks. The easiest trick is to place two guide sticks — wooden dowels, rulers, or even two stacks of craft sticks — on either side of your clay, then roll your pin across them. The guides stop the pin at exactly the right height every time.
Roll from the center outward, lifting and turning the slab a quarter turn every few passes so it stays even in every direction. If the clay sticks to your pin, dust the surface very lightly with cornstarch, or roll between two sheets of wax paper instead.
Aim for about a quarter inch thick for most small projects — thick enough to be sturdy, thin enough to dry in a reasonable time. Once your slab is even, you are ready to cut, shape, or build with it.
Even slabs are the starting point for so many pretty makes, including these fall decor ideas made with air dry clay that use simple cut shapes.
5. Shape a Simple Pinch Pot First
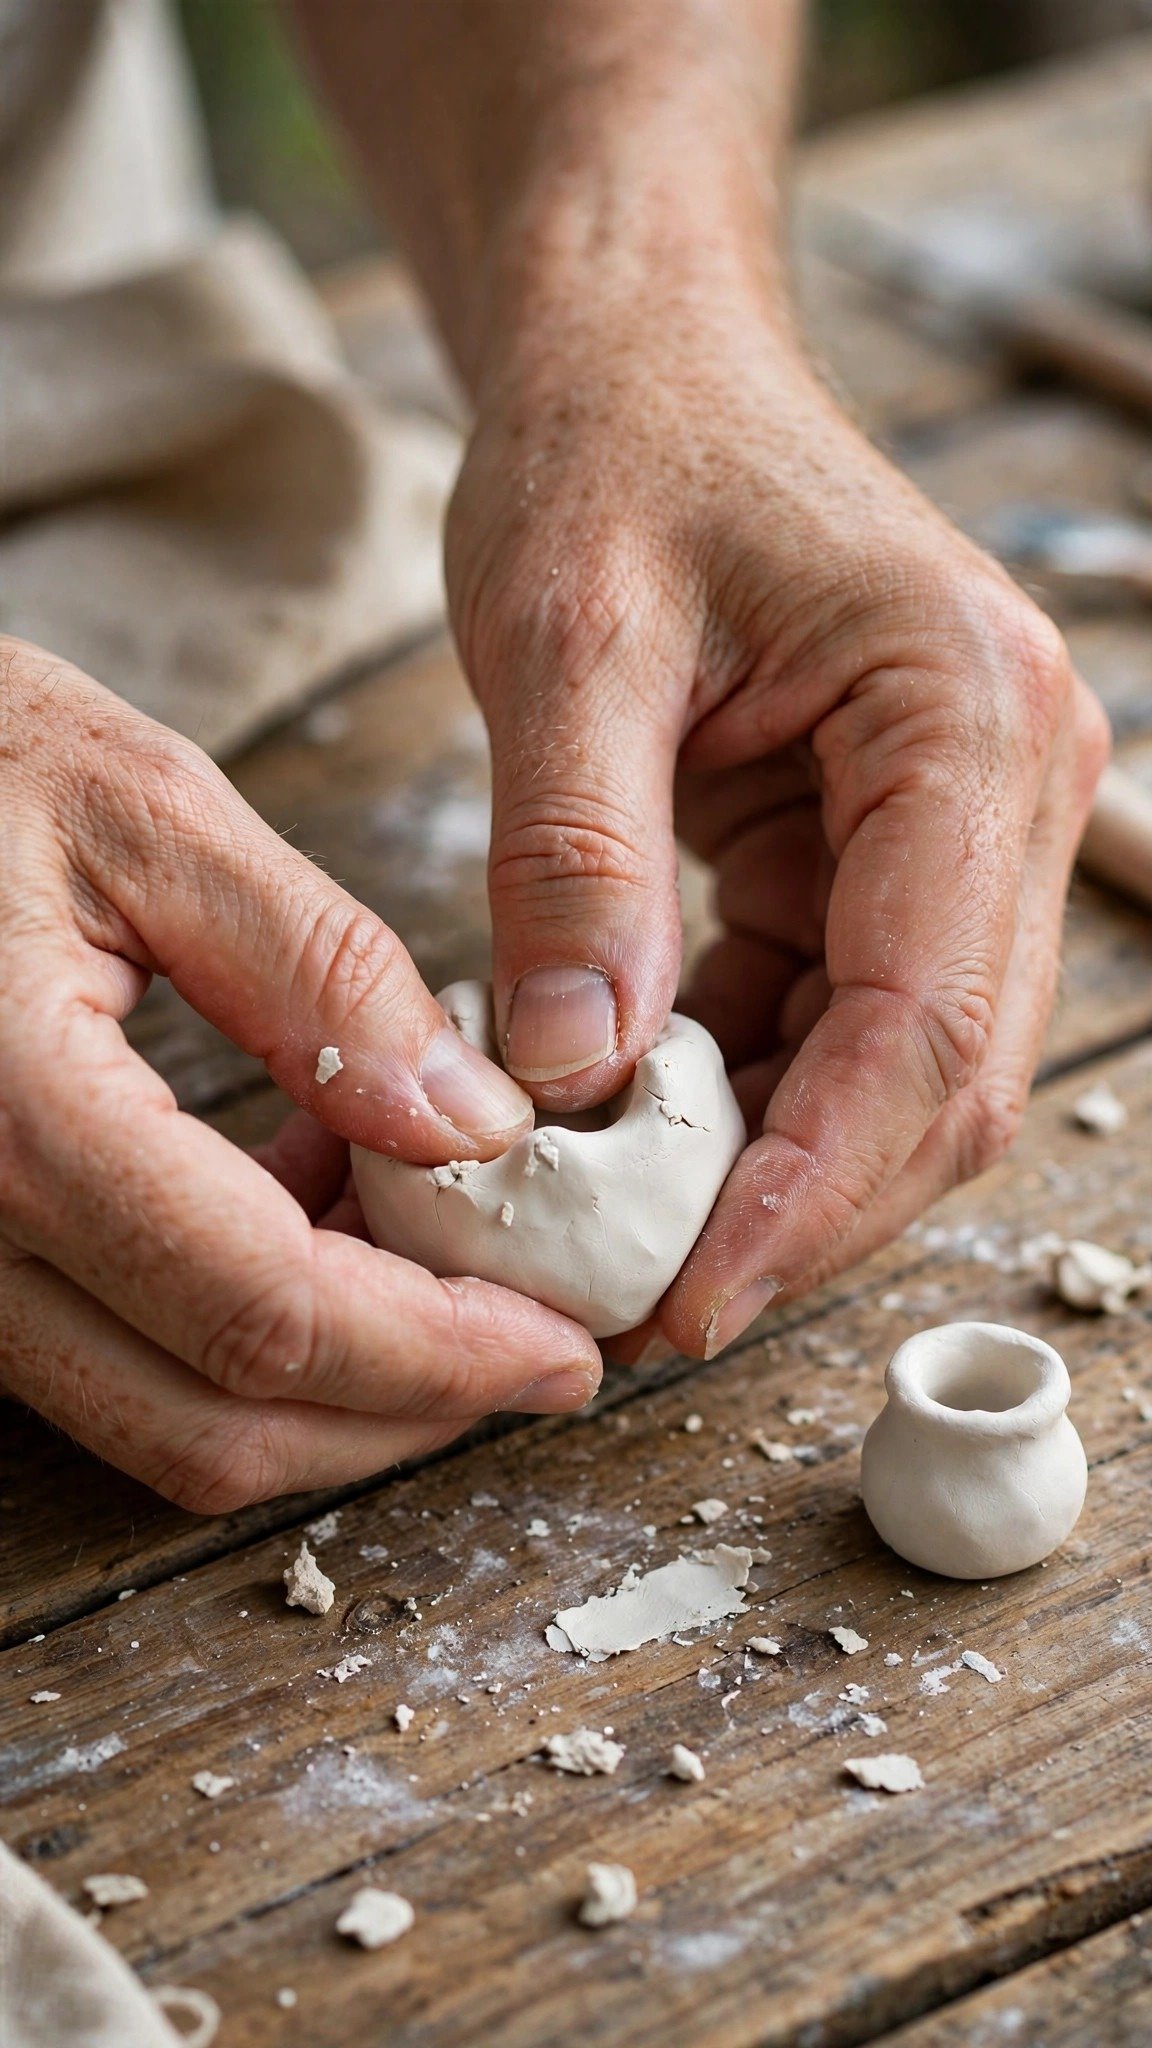
The pinch pot is the classic first clay project for a reason: it teaches you everything about how clay moves, and it is almost impossible to get wrong. Start with a ball about the size of a plum, press your thumb into the center, and slowly pinch the walls outward, turning the ball as you go.
Keep your walls even by pinching gently and rotating often. If one side gets thin, press a little clay back into it rather than trying to stretch the thin spot. Aim for walls about as thick as your pinky finger, and a flat base so the pot sits steady.
Your first pinch pot does not need to be perfect — a slightly wobbly rim has its own charm, and you can smooth it with a damp sponge. Use it for rings, paper clips, or a tiny plant, and enjoy the fact that you made it with nothing but your hands.
Once you have the pinch pot down, try turning the same technique into seasonal pieces with these air dry clay fall decor projects you’ll love making.
6. Try a Slab-Built Trinket Dish
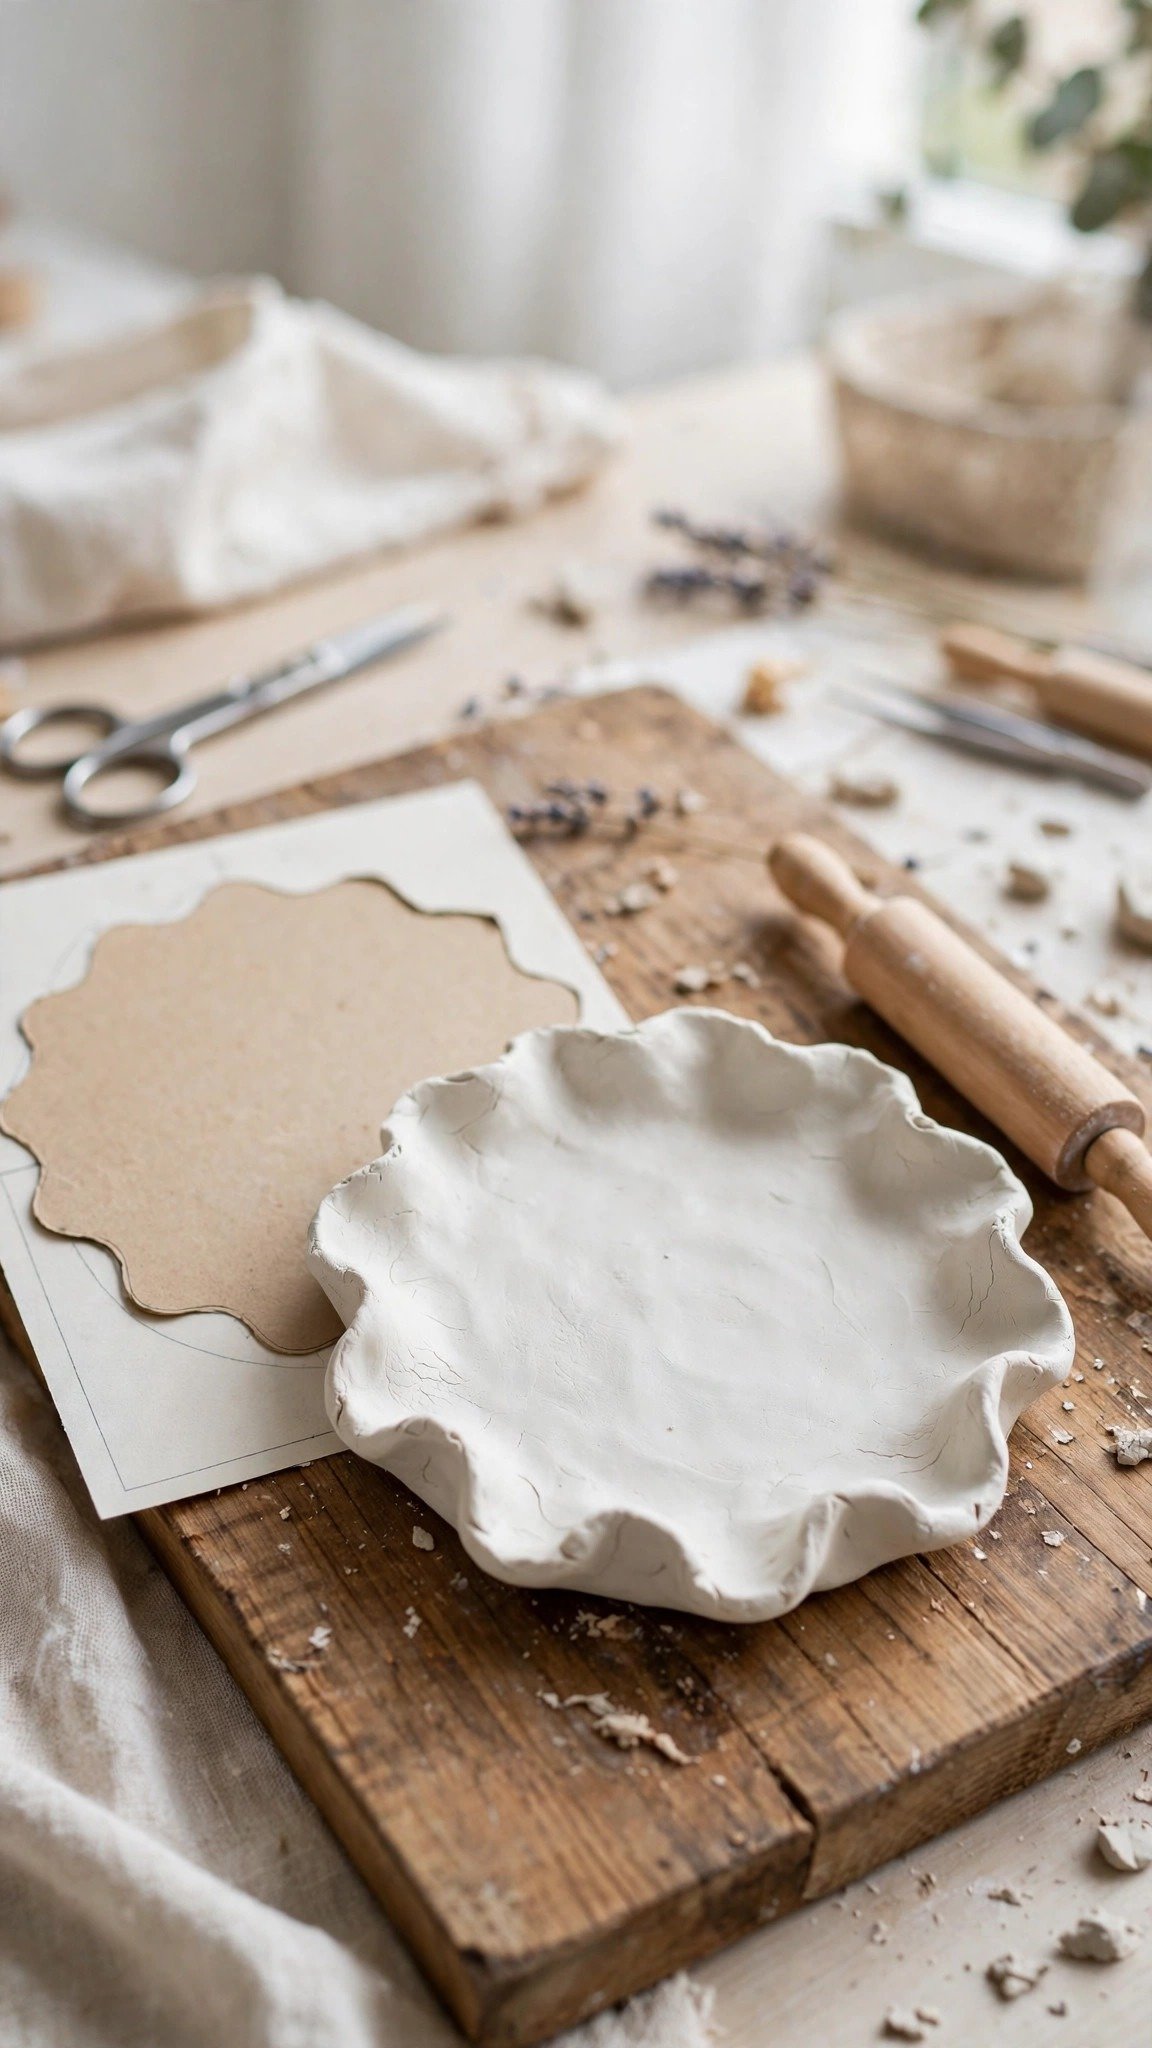
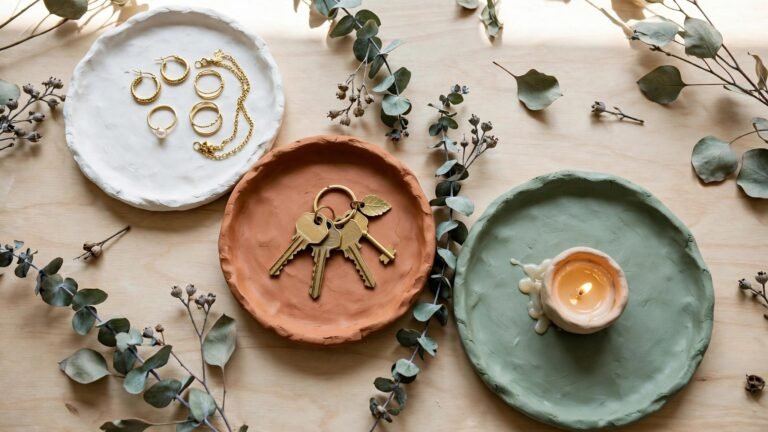
A trinket dish is a wonderful second project because it builds on the slab skills you just learned. Roll an even slab, cut a circle or a rounded square with a knife or a large cookie cutter, then gently press it into a small bowl lined with plastic wrap so it takes on a soft, curved shape.
Let the dish rest in its mold for an hour or two until it holds the curve on its own, then lift it out and let it finish drying on a flat surface. Smooth the rim with a damp sponge while the clay is still slightly soft — this is when the edges are easiest to perfect.
Finish with a coat of paint or leave it natural for a clean, minimal look. A handmade trinket dish makes a lovely bedside catch-all, and it is a gift people genuinely love receiving.
If you enjoy making pieces you can actually use, these craft ideas to sell this fall include several small handmade items that sell well at markets.
7. Cut Clean Shapes With Cookie Cutters
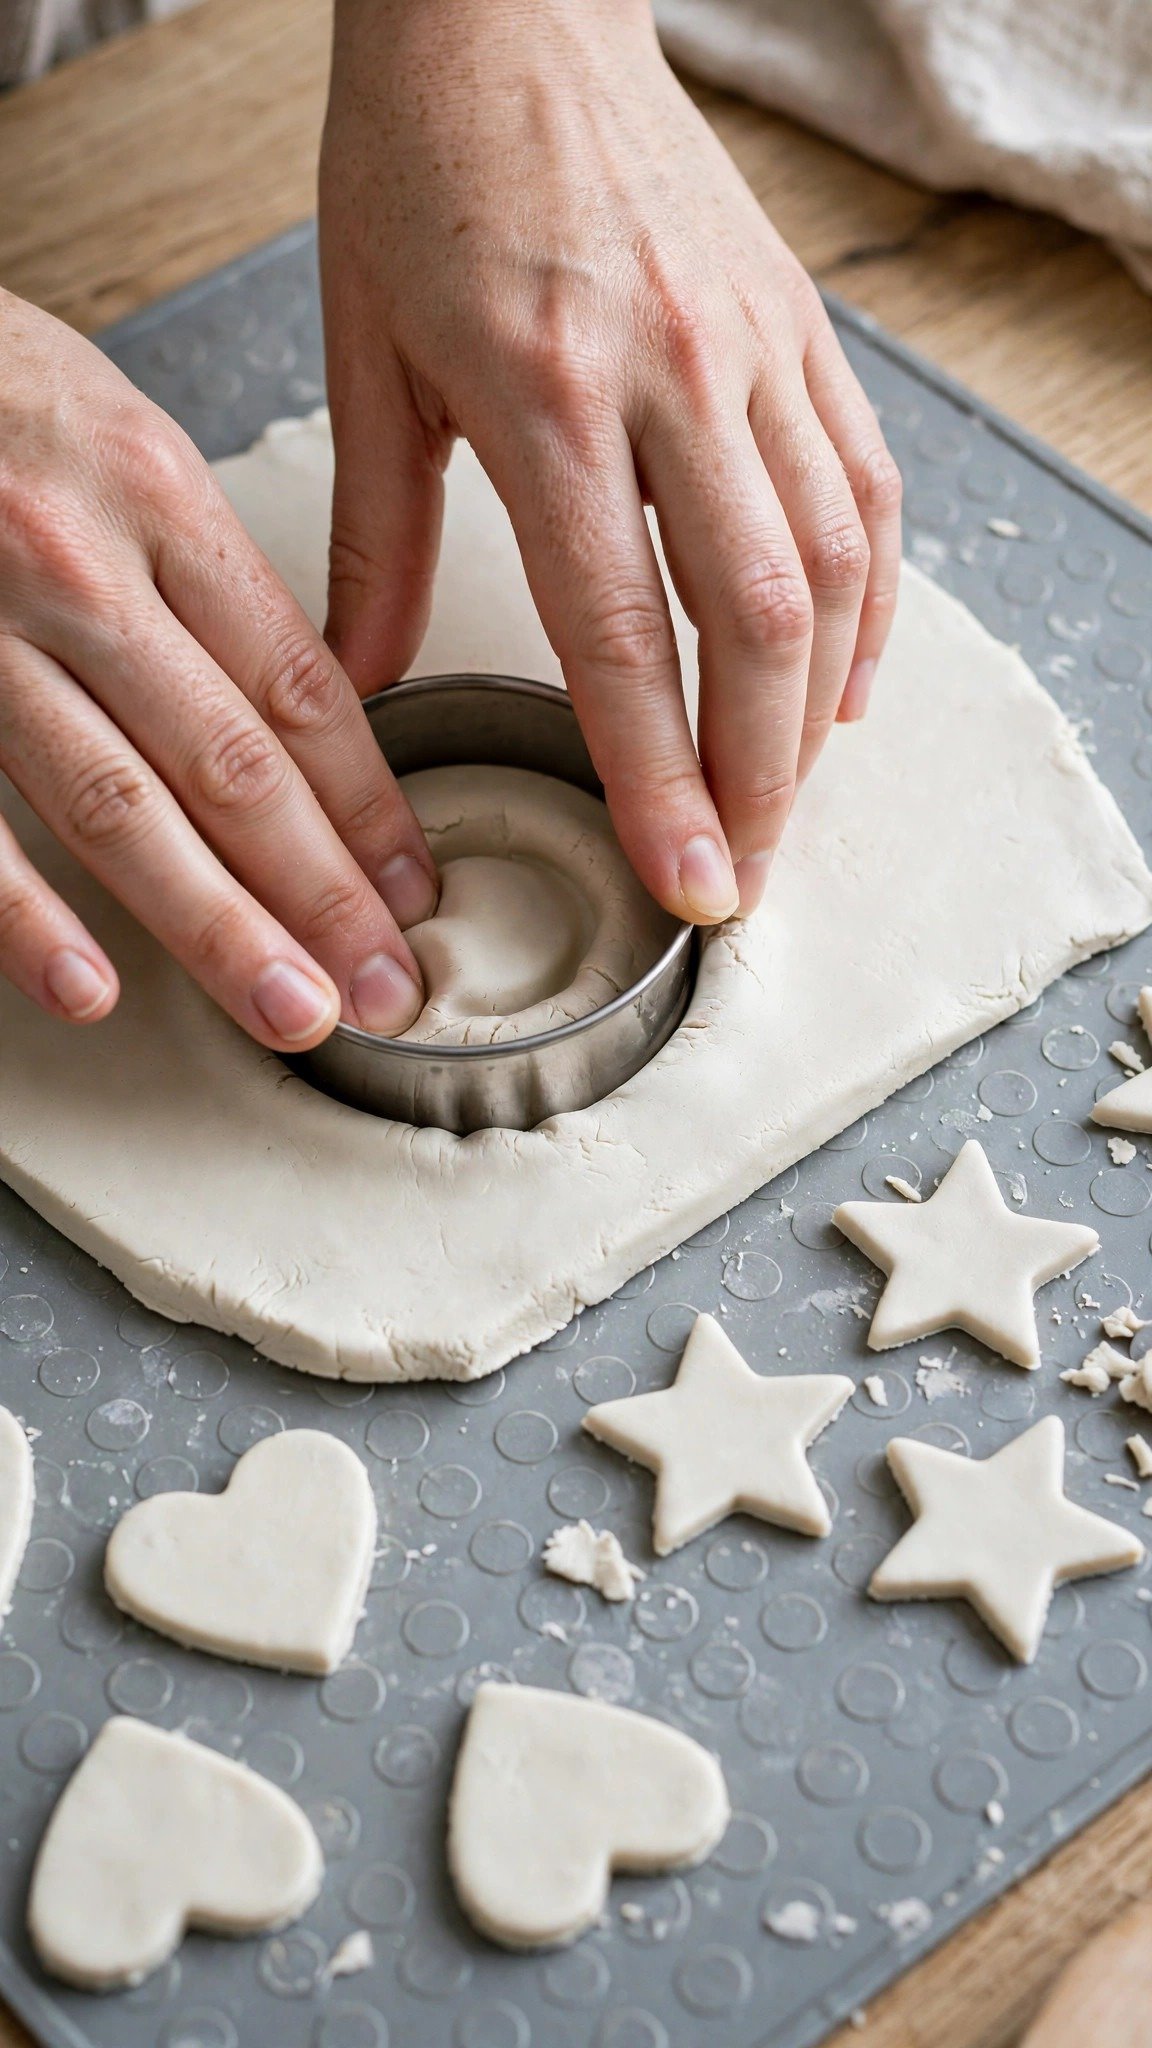
Cookie cutters are a beginner’s best friend. Press them straight down into an even slab with firm, even pressure, then wiggle gently and lift — no dragging, which distorts the edges. A quick tap on the counter usually releases the shape from the cutter.
For the cleanest edges, dip the cutter in a little water or cornstarch first, and use a toothpick or straw to poke a hanging hole before the clay dries. Leaves, stars, hearts, and pumpkins all make charming ornaments, gift tags, or garland pieces.
Save your scraps and knead them back together for another round — air dry clay is wonderfully forgiving before it dries, so almost nothing is wasted. Just remember to re-condition the scraps so they stay smooth.
Cookie-cutter shapes are perfect for the season — see how they come to life in these air dry clay fall decor ideas for ornaments and garlands.
8. Smooth Seams With Water and a Sponge
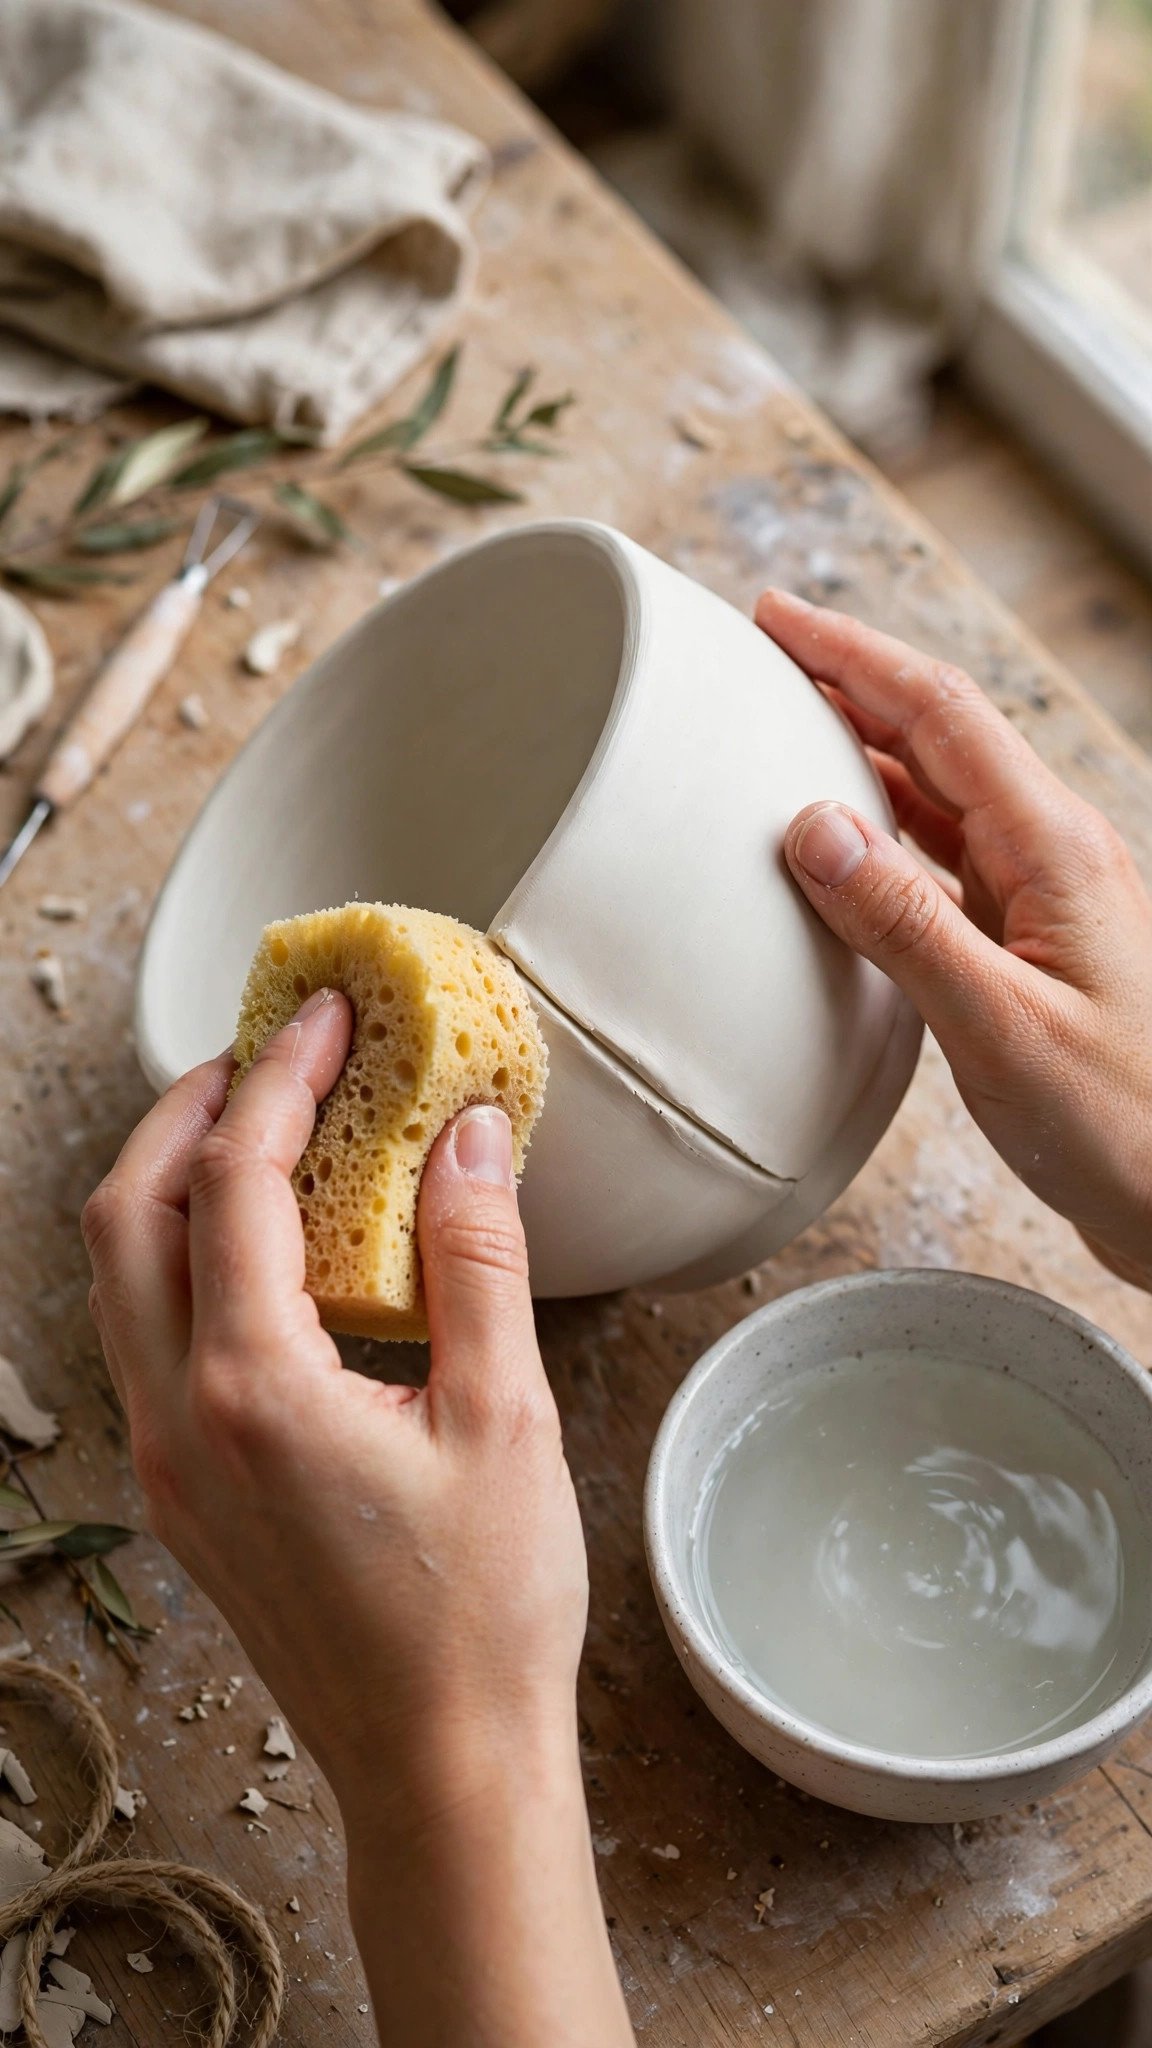
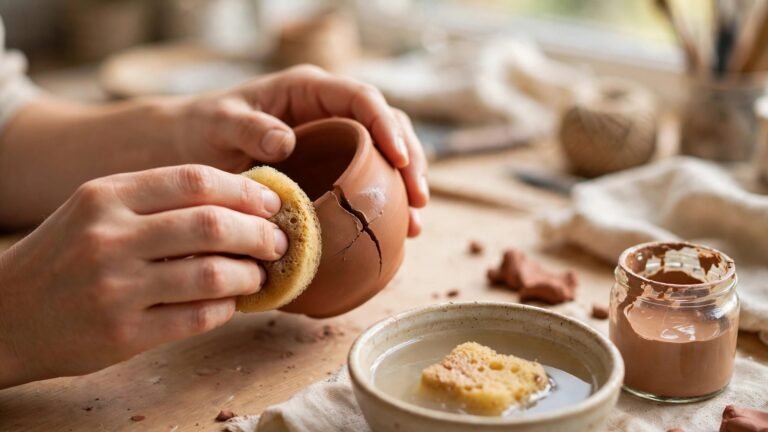
Smoothing is what turns a handmade piece from rough to refined, and all it takes is water and a soft sponge. Dip your sponge in water, squeeze out the excess, and gently rub over seams, fingerprints, and rough edges in small circles. The water softens the surface just enough to blend everything together.
Work while the clay is still leather-hard — firm enough to hold its shape, soft enough to smooth. If the clay is too wet, the sponge will drag and smear; if it is too dry, the water will not blend the seam. A light touch and patience beat heavy pressure every time.
Check your piece from every angle before you set it aside to dry, because once it is fully dry, rough spots are much harder to fix. A few extra minutes of smoothing now is the difference between a piece that looks homemade and one that looks handmade.
Smooth, crack-free pieces are the goal of every project in these fall clay decor ideas you’ll love making — the sponge technique is the secret.
9. Let Pieces Dry Slowly and Evenly
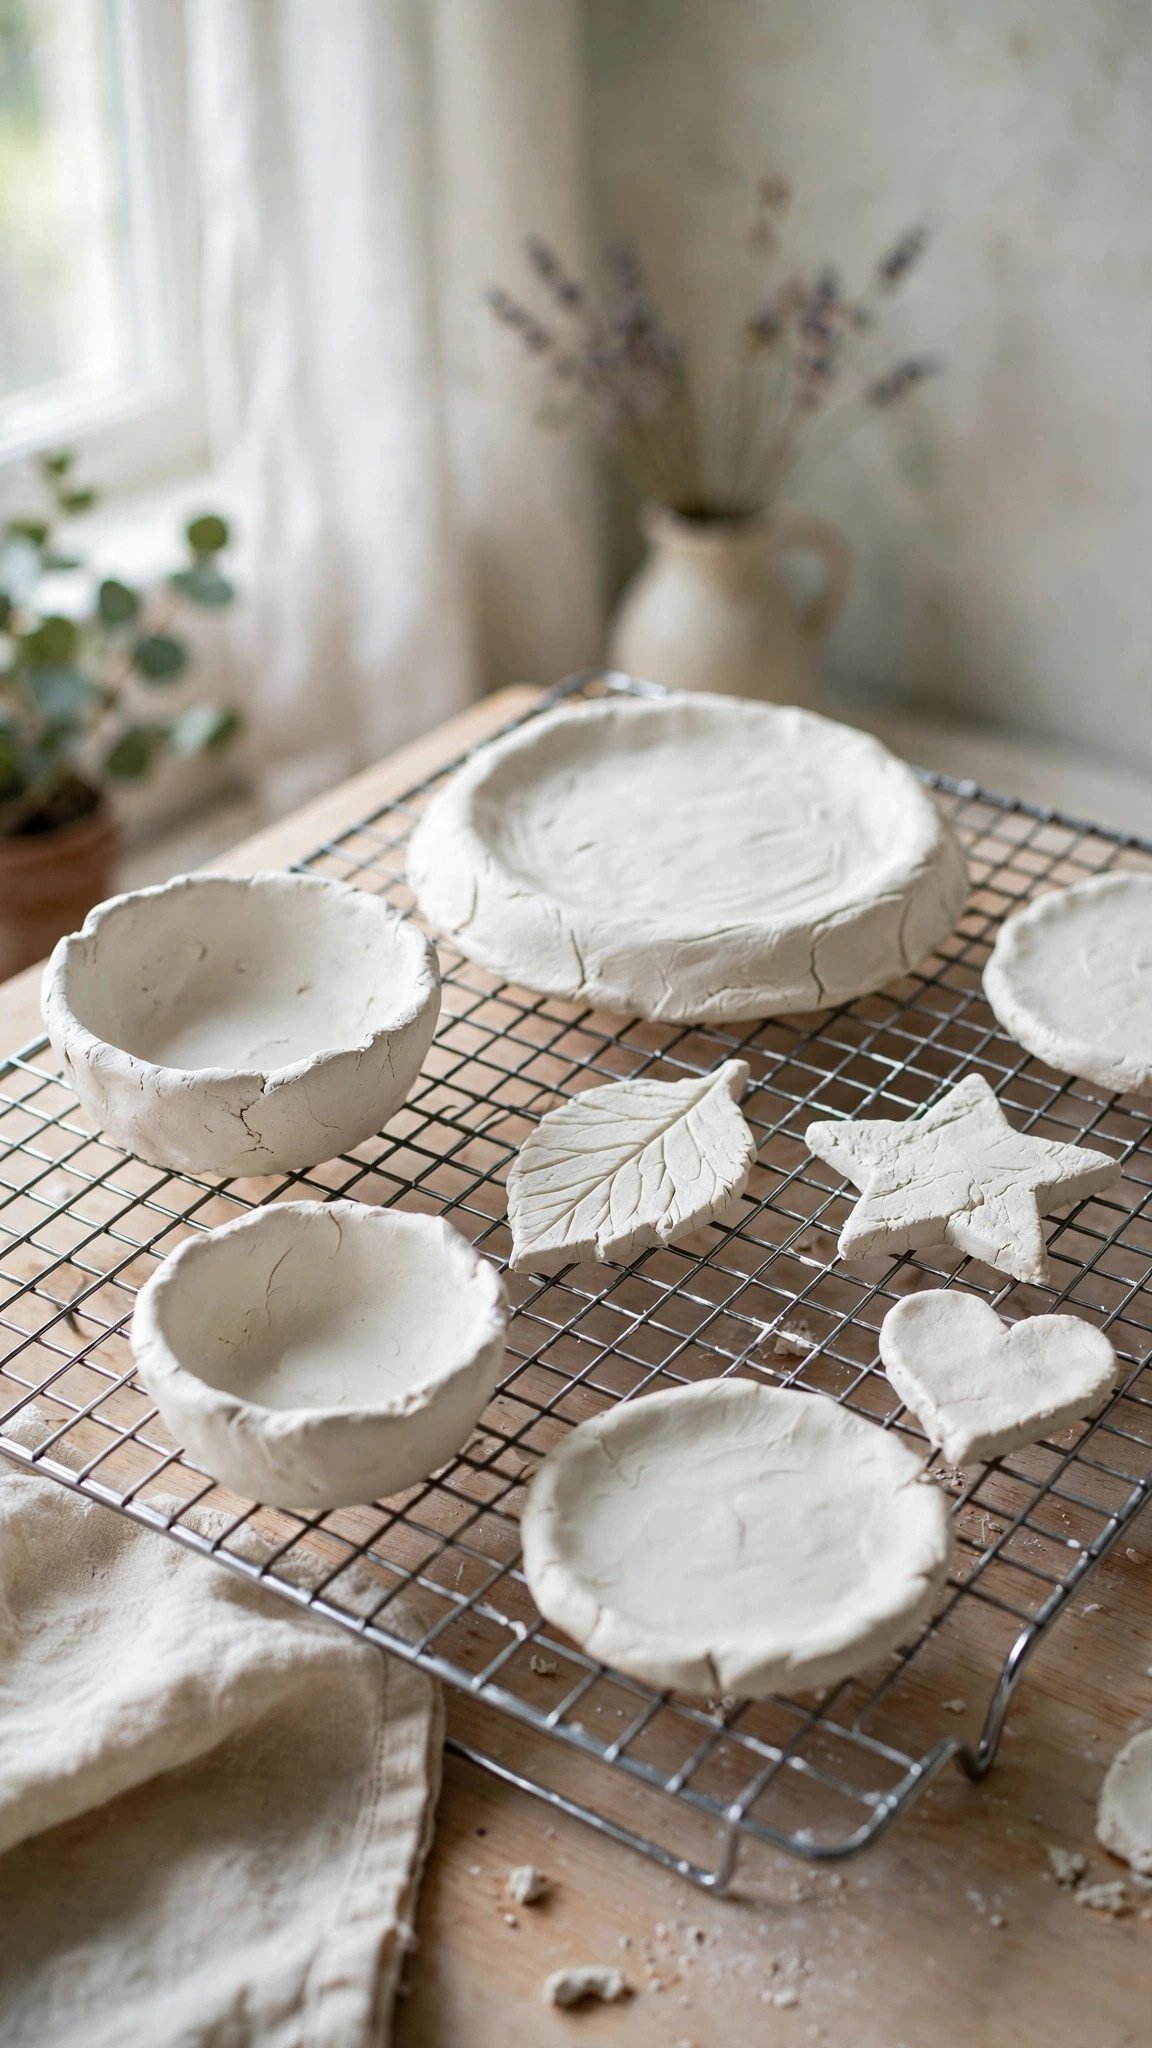
Drying is where many first projects go wrong, and the fix is simple: slow and steady. Set your pieces on a rack or a piece of cardboard so air can reach the underside, and turn them once a day so they dry evenly. Keep them out of direct sun and away from radiators or fans.
Thick pieces can take two to three days to dry all the way through, and that is completely normal. A piece that feels dry on the outside may still be damp inside, so test by holding it to your cheek — cool means still damp, room temperature means done. Rushing with a hair dryer or oven almost always causes cracks.
If you do spot a small crack while drying, do not panic. Mix a little clay slip — clay thinned with water into a paste — press it into the crack, smooth it, and let it dry again. Most cracks are an easy fix when caught early.
Slow drying is worth the wait, especially for pieces you plan to gift or display alongside these handmade fall craft ideas for a cozy autumn.
10. Seal and Paint Your Finished Pieces
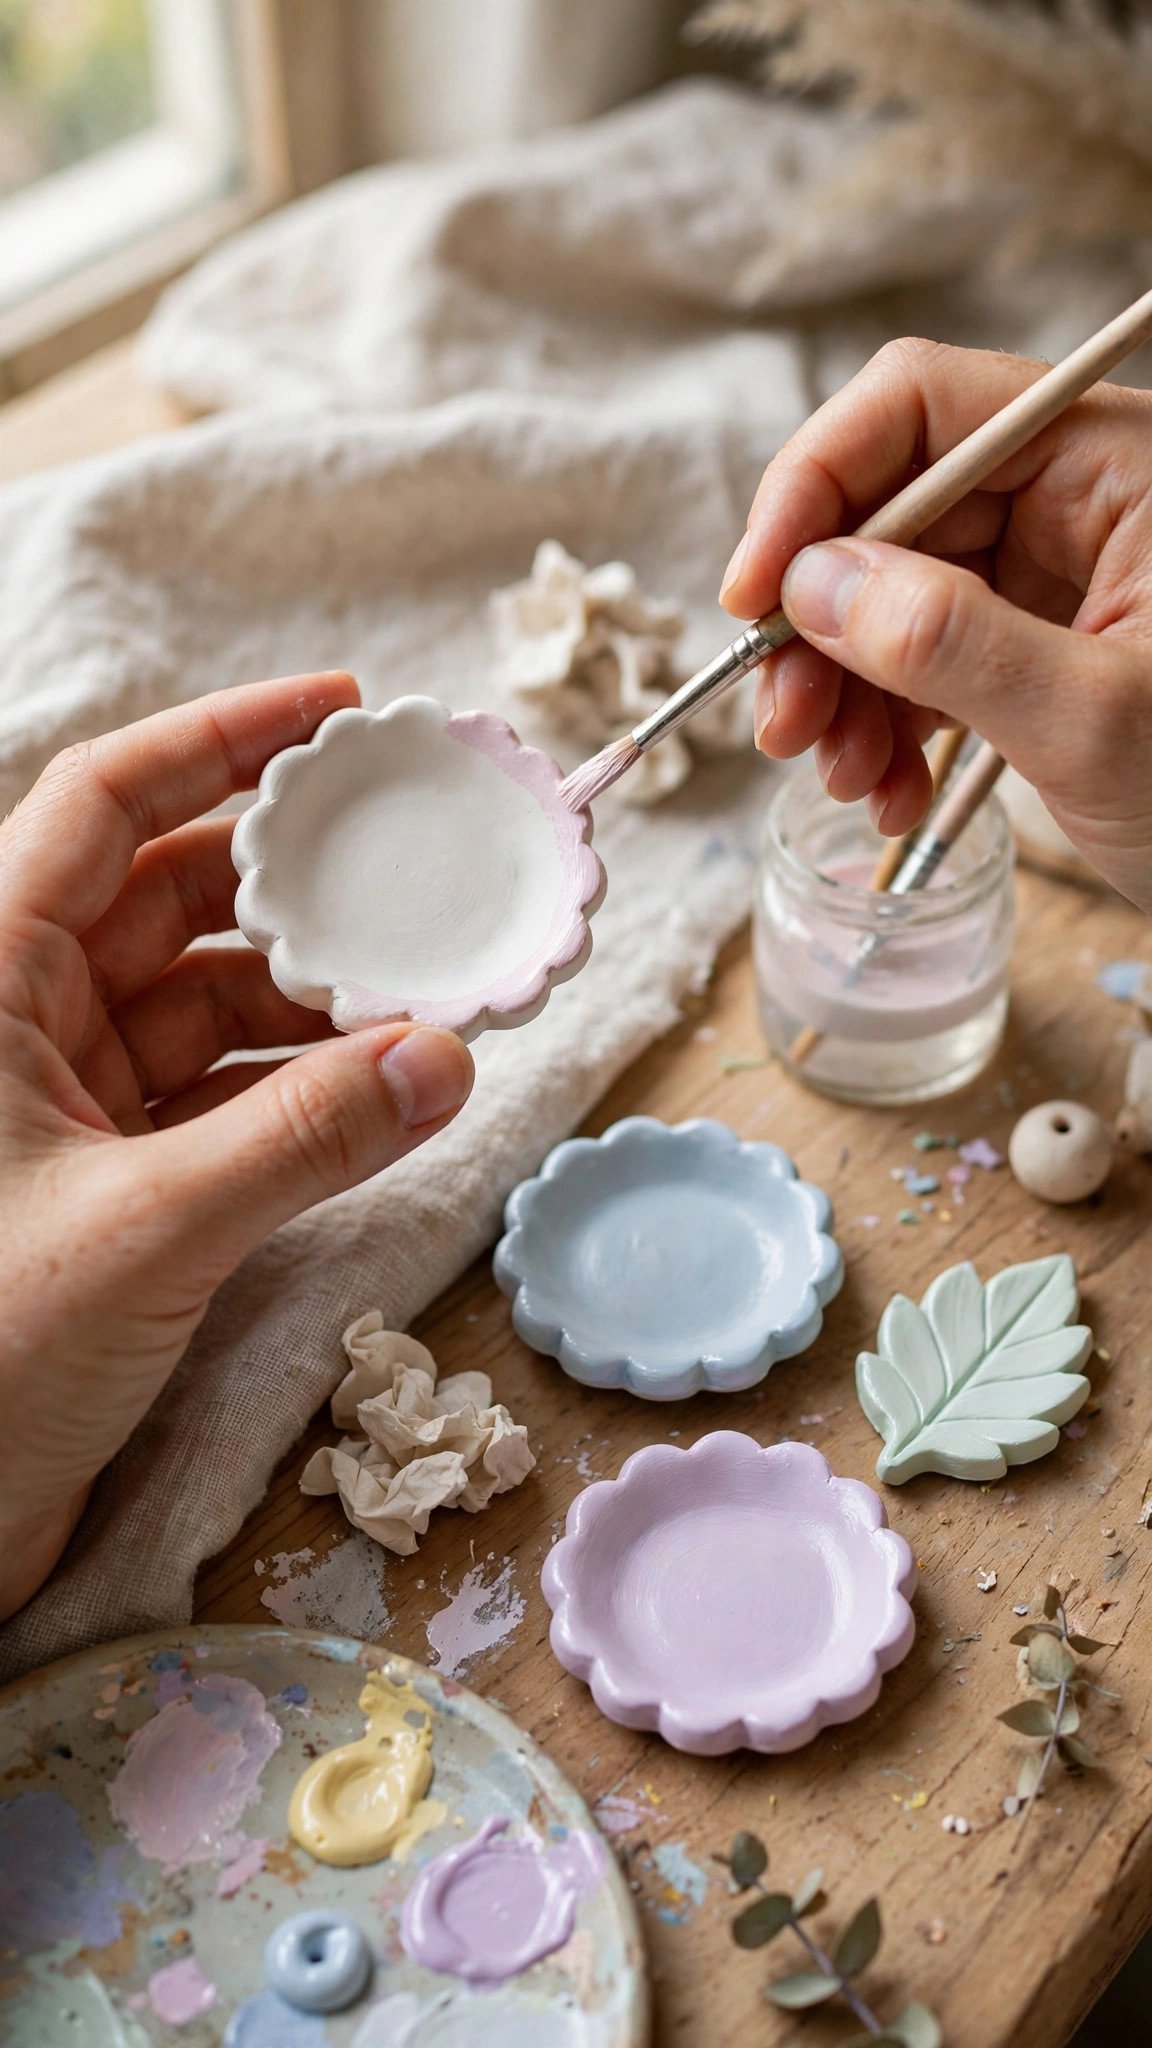
Once your piece is completely dry, it is time for the fun part: color. Acrylic paint works beautifully on air dry clay — it dries fast, sticks well, and comes in every shade you can imagine. Two thin coats will always look better than one thick one, so let each coat dry before adding the next.
After the paint is fully dry, seal your piece to protect it. A coat of clear varnish, Mod Podge, or a spray sealant keeps the paint from chipping and gives the surface a lovely finished feel — matte for a soft look, gloss for a little shine. Seal all sides, including the bottom, for the best protection.
Remember that air dry clay is not waterproof, even sealed, so keep finished pieces indoors and away from water. With paint and sealer, though, your first project will look polished enough that nobody will guess it was your very first time.
Your finished, sealed pieces are ready to shine — pair them with these fall craft ideas that actually make money if you are thinking of turning your new hobby into a little side income.
Conclusion
Your first air dry clay project does not need to be perfect — it just needs to be started. With the right clay, a few simple tools, and the ten steps above, you have everything you need to make something real with your own two hands. Each piece you make will teach you something new, and the next one will be a little smoother, a little steadier, a little more you.
So pick a project from this guide, clear a spot on the table, and begin. The clay is waiting, the steps are simple, and the hardest part is already behind you — deciding to try.
When your first piece is dry, painted, and sealed, take a moment to enjoy it. Then start the next one, because the best thing about air dry clay is that there is always another idea waiting to be shaped.