10 Clay Tray Ideas That Turn Everyday Clutter Into Handmade Decor
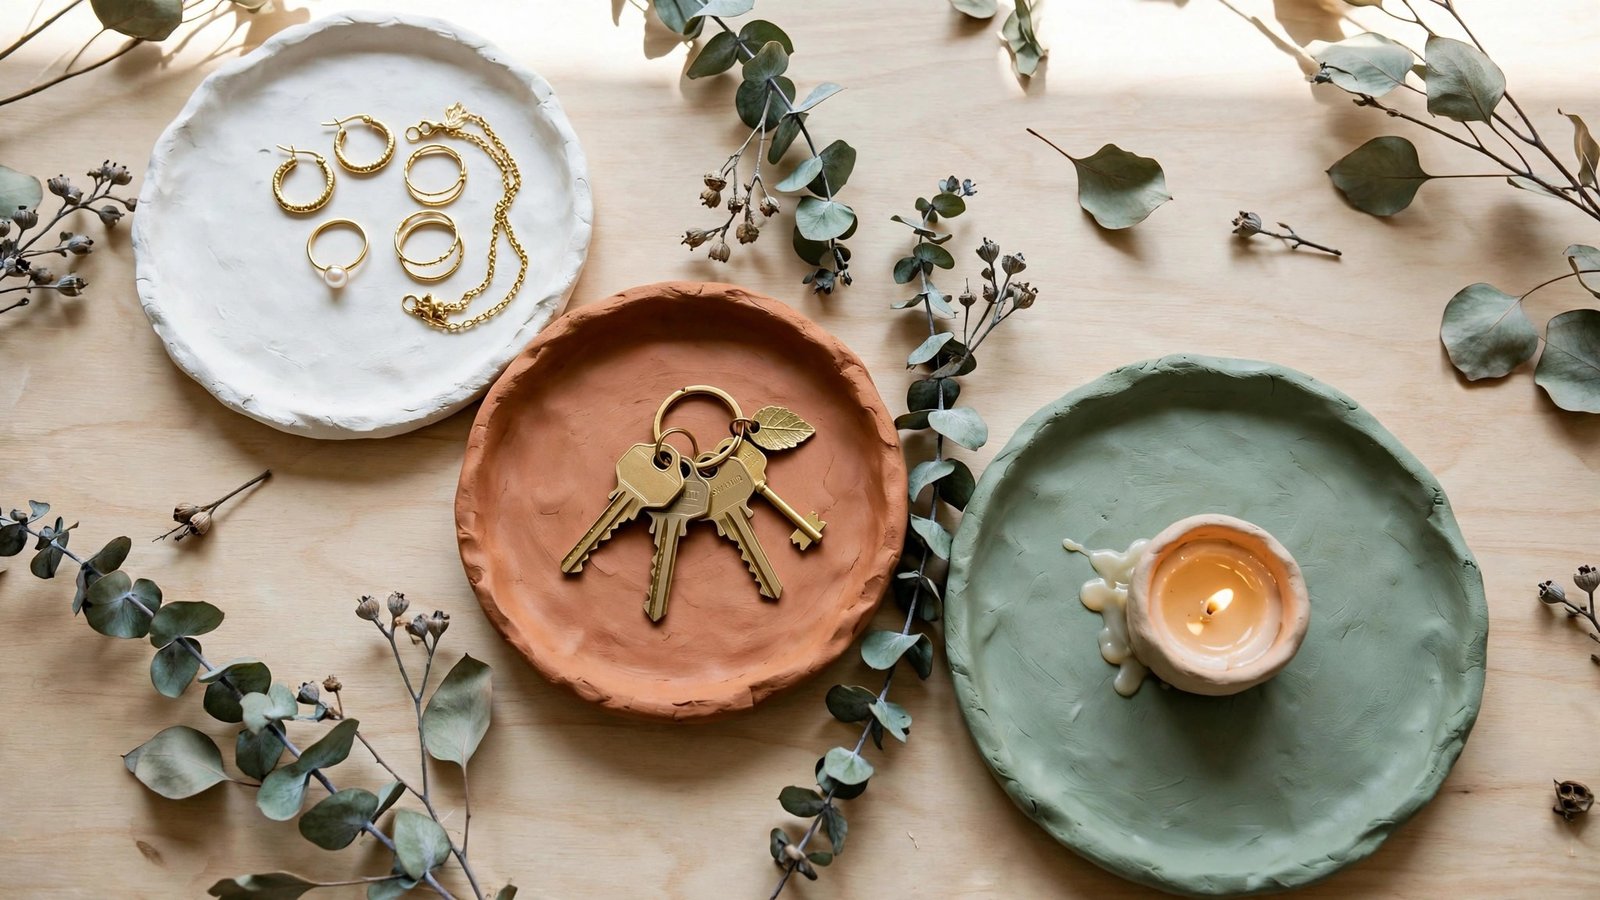
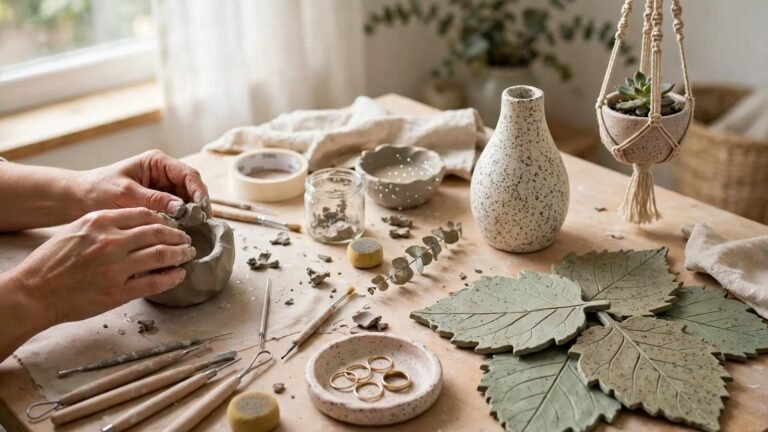
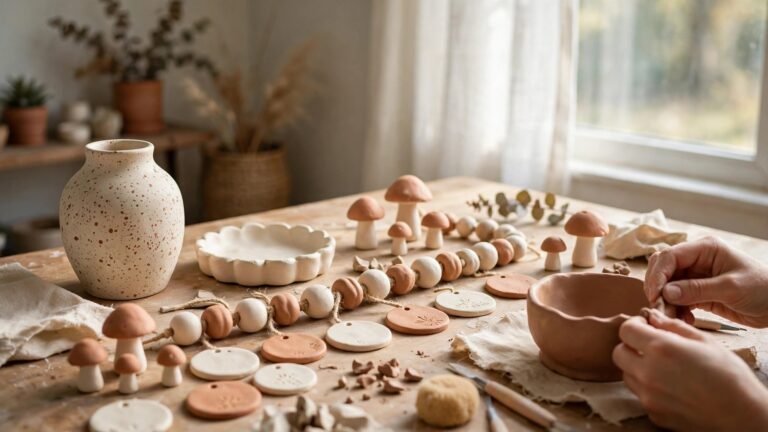
Clay trays are one of the easiest and most satisfying things you can make with air dry clay. With just a slab of clay, a rolling pin and a few everyday tools, you can shape a beautiful little dish that looks like it came from a boutique — no kiln, no pottery wheel and no experience needed.
From a scalloped soap dish to a ring tray for your bedside, a clay tray turns everyday clutter into something lovely to look at. Ready to see how versatile one simple slab of clay can be? Here are ten clay tray ideas you can make this weekend.
1. Shape a Scalloped-Edge Soap Dish

A scalloped-edge soap dish is the perfect first clay tray project. Roll your clay to about half a centimetre thick, cut a rounded rectangle, then press a small round cutter or bottle cap along the edge to create gentle scallops. Drape the slab over an upside-down bowl to give it a soft curve, and let it dry for 24 to 48 hours.
Once dry, seal the dish with a waterproof varnish or a coat of clear resin so it can handle daily splashes. A satin finish keeps the clay looking natural while protecting it from water damage. Choose a warm white or soft sage green paint for a look that suits almost any bathroom.
This tray also doubles as a jewellery dish once you move past the bathroom. Its small size and curved shape make it ideal for a ring or a pair of earrings, so even if you make three of them, none will go to waste.
Tip: If you are new to air dry clay, start with our air dry clay beginner guide before rolling your first slab.
2. Make a Terracotta Ring Tray for the Bedside

A tiny ring tray on the bedside table is one of those small habits that makes mornings easier. Roll a small circle of terracotta-coloured clay, pinch up the edges gently with your fingers, and press a lace doily or textured fabric into the surface for a delicate pattern.
The terracotta tone gives the tray a warm, earthy feel that looks beautiful next to wood furniture and brass lamps. Keep the finish matte and unsealed on the inside so rings sit softly, or add a thin coat of clear sealer if you prefer a subtle shine.
This is also a lovely gift idea. Make a set of three in different sizes and stack them in a small box with tissue paper — a handmade present that costs almost nothing but feels truly personal.
Tip: Browse more small makes in our air dry clay craft ideas to build a whole gift set around your tray.
3. Build a Long Trinket Tray for the Entryway

The entryway is where keys, coins and sunglasses pile up, and a long clay tray solves the mess beautifully. Roll a rectangle about 25 centimetres long, fold the edges up by a centimetre or two, and smooth the corners with a damp sponge for a clean, professional finish.
A speckled paint effect works wonderfully here — flick white and charcoal paint from a toothbrush over a cream base for a stone-like look. Seal the whole tray so it survives daily use, and add small felt pads underneath to protect your console table.
Make the tray wide enough for a phone too, and it becomes the one spot the whole family drops their essentials. Label the end with a stamped initial or a painted monogram for a personal touch.
Tip: For more beginner-friendly builds like this one, see our air dry clay projects collection.
4. Craft a Candle Plate Tray for Cosy Evenings

A clay tray under a candle turns an ordinary jar into a styled centrepiece. Shape a wide, shallow circle with a slightly raised rim, then press dried flowers or leaves into the wet clay around the edge for a botanical imprint that shows once painted.
Keep the centre smooth and flat so the candle sits steady. A heat-safe sealer is a good idea here, and always place the tray on a heatproof surface. Soft neutral tones — cream, beige or pale grey — let the candlelight do the talking.
This tray works just as well with a cluster of small tea lights as with one large pillar candle. Add a sprig of dried lavender or eucalyptus and you have an instant coffee-table vignette.
Tip: New to working with clay? Our air dry clay beginner guide covers drying times and sealing so your tray stays safe around heat.
5. Press a Leaf-Imprint Jewellery Tray

A leaf-imprint tray looks like something from a high-end homeware store, yet it takes minutes to make. Roll your clay flat, lay a fresh leaf face-down on the surface, and roll gently over it once more so the veins press clearly into the clay. Peel the leaf away and cut your tray shape around the imprint.
Paint the tray white and rub a little gold or bronze paint into the leaf veins to make the pattern glow. The contrast between the crisp white clay and the metallic veins is simple but striking.
This tray is perfect for necklaces and bracelets that tangle in a drawer. Drape a chain over the edge and let the pendant rest in the centre — jewellery storage that doubles as decor.
Tip: Find more nature-inspired makes in our air dry clay craft ideas for a matching set.
6. Design a Marble-Effect Vanity Tray

A marble-effect vanity tray brings instant polish to a dressing table. Knead a small amount of grey clay into white clay just enough to create soft swirls — stop before the colours blend fully, or you will lose the marbling. Roll, cut a rectangle, and raise the edges with a gentle fold.
Once dry, sand the edges lightly with fine sandpaper for a silky finish, then seal with a gloss varnish. The shine enhances the marble look and makes the tray easy to wipe clean after perfume spills or makeup dust.
Size it to fit your perfume bottles and a lipstick or two. A tray that holds your daily essentials in one neat rectangle makes getting ready feel a little more luxurious every morning.
Tip: See our air dry clay projects for more vanity and dressing-table makes.
7. Sculpt a Small Ceramic-Look Catch-All for the Desk

A desk catch-all tray keeps paper clips, pens and small gadgets from drifting across your workspace. Make a compact square tray with slightly higher sides, and stamp a simple pattern — dots, lines or a tiny star — into the rim before it dries.
For a ceramic look without a kiln, paint the tray with a glossy white or soft blue-grey acrylic, then finish with two coats of high-gloss varnish. The shine mimics glazed ceramic so convincingly that most people will never guess it is air dry clay.
Polymer clay works beautifully for this one too if you want extra durability — bake it according to the packet instructions and it becomes wonderfully sturdy. Either way, you get a tray that looks shop-bought and costs pennies.
Tip: If you have never tried the material before, our air dry clay beginner guide explains the basics in one easy read.
8. Create a Boho Braided-Edge Tray for the Bathroom

A braided-edge tray adds a handmade, boho touch to a bathroom shelf. Roll three thin clay ropes, braid them together, then press the braid around the rim of a round or oval tray. The texture alone makes the piece feel special, even before any paint touches it.
Leave the clay its natural cream colour for a soft, organic look, or paint the braid a warm terracotta while the base stays pale. Seal it well, since bathroom humidity is the enemy of unsealed air dry clay.
Use it for cotton pads, hair ties or a small succulent. The raised braided edge keeps everything contained, and the tray itself becomes a feature on an open shelf.
Tip: More textured, boho-style makes are waiting in our air dry clay craft ideas roundup.
9. Make a Heart-Shaped Tray for Gifting

A heart-shaped clay tray is a gift that says you made something with your hands. Cut the heart shape with a large cookie cutter or a paper template, pinch the edges up slightly, and press a small thumbprint or initial into the centre for a personal mark.
Soft blush pink or dusty rose paint suits this tray perfectly, with a gold-painted rim for a finishing touch. Two coats of sealer keep the colour fresh, and a ribbon tied around the tray turns it into a ready-to-give present.
Fill it with a necklace, a pair of earrings or a handwritten note, and you have a Valentine’s, birthday or Mother’s Day gift that feels far more thoughtful than anything off a shelf.
Tip: Pair it with another handmade present from our air dry clay projects for a full gift box.
10. Shape a Minimalist Divided Tray for Keys and Coins

A divided tray is the most practical clay tray of all. Roll a rectangle, then press a thin clay wall down the middle to create two compartments — one for keys, one for coins. Smooth the join with a wet finger so the divider looks like part of the tray, not an afterthought.
Keep the design minimal: matte white or pale grey, no pattern, just clean lines. A matte sealer keeps the modern look while protecting the surface from scratches and daily wear.
Place it by the front door and the evening key hunt disappears. It is also a great first project for older kids, since the divider technique is simple but teaches real clay skills.
Tip: Start simple with our air dry clay beginner guide if this is your very first clay project.
Conclusion
Clay trays prove that the simplest projects are often the most useful. One slab of air dry clay, a few household tools and an afternoon is all it takes to make something beautiful that you will actually use every day.
Start with one idea that solves a real clutter problem in your home — a ring tray, a soap dish or a key tray — and let the rest follow. Once you see how good the first one looks, you will want to make a set for every room.
Which tray will you make first? Pick your favourite idea, gather your clay, and enjoy turning a little lump of earth into handmade decor.