10 Air Dry Clay Projects to Make This Weekend (No Kiln Needed)
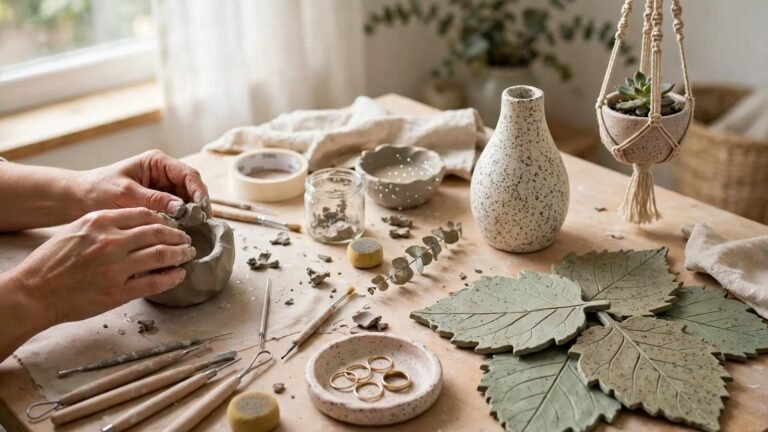
There is something deeply satisfying about making something beautiful with your own two hands — no kiln, no special equipment, just a block of soft clay and an afternoon to yourself. Air dry clay has become the go-to material for crafters who want the look of handmade ceramics without the studio, and it’s easy to see why: it’s affordable, forgiving, and wonderfully versatile.
Whether you’re a complete beginner or you’ve already made a few pinch pots, these ten projects are all weekend-friendly and genuinely useful around the home. Ready to see just how much you can make from a single pack of clay?
1. Shape a Scalloped-Edge Soap Dish

A soap dish is the perfect first project because it is small, quick, and immediately useful. Roll out a slab of clay about a centimetre thick, cut a rectangle, and then use the rim of a small cup to press a row of scallops along each long edge. A few drainage holes poked through with a straw keep your soap dry between uses.
Once it dries, sand the edges lightly with fine sandpaper for a smooth, professional feel. Paint it in a soft sage or dusty blue, or leave it natural and seal it with a coat of matte varnish so water doesn’t soften the clay over time.
This little dish sits beautifully on a bathroom sink or next to the kitchen tap, and it makes a thoughtful handmade gift too. Pair it with a bar of handmade soap and you’ve got a lovely present for almost anyone.
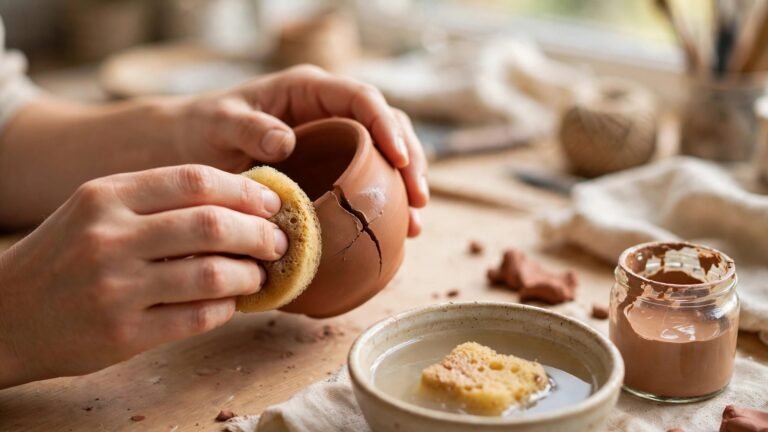
Tip: New to working with this material? Read our air dry clay beginner guide for the drying and sealing basics before you start.
2. Make Terracotta-Style Plant Markers
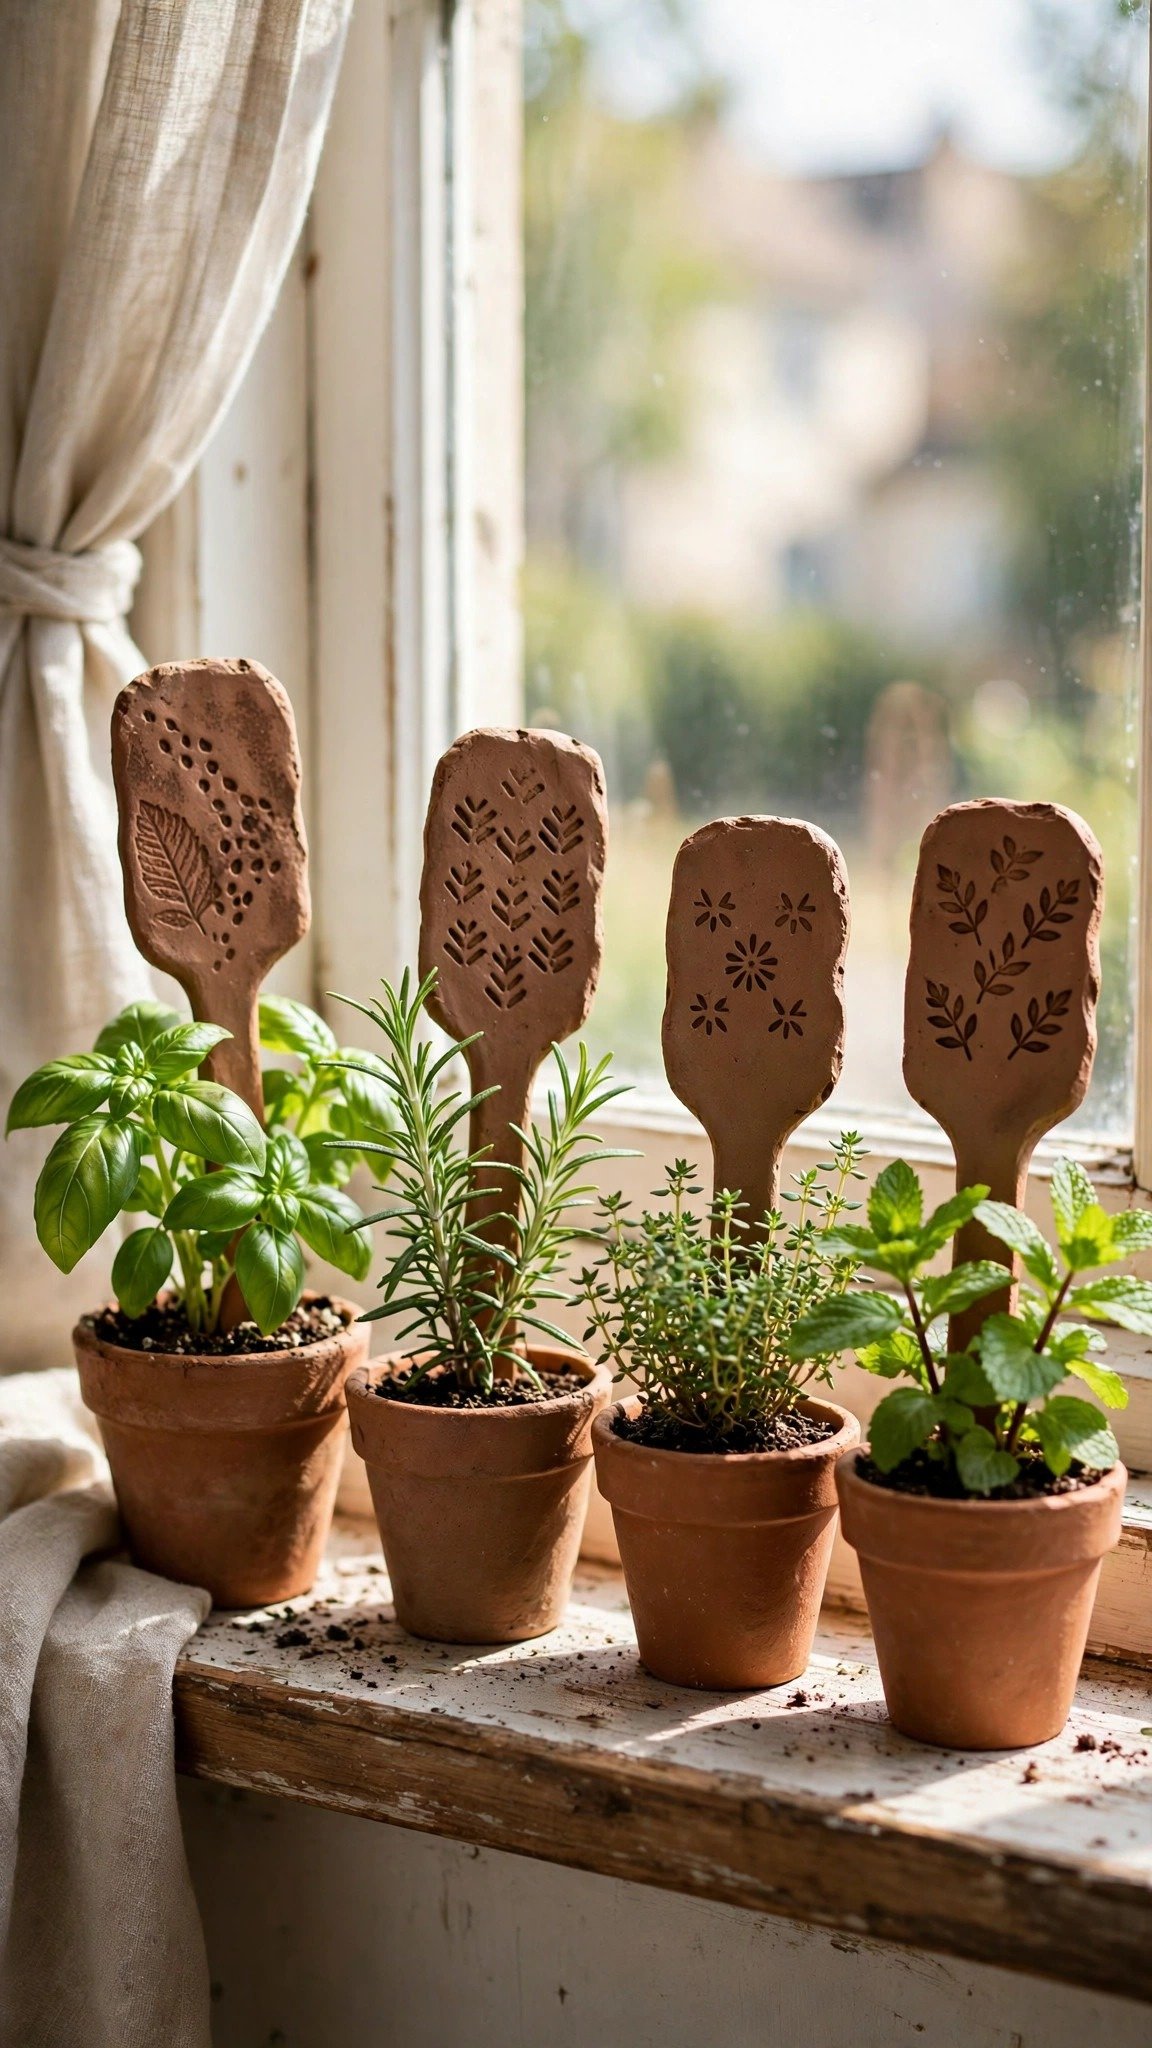
Plant markers are one of those projects that look like they came from a garden shop but cost almost nothing to make. Roll the clay thin, cut it into small rectangles or little house shapes, and stamp the name of each herb or vegetable into the surface with letter stamps or a cocktail stick.
Leave a little extra clay at the top and poke a hole so you can thread them onto a wooden skewer, or simply shape a pointed stem into the bottom so each marker slides straight into the soil. A coat of terracotta-coloured paint and a dark wax finish gives them that classic garden-centre look.
They hold up well indoors, and with a good sealant they survive a sheltered outdoor pot too. Make a set for your kitchen herbs and you’ll never mix up the basil and the mint again.
Tip: For more garden and home styling ideas, browse our air dry clay craft ideas for pieces that make your home feel handmade.
3. Sculpt a Chunky Bead Garland
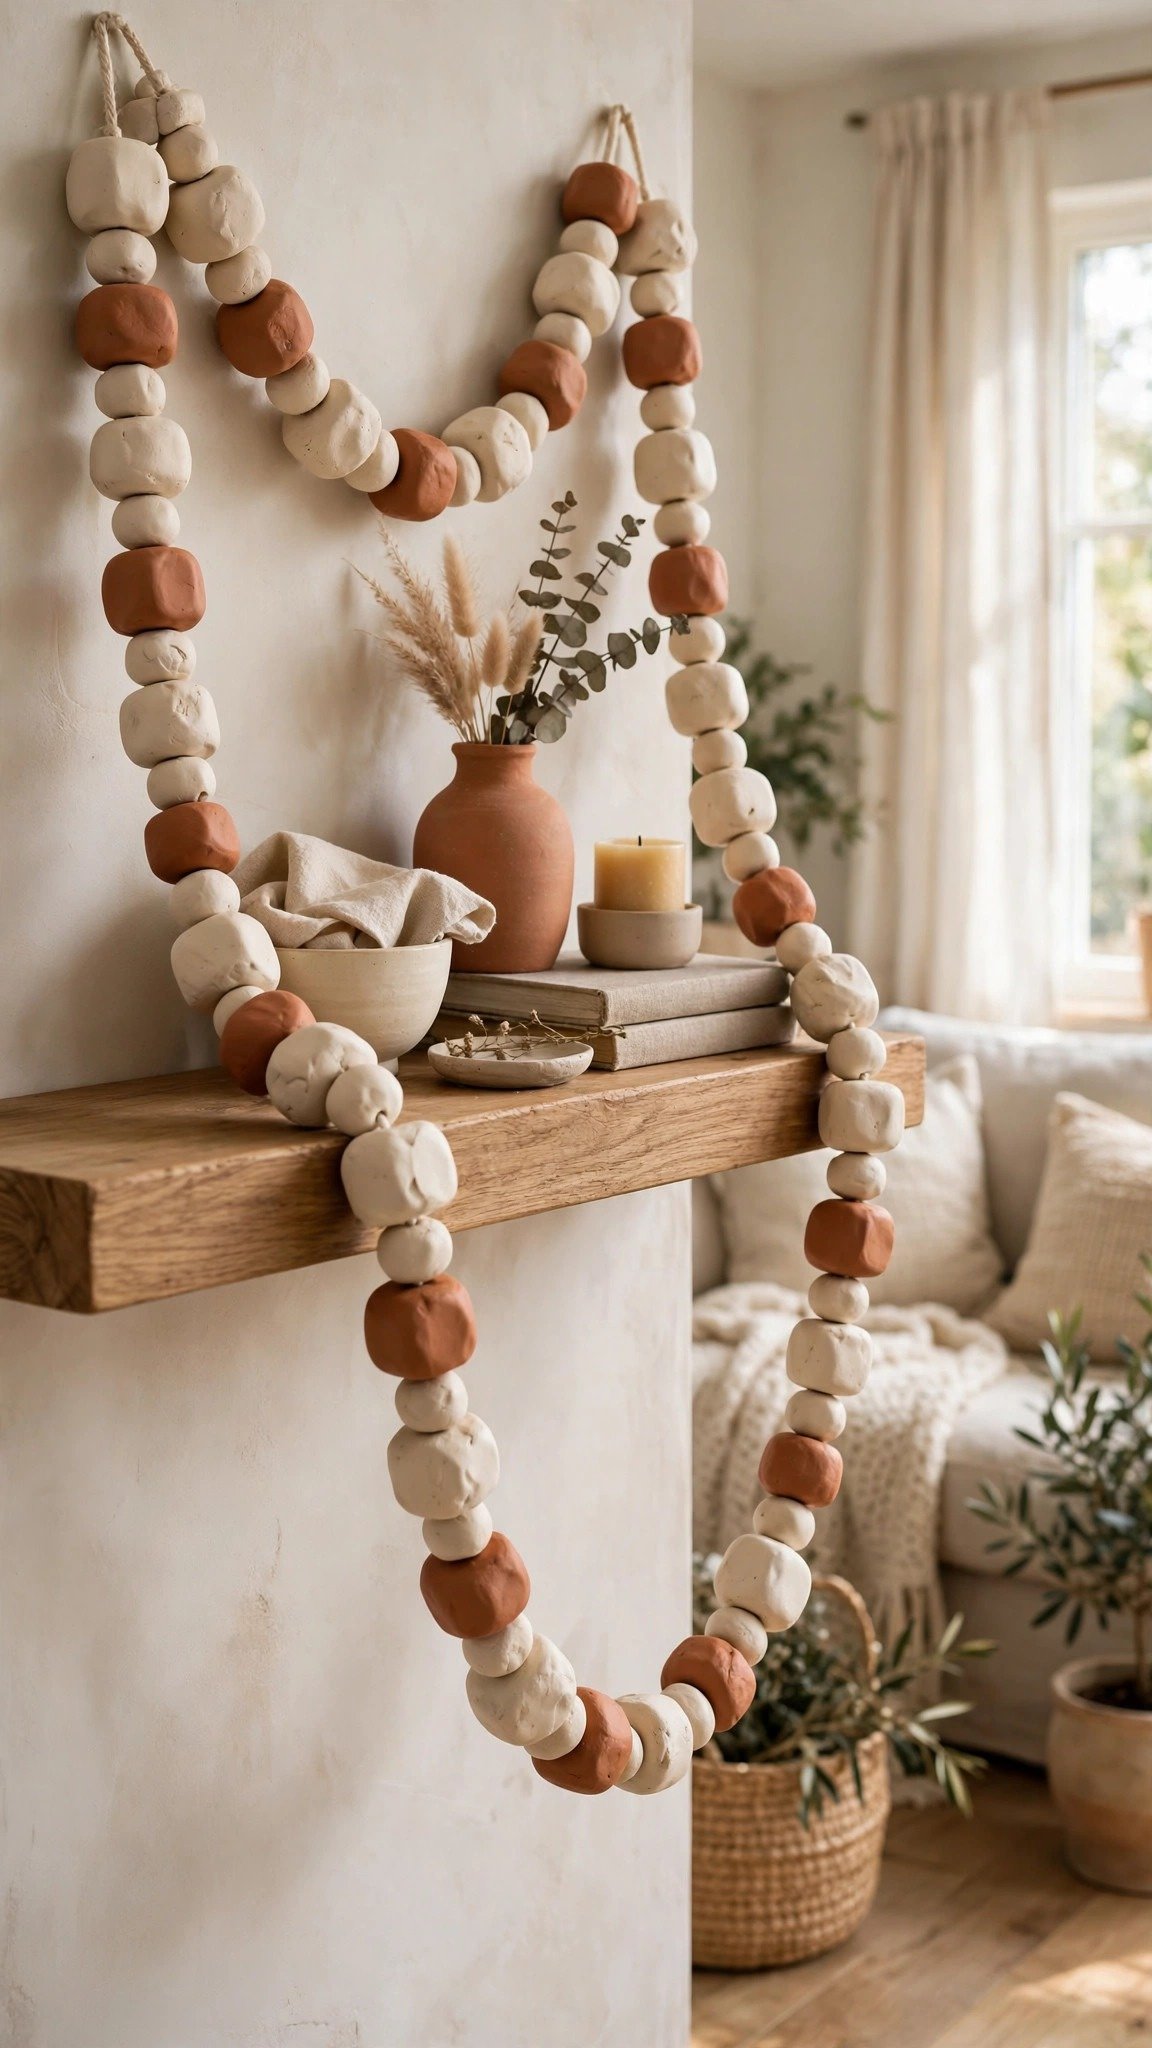
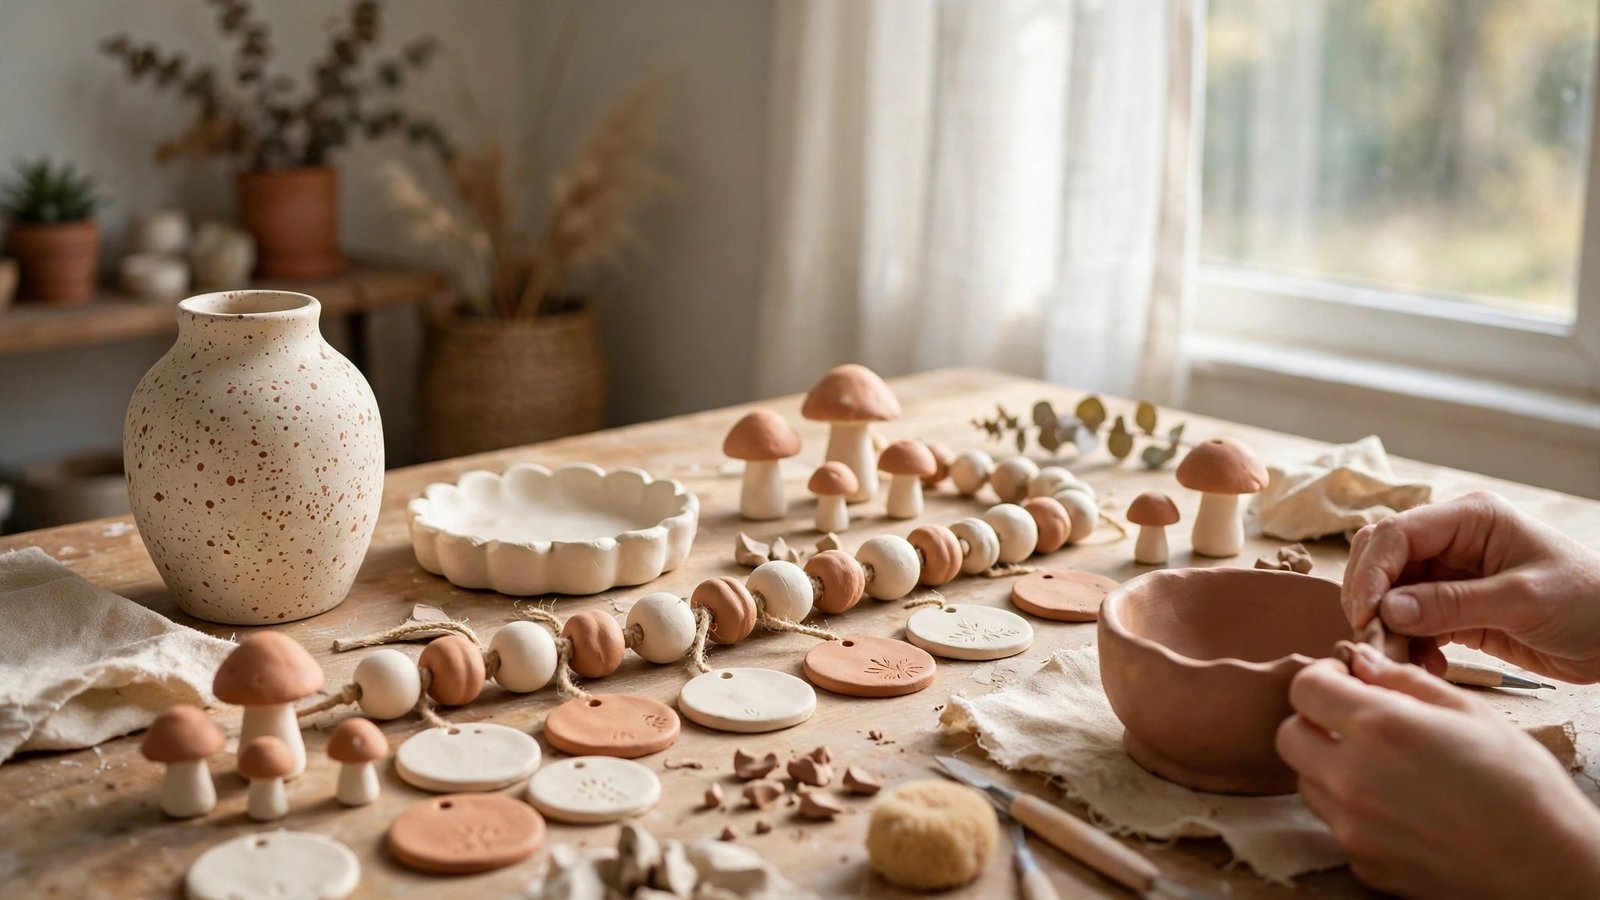
A chunky bead garland is the kind of decor piece that instantly makes a shelf or mantel feel styled. Roll the clay into balls about the size of a walnut, press them slightly flat for a handmade look, and poke a hole through the centre of each one with a thick skewer before they dry.
Once dry, paint them in a soft mix of cream, terracotta, and sage, or keep them all one colour for a calm, modern feel. Thread them onto twine or jute cord, knotting between beads if you want them evenly spaced, and add a tassel at each end.
Drape it across a mantel, over a mirror, or along a bookshelf. It’s lightweight, easy to store, and you can swap the colours with the seasons without making a whole new one.
Tip: For more decorative pieces like this one, see our collection of air dry clay craft ideas for the home.
4. Create a Moon-Phase Wall Plaque
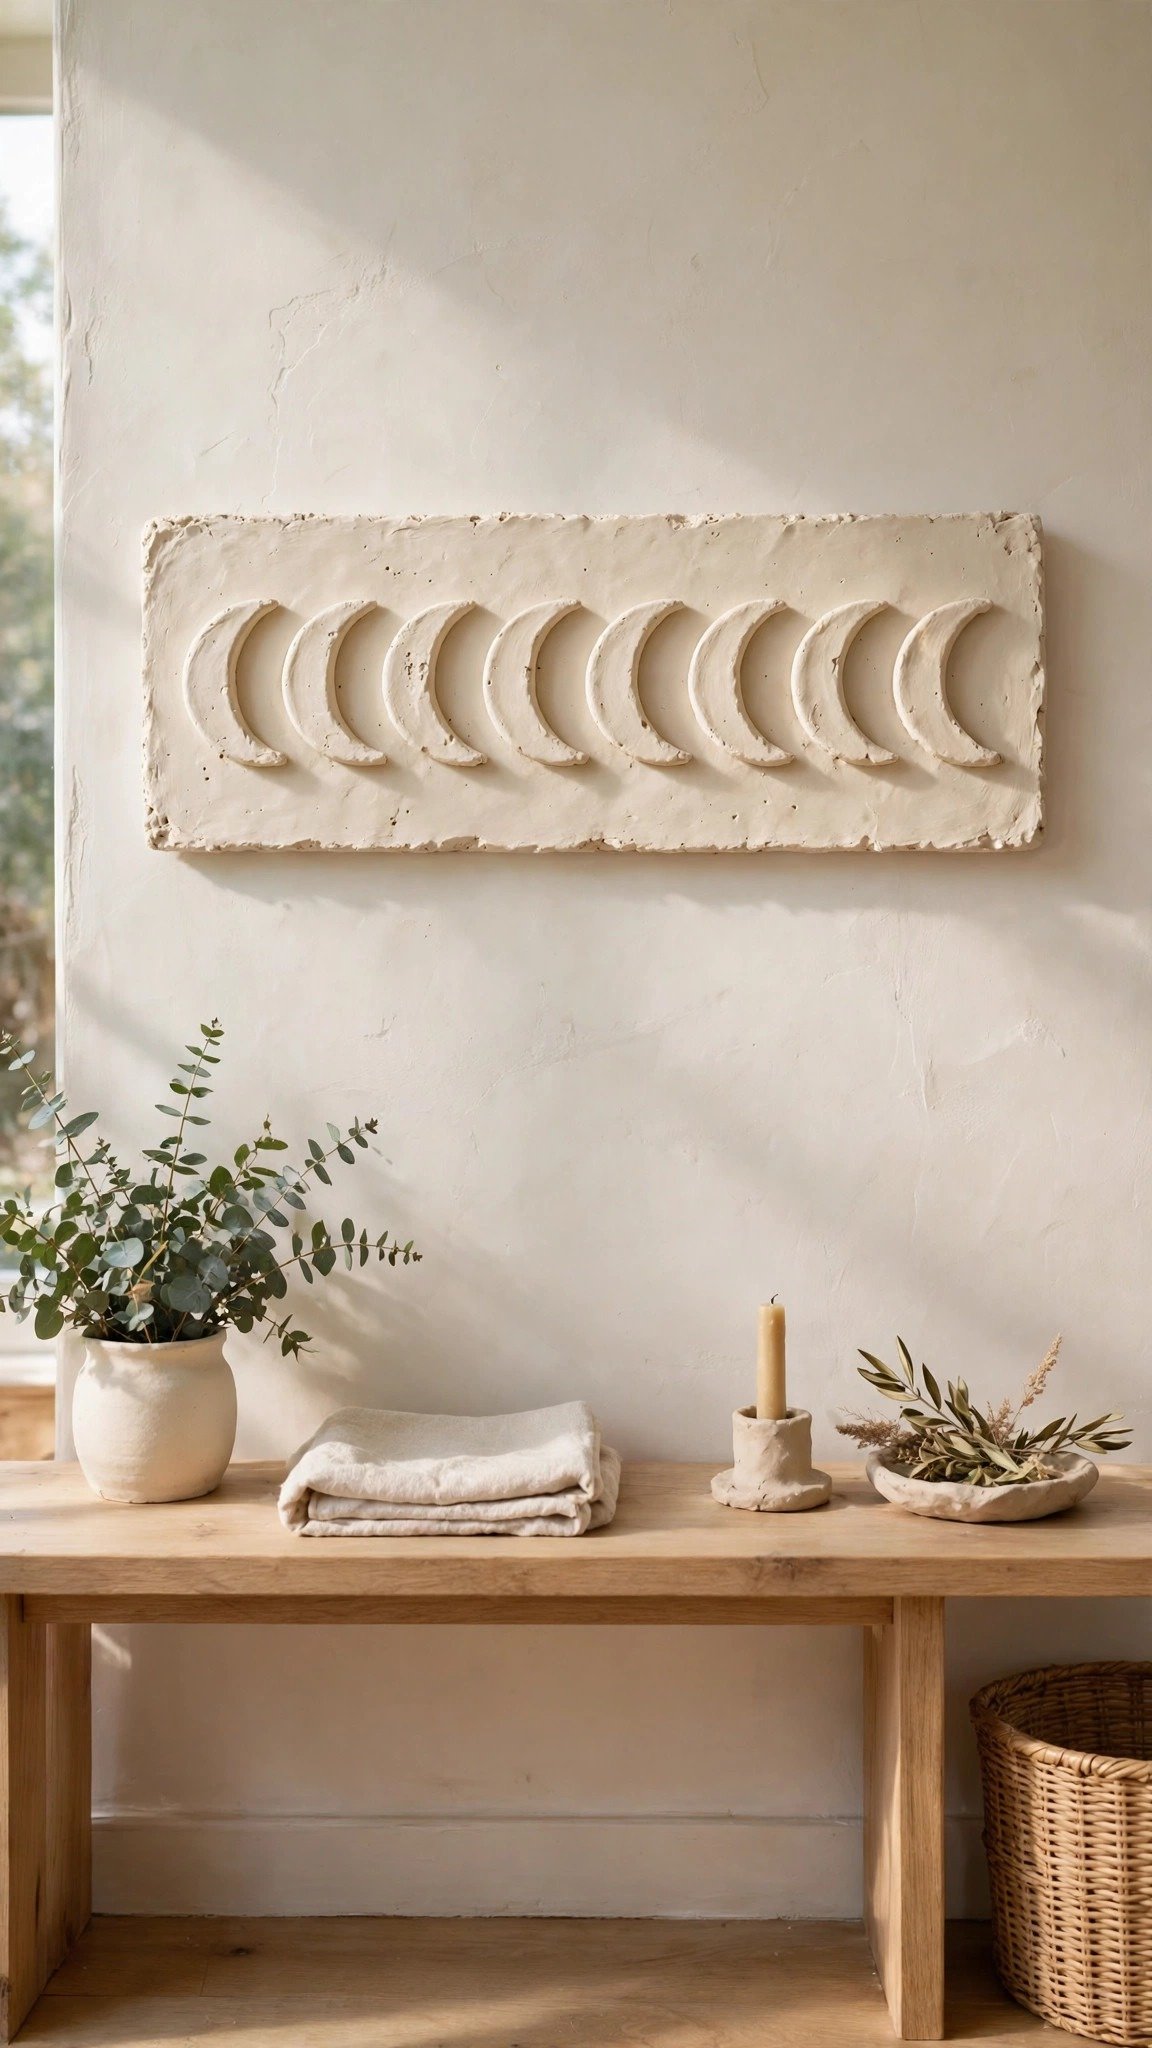
A moon-phase plaque brings a soft, dreamy touch to a bedroom or reading nook. Start with a long, thin rectangular base, then sculpt seven small moons — from new moon to full moon — using a round cutter and a little careful carving for the crescent shapes.
Attach each moon to the base while the clay is still soft, smoothing the joins with a damp finger. Once dry, paint the base in a deep charcoal or dusty blue and the moons in warm cream or gold, then seal the whole piece before hanging it with a small picture hook.
It’s a lovely project for a rainy afternoon and makes a beautiful gift for anyone who loves celestial decor. Keep the moons small and delicate, and let the contrast between the dark base and pale moons do the talking.
Tip: If you haven’t worked with clay before, our air dry clay beginner guide covers shaping and drying so your plaque cures without cracking.
5. Shape a Pair of Incense Holders
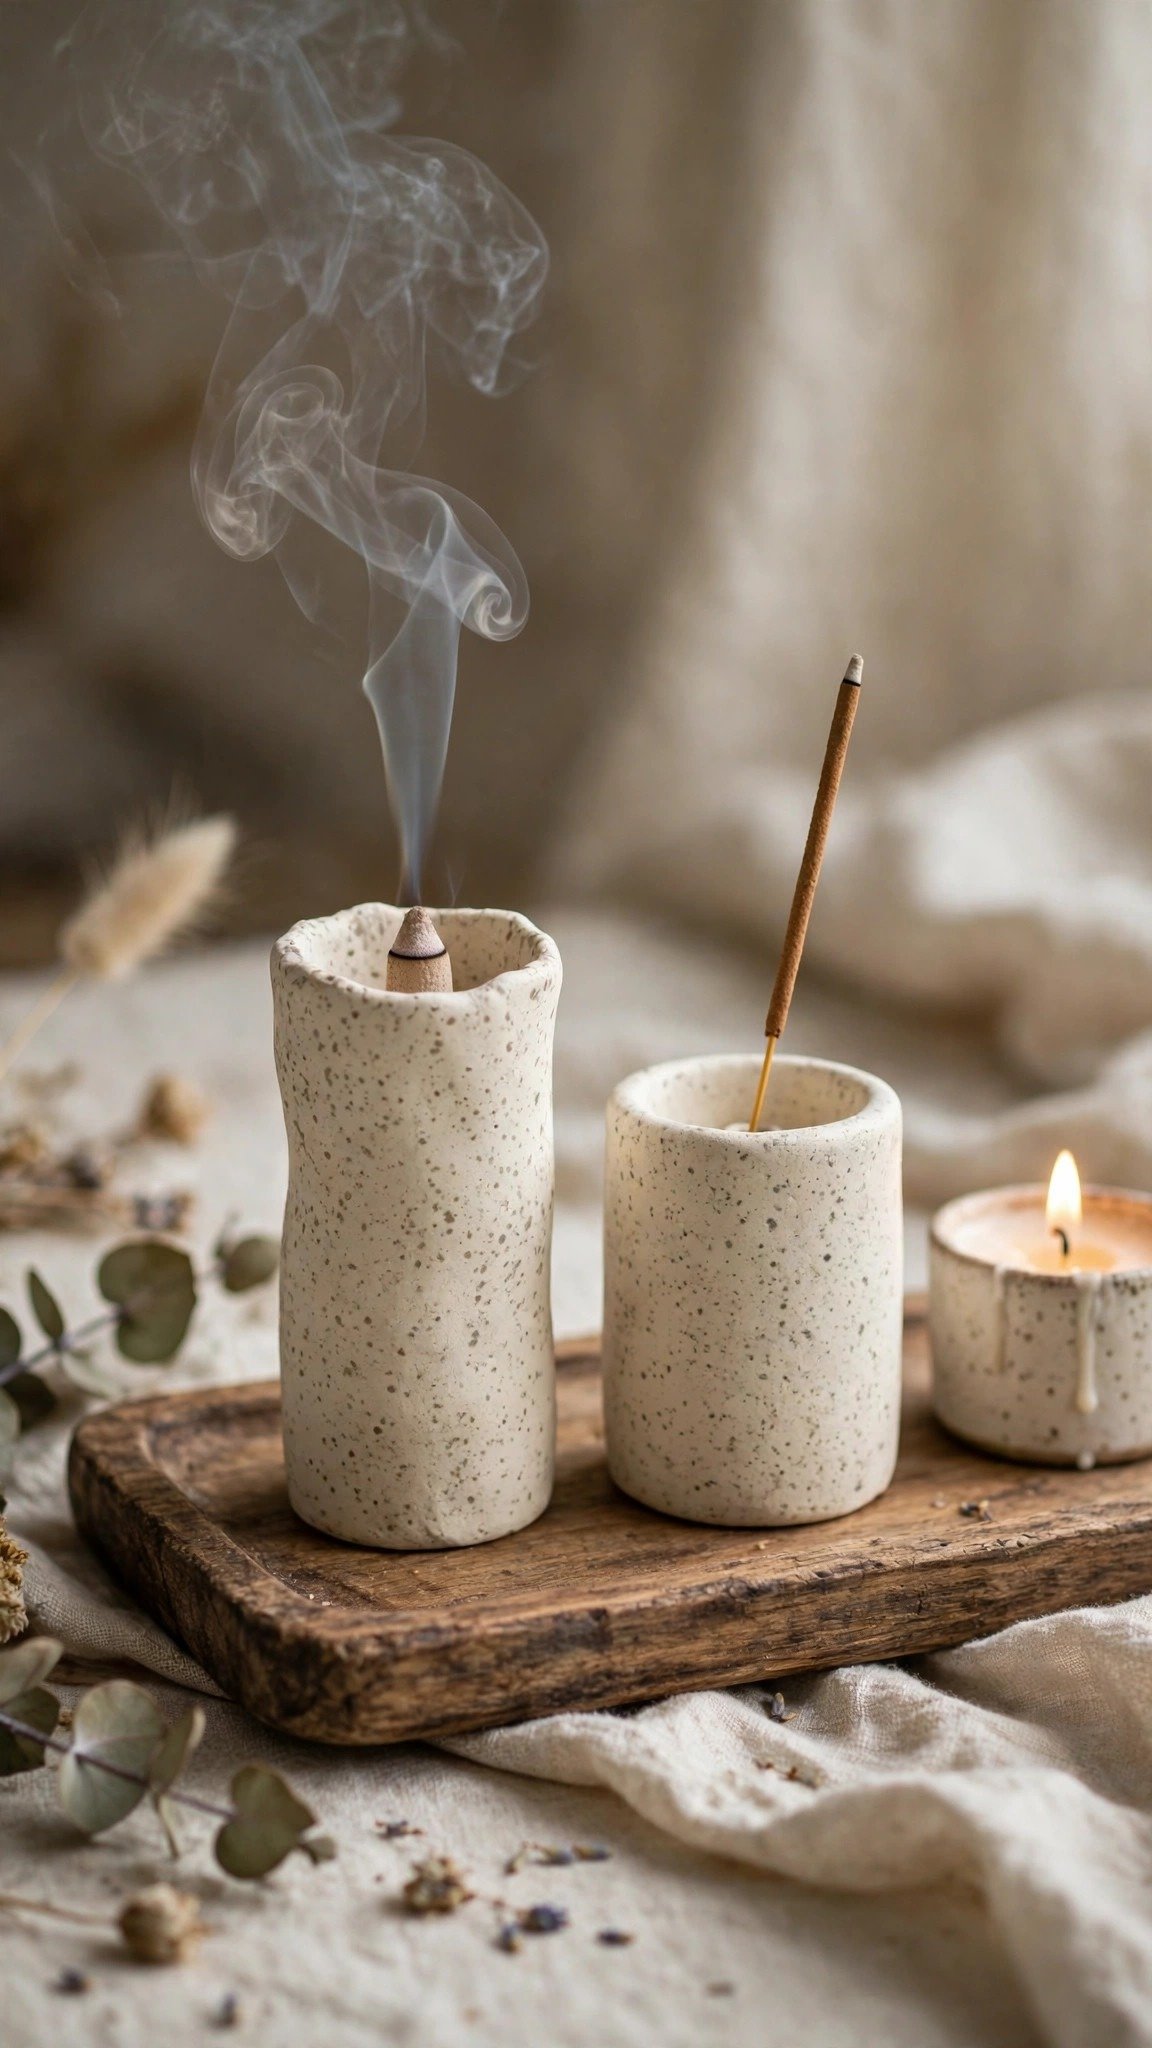
Incense holders are small, quick, and wonderfully satisfying to make. For a simple round holder, press a thumb-sized ball of clay into a flat disc, then use the end of an incense stick to poke a hole at a slight angle. For a longer tray style, roll a slab and pinch up the edges so ash is caught neatly.
Add a little texture by pressing a lace doily or a piece of burlap into the surface before it dries — it leaves a beautiful pattern with almost no effort. Paint them in earthy tones or a deep glaze-look finish, and seal well since they sit near heat.
Make a matching pair and they look lovely on a bedside table or a meditation corner. They also make a perfect small gift when paired with a bundle of incense sticks.
Tip: Getting the angle of the hole right takes practice — our air dry clay beginner guide has simple shaping tips that make small pieces like this much easier.
6. Make a Fluted Fruit Bowl
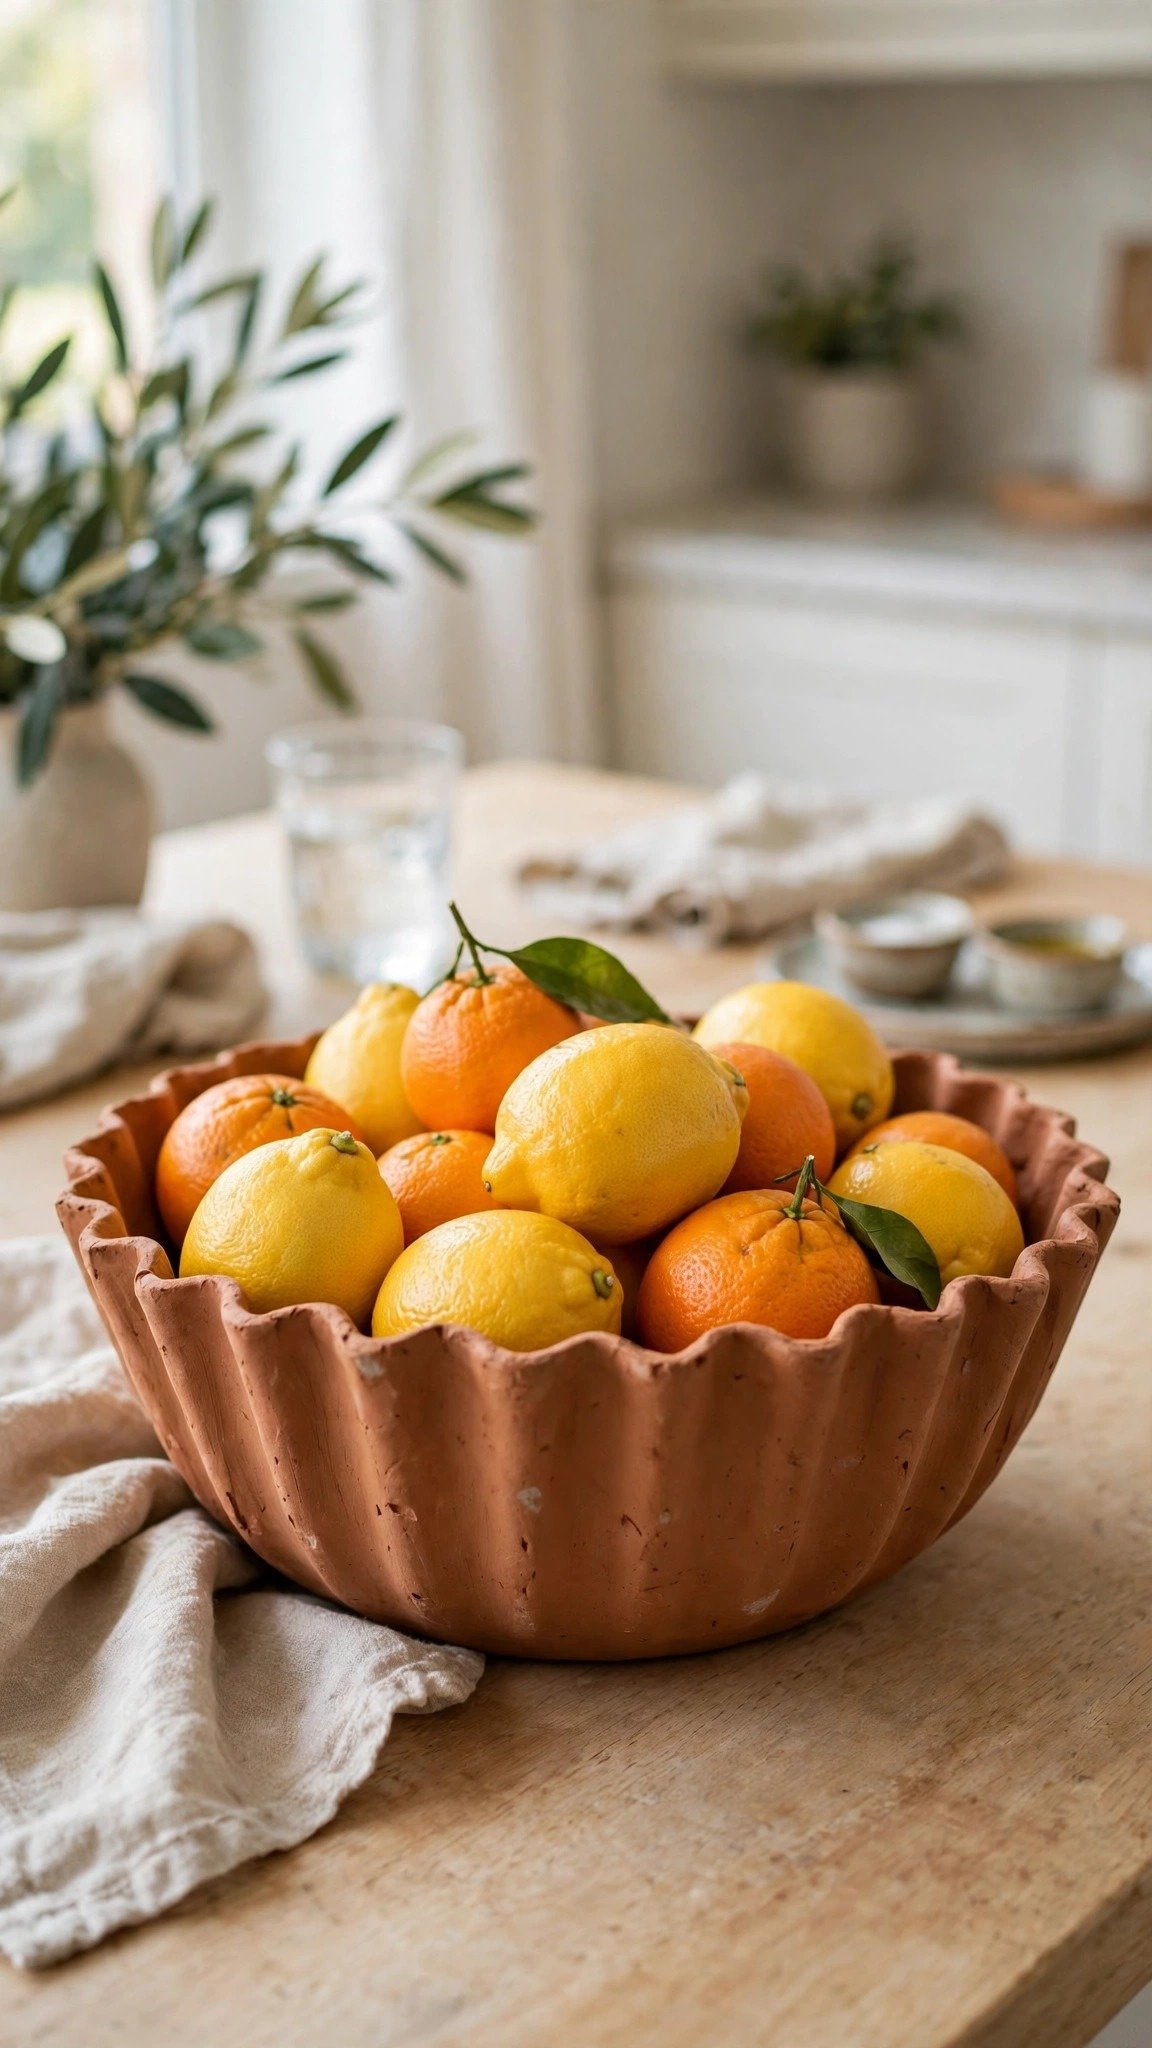
A fluted fruit bowl looks far more impressive than the effort it takes. Roll the clay into a large circle, then drape it over an upside-down bowl to shape it. While it is still soft, press vertical lines around the outside with a chopstick or the back of a spoon to create the flutes.
Let it dry fully on the mould so it holds its shape, then sand the rim smooth. Paint the outside in a warm cream and leave the inside natural, or go bold with a terracotta or sage green. A food-safe sealant on the inside keeps it practical for real fruit.
Set it on the kitchen table filled with lemons or apples and it becomes an instant centrepiece. It’s also a lovely way to use up a larger block of clay in one satisfying project.
Tip: For more statement pieces for the kitchen and beyond, explore our air dry clay craft ideas for decorative home pieces.
7. Craft Mini Mushroom Figures
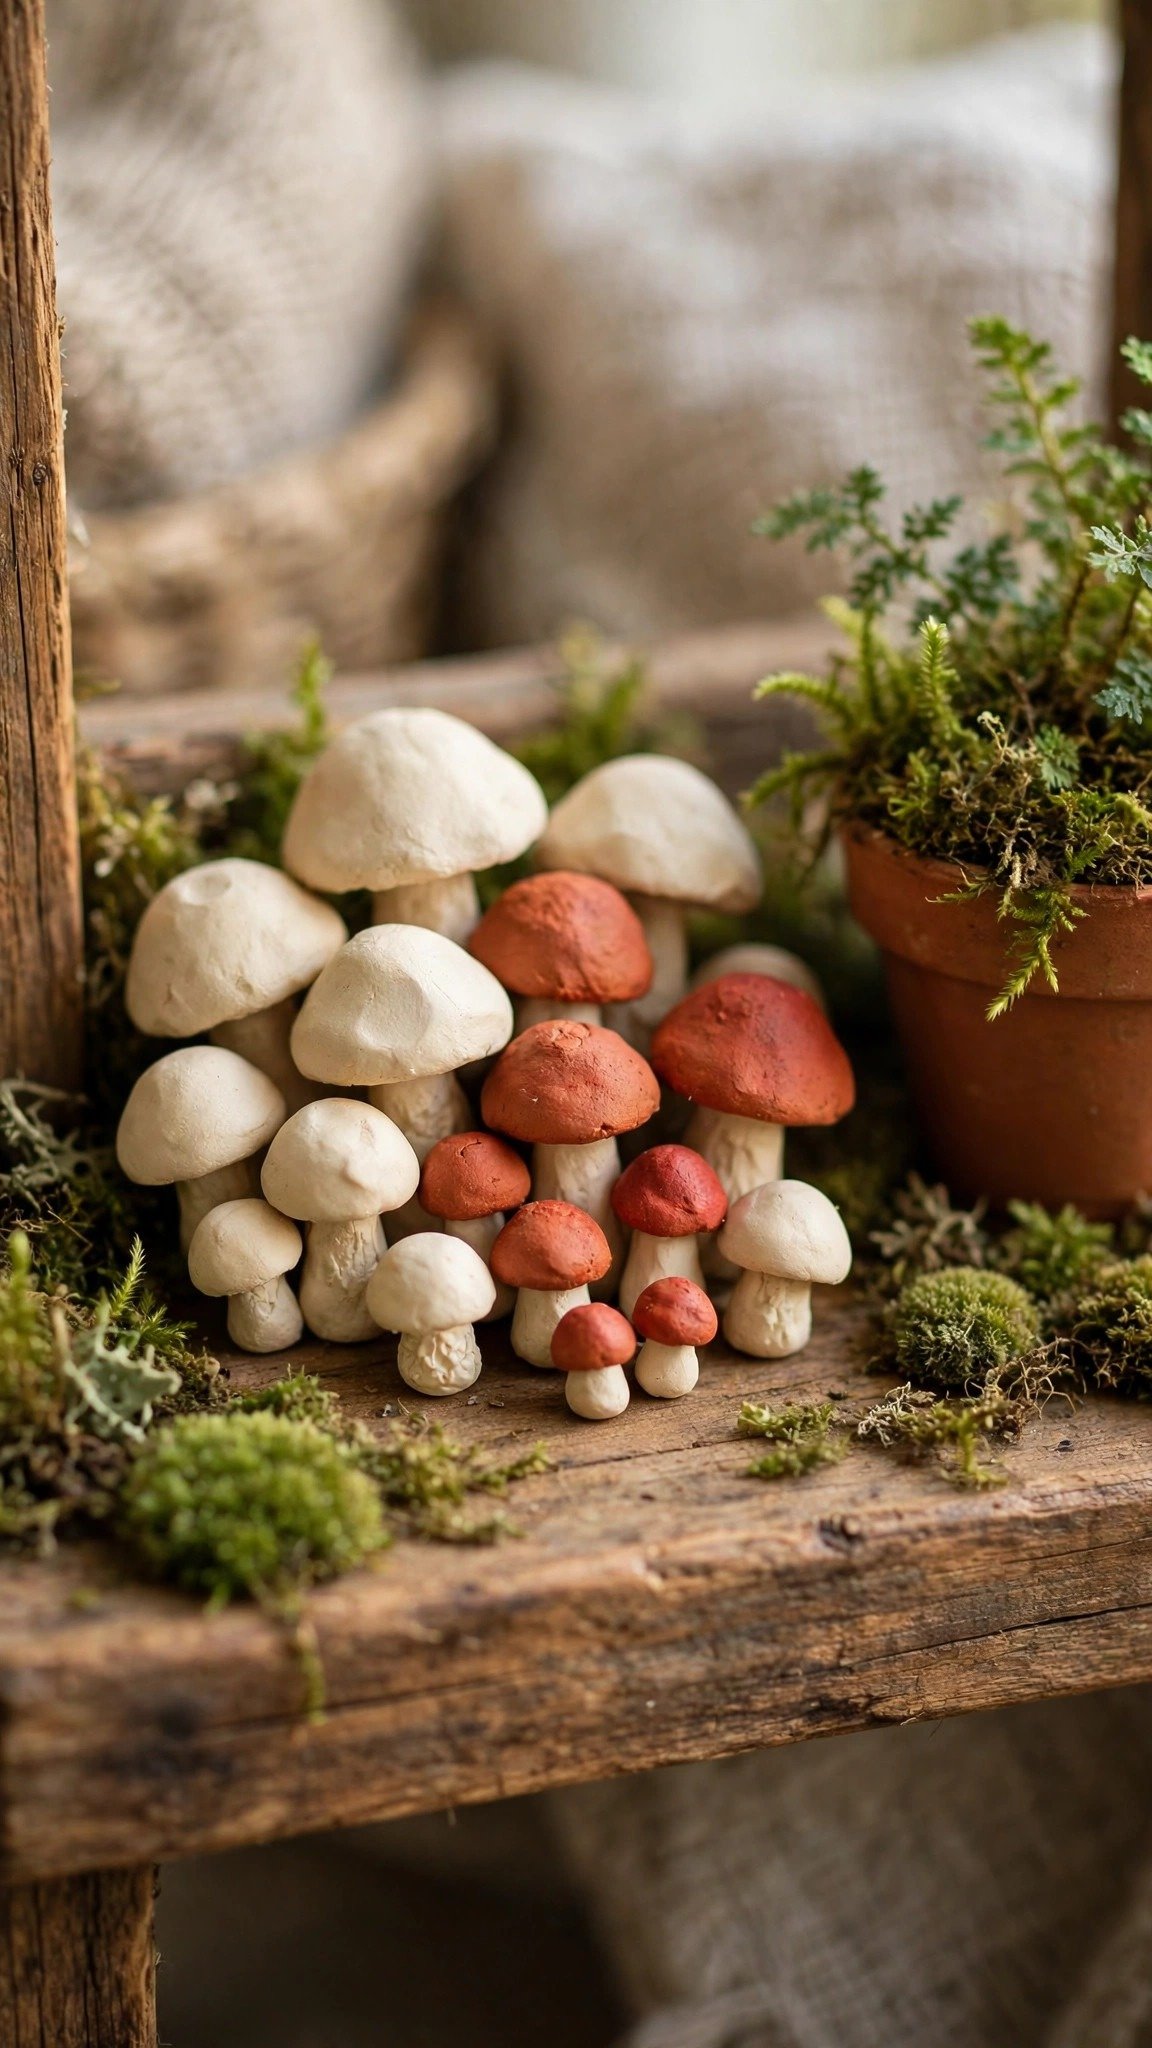
Mini mushrooms are pure charm. Roll a small ball for the cap and a short tapered cylinder for the stem, then join them with a dab of slip — just a little water mixed with clay. Press tiny dots into the cap with the end of a paintbrush for that classic toadstool look.
Make them in a few sizes and paint the caps in rusty red, soft mustard, or classic white with speckles. A group of three or five in a little dish or on a shelf looks like a tiny woodland scene, and they are a favourite for children’s rooms too.
They dry quickly, so this is a great project to squeeze into a single evening. You can also glue a small magnet to the back and turn them into fridge magnets, or add a loop of thread to hang them as ornaments.
Tip: Small figures like these are a gentle way to practise sculpting — our air dry clay beginner guide walks through joining pieces so they stay attached as they dry.
8. Build a Textured Photo Frame
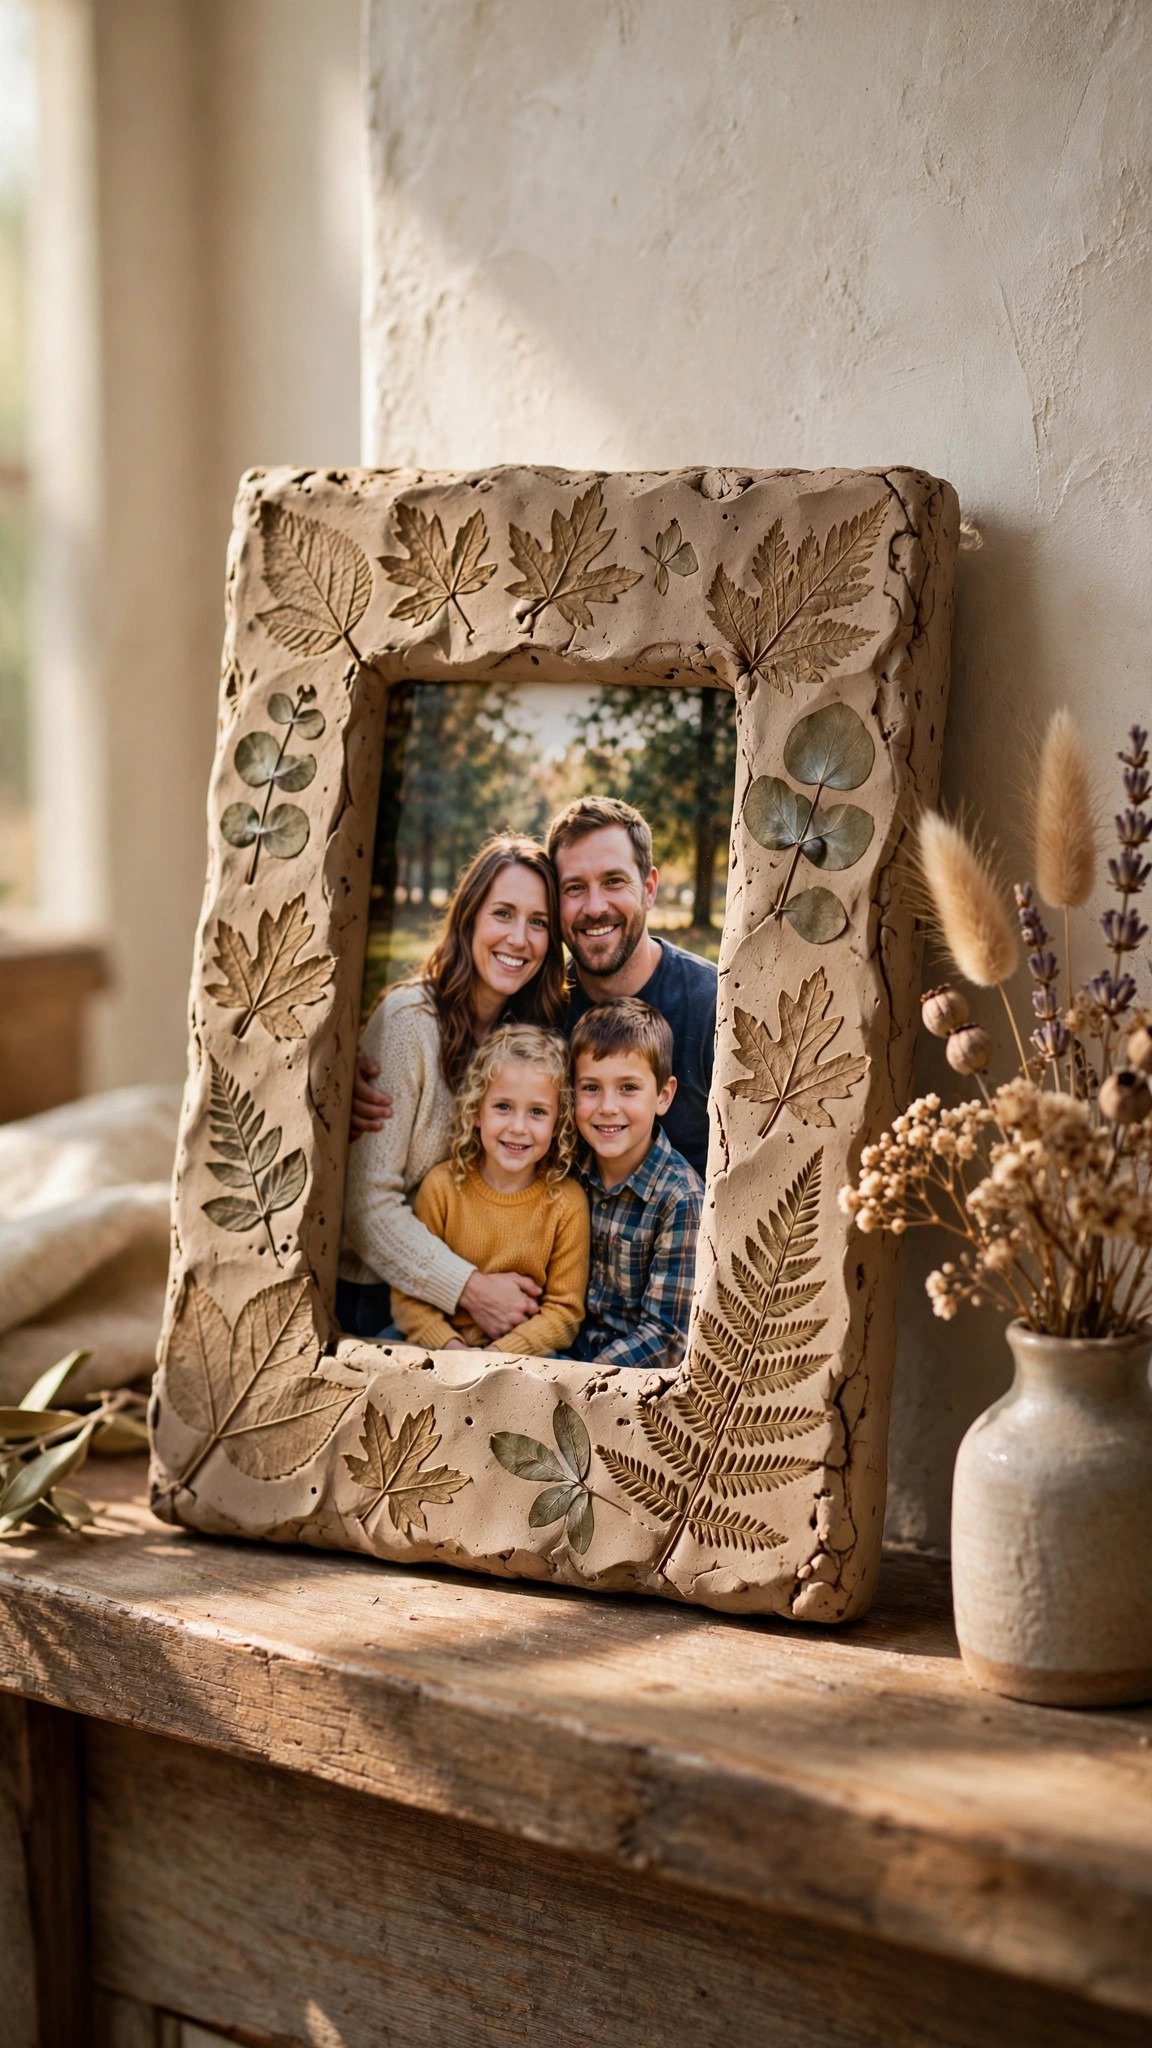
A handmade photo frame turns a favourite picture into a keepsake. Roll out a slab and cut a rectangle slightly larger than your photo, then cut the inner window with a craft knife. Press texture into the border — leaves, lace, or a simple dotted pattern made with a pencil tip all work beautifully.
Let it dry flat, weighted lightly with a book so it doesn’t warp. Paint it in a colour that suits the photo, add a little gold wax on the raised texture for a touch of warmth, and glue a small stand or a ribbon loop to the back.
It’s a lovely gift for grandparents or friends, and it costs a fraction of a shop-bought frame. Make a set of two or three in matching colours for a gallery wall that feels personal.
Tip: For more keepsake and decorative projects, browse our air dry clay craft ideas for the home.
9. Hang an Air Plant Pod
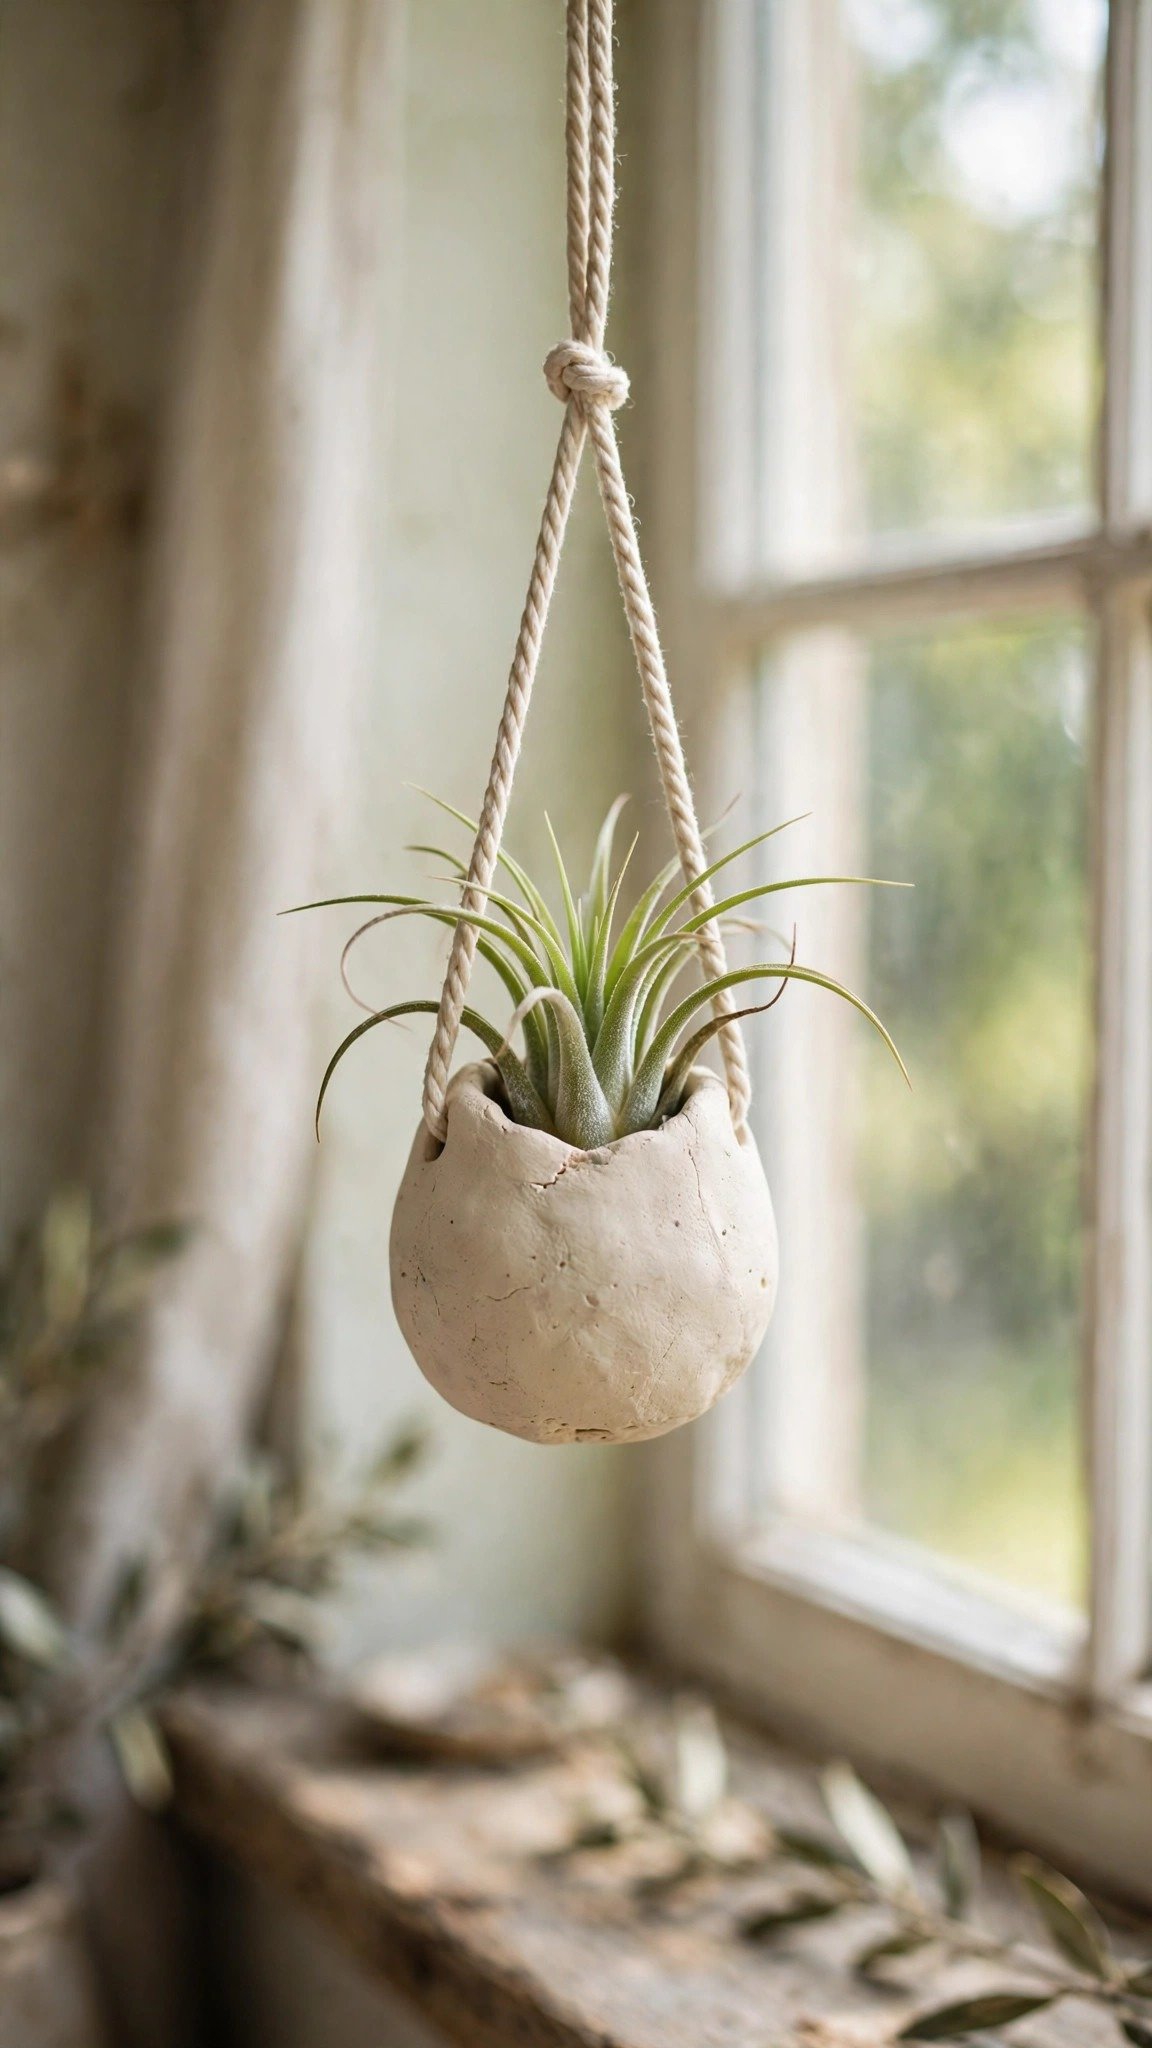
Air plants need no soil, which makes them perfect partners for a little clay pod. Shape a small cup or teardrop form by pinching the clay, leaving the top open and the walls thick enough to hold their shape. Poke two small holes near the rim for hanging cord.
Once dry, paint the pod in a soft neutral or a speckled stone effect, seal it, and thread through cotton cord or twine. Pop the air plant inside and hang it near a bright window — it needs a mist of water now and then, but no pot and no mess.
Make a few at different heights and hang them together for a lovely floating garden effect. They’re a charming way to bring greenery into a small space without taking up a single surface.
Tip: Pinch pots like this are a core beginner skill — our air dry clay beginner guide covers the pinching technique step by step.
10. Create Hand-Stamped Ornament Discs
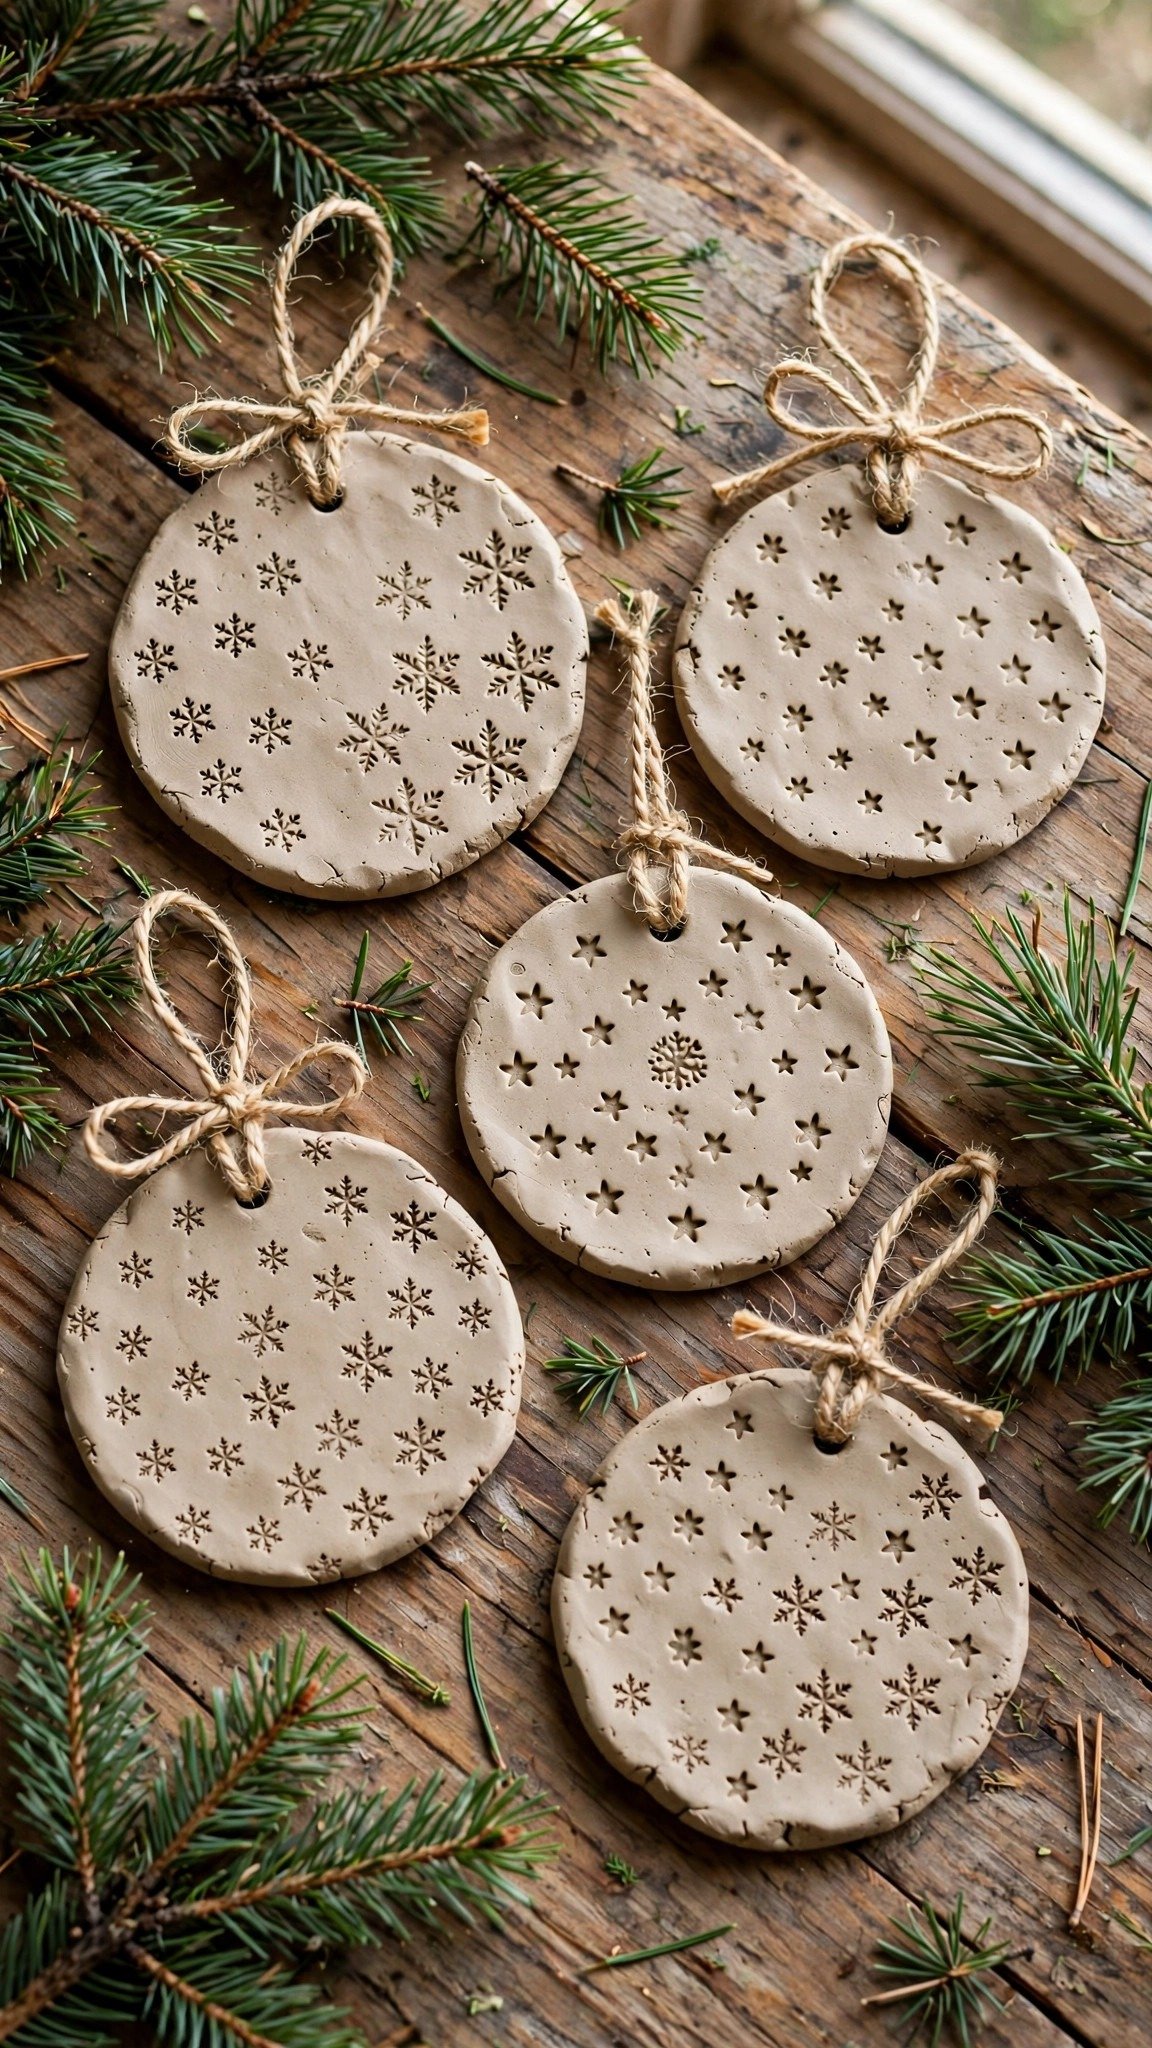
Ornament discs are the simplest project on this list and one of the most rewarding. Roll the clay to about half a centimetre thick, cut circles with a biscuit cutter or a glass, and stamp a pattern into each one — a sprig of leaves, a snowflake, a simple star, or even a name.
Poke a hole near the top of each disc before they dry, then paint them in soft whites and golds for a classic look, or go colourful for a playful set. A coat of varnish protects them, and a loop of ribbon through the hole finishes each one.
They’re lovely on a Christmas tree, of course, but they also work as gift tags, drawer pulls, or little hanging decorations all year round. Make a batch in one sitting and you’ll have gifts ready for months.
Tip: For more seasonal and decorative clay pieces, see our air dry clay craft ideas for the home.
Conclusion
Ten projects, one pack of clay, and a weekend well spent — that’s the beauty of air dry clay. Every piece on this list is useful, giftable, and genuinely fun to make, and none of them needs a kiln or any fancy equipment.
Start with the simplest project that catches your eye, take your time with the drying and sealing, and don’t worry if the first attempt isn’t perfect. Handmade is supposed to look handmade — that’s the whole point.
Once you’ve made a few of these, you’ll start seeing clay projects everywhere: a dish here, a garland there, a little mushroom on the shelf. Enjoy the making, and enjoy living with what you’ve made.