10 Mini Clay Ideas for Tiny Treasures You’ll Love Making at Home

There is something irresistible about tiny things, and miniature clay projects are proof of it. A palm-sized plant pot, a thumbnail-sized mushroom house, or a tiny clay croissant charm can turn a quiet afternoon into a shelf full of treasures — and you do not need a kiln, fancy tools, or years of practice to make them.
Mini clay ideas are perfect for beginners, kids, and anyone who loves small-scale crafting, because every project uses just a pinch of clay and finishes quickly. So which tiny treasures should you try first?
1. Make Tiny Clay Plant Pots

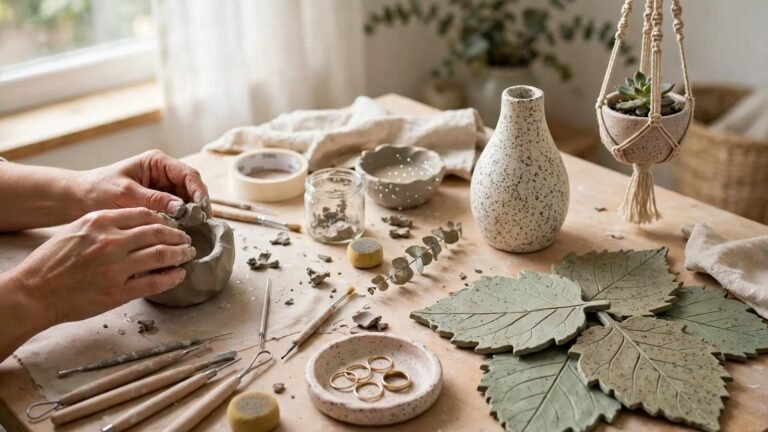
Tiny plant pots are the classic first mini clay project, and for good reason. They are simple to shape, endlessly customizable, and instantly useful — a little pot can hold a succulent cutting, a sprig of herbs, or even a paperclip collection on your desk.
Start with a ball of clay about the size of a walnut, press your thumb into the center, and pinch the walls up evenly. Smooth the rim with a damp fingertip and let it dry slowly under a loose plastic cover so it does not crack. Once dry, paint it in your favorite color and seal it with a clear varnish.
Try making a matching set of three in different sizes, or add tiny faces, stripes, or speckles for personality. They make lovely handmade gifts, and a row of them on a windowsill looks like a miniature garden.
Tip: Dry your pots slowly under loose plastic wrap to stop cracks before they start. For more beginner basics, see our air dry clay beginner guide.
2. Shape Miniature Clay Jewelry Dishes
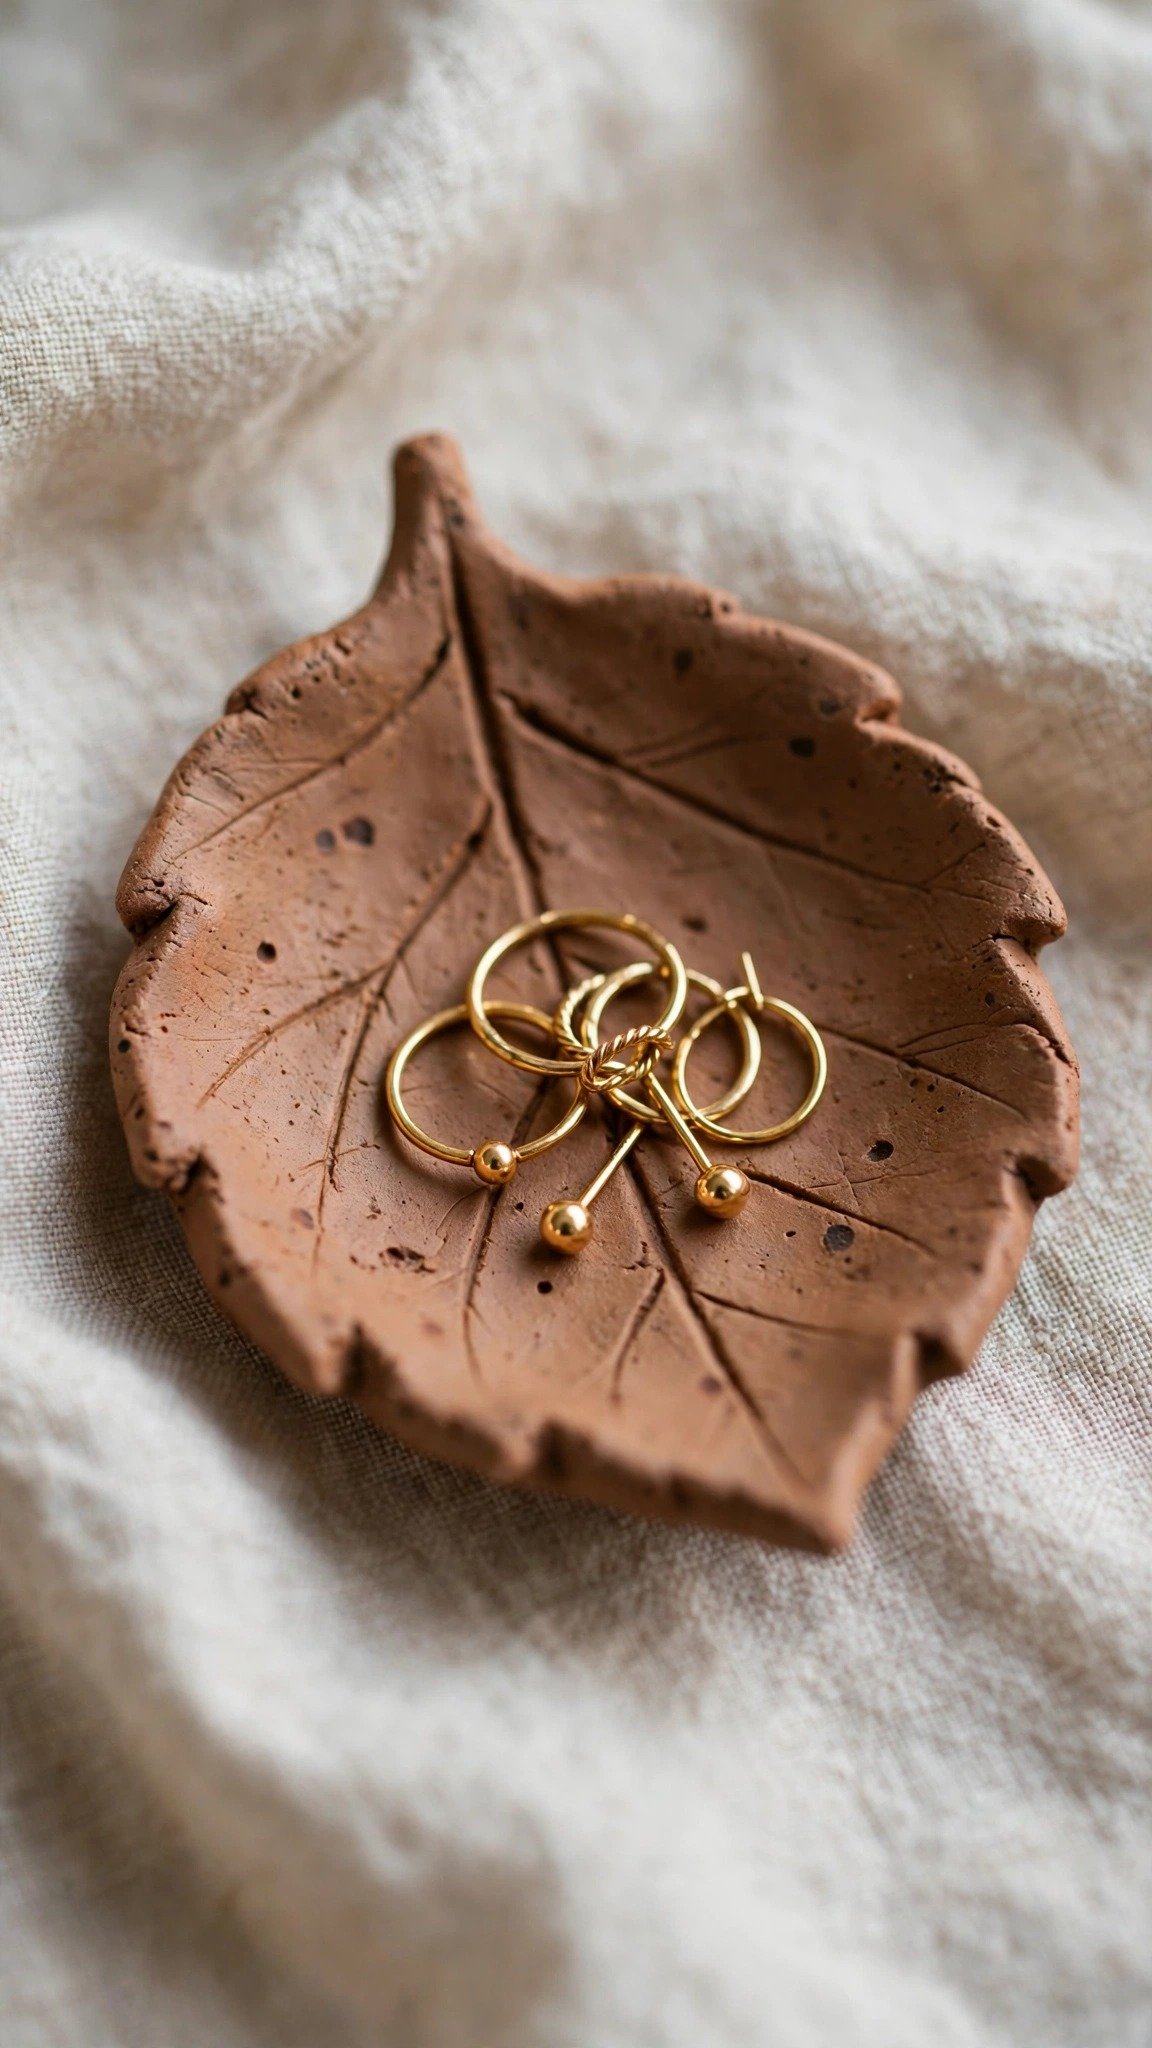
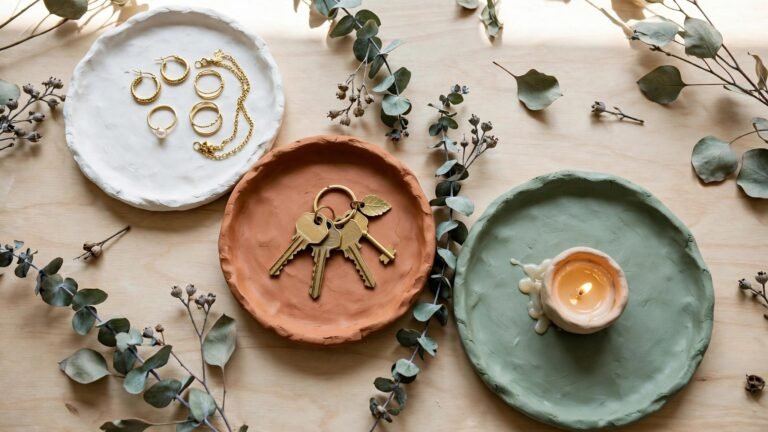
A miniature jewelry dish is one of the most satisfying small clay projects you can make. It takes only a few minutes to shape, yet it looks like something from a boutique — perfect for holding rings, earrings, or a pair of studs beside your bed.
Roll a small ball of clay flat, about as thick as a coin, then press it gently over the bottom of a small bowl or cup to form a shallow dish shape. Trim the edge with a craft knife, smooth it with water, and let it dry in the mold so it keeps its curve. A leaf shape, made by pinching one end to a point, is especially pretty.
Paint the inside with soft pastel, metallic gold, or a marbled effect, and seal it well so it resists scratches. A set of two or three makes a thoughtful gift for anyone who wears jewelry.
Tip: Let the dish dry in its mold so the curve holds its shape. For more dish ideas, see our clay tray ideas.
3. Create Tiny Clay Food Charms

Tiny clay food charms are pure joy to make. A miniature croissant, a strawberry the size of a pea, or a tiny slice of avocado toast can become a keychain, a bag charm, a necklace pendant, or a decoration for a phone case.
Work with small pieces of clay and simple shapes: a teardrop becomes a strawberry, a curved crescent becomes a croissant, a flat circle with frosting swirls becomes a donut. Use a toothpick to add details like seeds, sprinkles, or grill lines, and keep a reference photo nearby for proportions.
Once dry, paint with acrylics in soft, realistic colors and add a glossy varnish to make them look good enough to eat. Poke a small hole before drying if you want to hang them, or glue on a pin back for a brooch.
Tip: Add details with a toothpick while the clay is still soft — it is much harder once dry. For more small-scale inspiration, see our easy DIY clay ideas.
4. Mold Mini Clay Animal Figurines

Miniature clay animals are the kind of project that makes everyone smile. A tiny cat, a round bunny, or a sleepy fox can sit on a shelf, guard a plant pot, or become the star of a handmade gift — and they are easier to sculpt than they look.
Build your animal from simple shapes: a round body, a smaller round head, tiny ears pinched into triangles, and a thin rolled tail. Press the pieces together with a little water and smooth the joins with your fingertip so nothing falls off as it dries. Keep the features simple — two dot eyes and a tiny nose are all you need.
Paint with soft, natural colors and add a matte sealant for a handmade ceramic look. Make a whole woodland set over a few evenings, and you will have a shelf full of tiny friends.
Tip: Smooth every join with a damp fingertip while the clay is soft so pieces stay attached. For more weekend projects, see our air dry clay projects.
5. Craft Miniature Clay Mushroom Houses

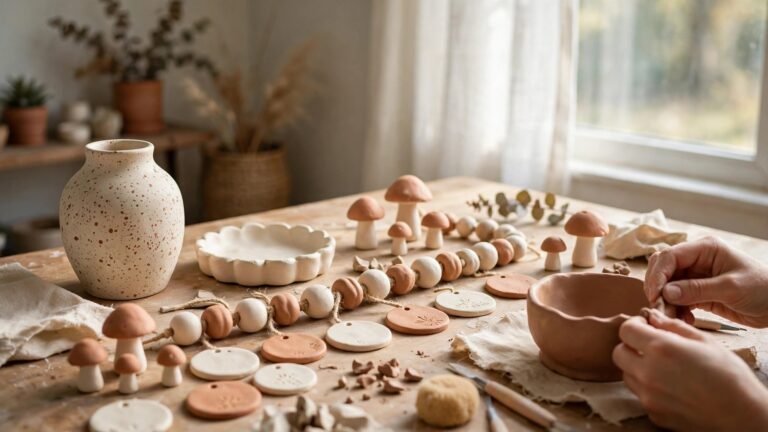
A miniature mushroom house feels like something from a storybook, and it is surprisingly simple to build. The rounded cap, the tiny door, and the little windows come together into a piece that looks magical on a bookshelf or in a fairy garden.
Shape a small cone or dome for the roof and a short cylinder for the walls, then press them together and smooth the seam. Use the end of a paintbrush to press in a round door and small windows, and add tiny dots to the cap with the tip of a toothpick. A small chimney made from a rolled coil finishes the look.
Paint the cap a cheerful red with white spots, the walls a warm cream, and add a dab of green moss at the base. A cluster of two or three houses of different sizes makes a wonderful fairy garden centerpiece.
Tip: Press doors and windows in with a brush handle before the clay dries — carved details hold better than glued ones. For more garden-style minis, see our DIY clay diffuser stones.
6. Roll Tiny Clay Beads for Bracelets

Handmade clay beads turn a simple bracelet into something nobody else has. You can roll them round, shape them into hearts or stars, stamp them with patterns, and paint them in any color palette you like — from soft pastels to bold boho brights.
Roll small balls of clay between your palms until they are smooth, then push a toothpick or skewer through the center to make the hole. Keep the holes straight and a little wider than your cord, since clay shrinks slightly as it dries. Let the beads dry fully on the skewer so the holes stay open.
Paint each bead, add patterns with a fine brush or a rubber stamp, and seal with varnish before stringing. Mix your handmade beads with wooden or glass ones for a bracelet that looks professionally made.
Tip: Dry beads on their skewers so the holes never close up. For more beginner basics, see our air dry clay beginner guide.
7. Sculpt Mini Clay Tea Cups and Teapots

A miniature tea set is one of the sweetest mini clay projects, and it makes a perfect display piece for a dollhouse, a tea lover’s shelf, or a child’s play kitchen. The tiny teapot, cups, and saucers look delicate, but the technique is wonderfully forgiving.
Shape each cup from a small pinch pot, then add a tiny rolled handle pressed on with water. For the teapot, form a round body, a short spout from a tapered coil, and a lid from a flattened disc with a little knob on top. Keep everything small — a full set should fit in the palm of your hand.
Paint with soft florals, stripes, or a single elegant color, and seal with a gloss varnish for a ceramic shine. A matching tray made from a flattened slab of clay ties the whole set together.
Tip: Attach handles and spouts with a little water and smooth the join well — thin pieces need a strong bond. For more tray ideas, see our clay tray ideas.
8. Build Tiny Clay Fairy Garden Accessories

Fairy garden accessories are where mini clay ideas really shine. Tiny benches, stepping stones, little lanterns, and miniature fences can turn an ordinary plant pot into a magical little world that guests always stop to admire.
Make stepping stones from flattened discs, a bench from a small slab balanced on two short legs, and a lantern from a tiny hollowed box with a cut-out window. Press textures into the clay with a fork, a leaf, or a piece of lace for a weathered, storybook finish.
Paint in soft moss greens, stone grays, and warm wood tones, then seal well if the pieces will live outdoors. Arrange them in a wide pot with a small plant and a sprinkle of pebbles, and your fairy garden is ready.
Tip: Seal outdoor pieces with two coats of varnish so rain and sun do not wear them down. For more outdoor-friendly minis, see our DIY clay diffuser stones.
9. Form Mini Clay Magnets for the Fridge

Mini clay magnets are quick, cheerful, and perfect for using up leftover clay. A tiny cactus, a rainbow, a strawberry, or a little flower takes just minutes to shape, and a whole set can brighten a fridge, a noticeboard, or a locker door.
Keep each magnet flat on the back so it sits flush, and make the design chunky enough to survive daily handling — thin, delicate shapes snap easily. Press a small magnet into the back while the clay is still soft, or glue one on after the piece is dry and sealed.
Paint in bright, happy colors and add a glossy top coat so the magnets wipe clean. They make wonderful stocking stuffers, party favors, and little thank-you gifts, and kids love making their own sets.
Tip: Press the magnet into the soft clay back so it sits flush and never pops off. For more quick makes, see our easy DIY clay ideas.
10. Design Mini Clay Christmas Ornaments

Mini clay Christmas ornaments are the perfect way to end the year with handmade charm. Tiny stars, trees, snowflakes, and gingerbread shapes look beautiful on the tree, and they make heartfelt gifts that friends and family will keep for years.
Roll the clay flat and cut shapes with small cookie cutters, or shape them freehand for a rustic look. Poke a hanging hole near the top with a straw before the clay dries, and press in patterns with stamps, lace, or the tip of a pencil for a textured finish.
Paint in classic red, green, and gold, or try a modern palette of white and soft blush with metallic accents. Thread a ribbon through the hole, and your ornaments are ready to hang — or to tuck into a gift box with a handwritten tag.
Tip: Use a straw to poke the hanging hole — it cuts a clean circle that will not close as the clay dries. For more festive makes, see our air dry clay projects.
Conclusion
Mini clay ideas prove that the smallest projects can bring the biggest joy. From tiny plant pots and jewelry dishes to food charms, fairy garden pieces, and Christmas ornaments, each one takes just a pinch of clay and a little imagination — and finishes fast enough to keep crafting fun.
Start with the project that makes you smile, keep your tools simple, and let yourself play. Your first tiny treasure might be a little wobbly, but it will still be completely yours — and that is the whole point of making things by hand.
Once you have tried one, you will want to make a whole collection. Pick your next miniature, roll out a fresh lump of clay, and see how tiny your imagination can go.