12 Cricut Halloween Projects to Make This October
If you own a Cricut, Halloween is your Super Bowl. No other holiday gives you so many excuses to cut, weed, and press — from vinyl decals to iron-on shirts, the project list never ends.
These twelve Cricut Halloween projects range from five-minute vinyl cuts to weekend showpieces, and every one of them looks store-bought when it’s done. Which one will you make first?
1. Cut Spooky Vinyl Decals for Pumpkins
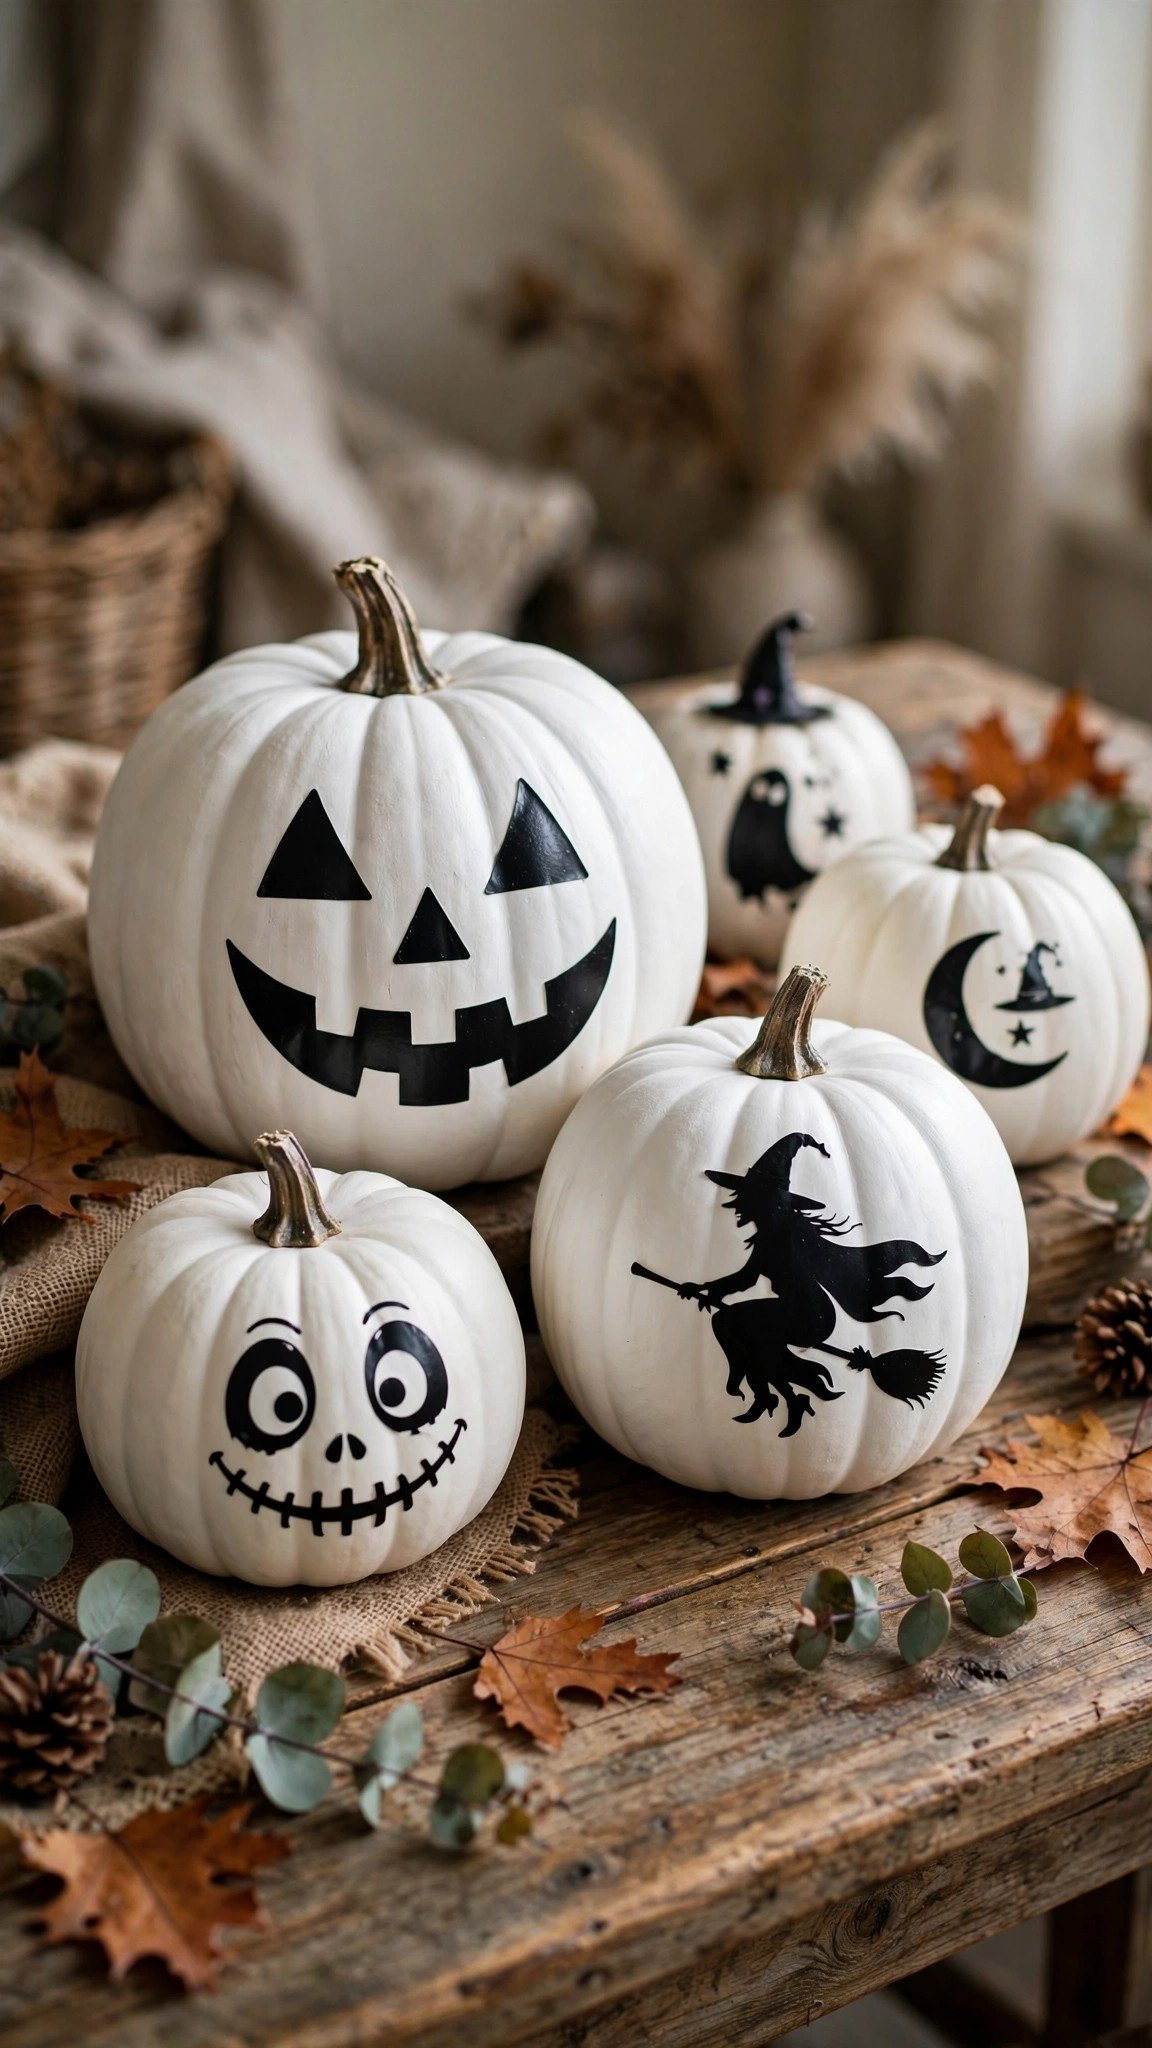
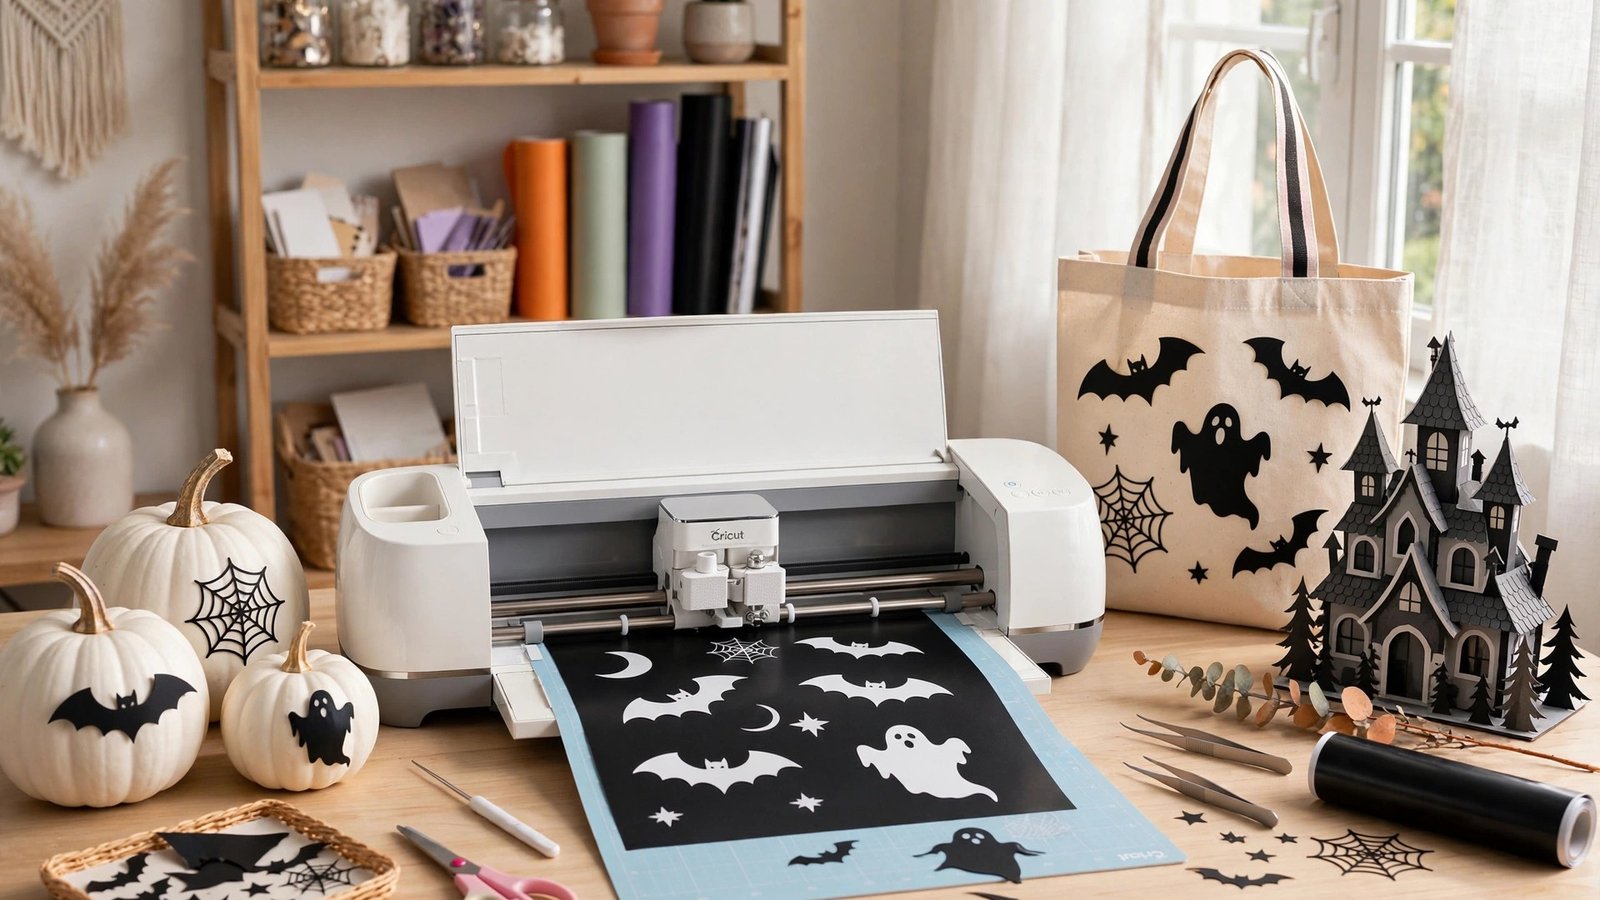
Vinyl decals are the easiest way to decorate pumpkins without carving a single thing. Cut spooky faces, witch silhouettes, or elegant script words from black adhesive vinyl.
Weed the excess, transfer with transfer tape, and smooth onto a clean pumpkin — faux pumpkins work best since they’re perfectly smooth. The whole project takes about fifteen minutes per pumpkin.
Mix sizes for a grouped display: one large pumpkin with a haunted house scene, flanked by smaller ones with single words like “boo” or “eek.”
Pair your vinyl pumpkins with handmade pieces from our easy Halloween crafts for a full display.
2. Make Personalized Trick-or-Treat Bags
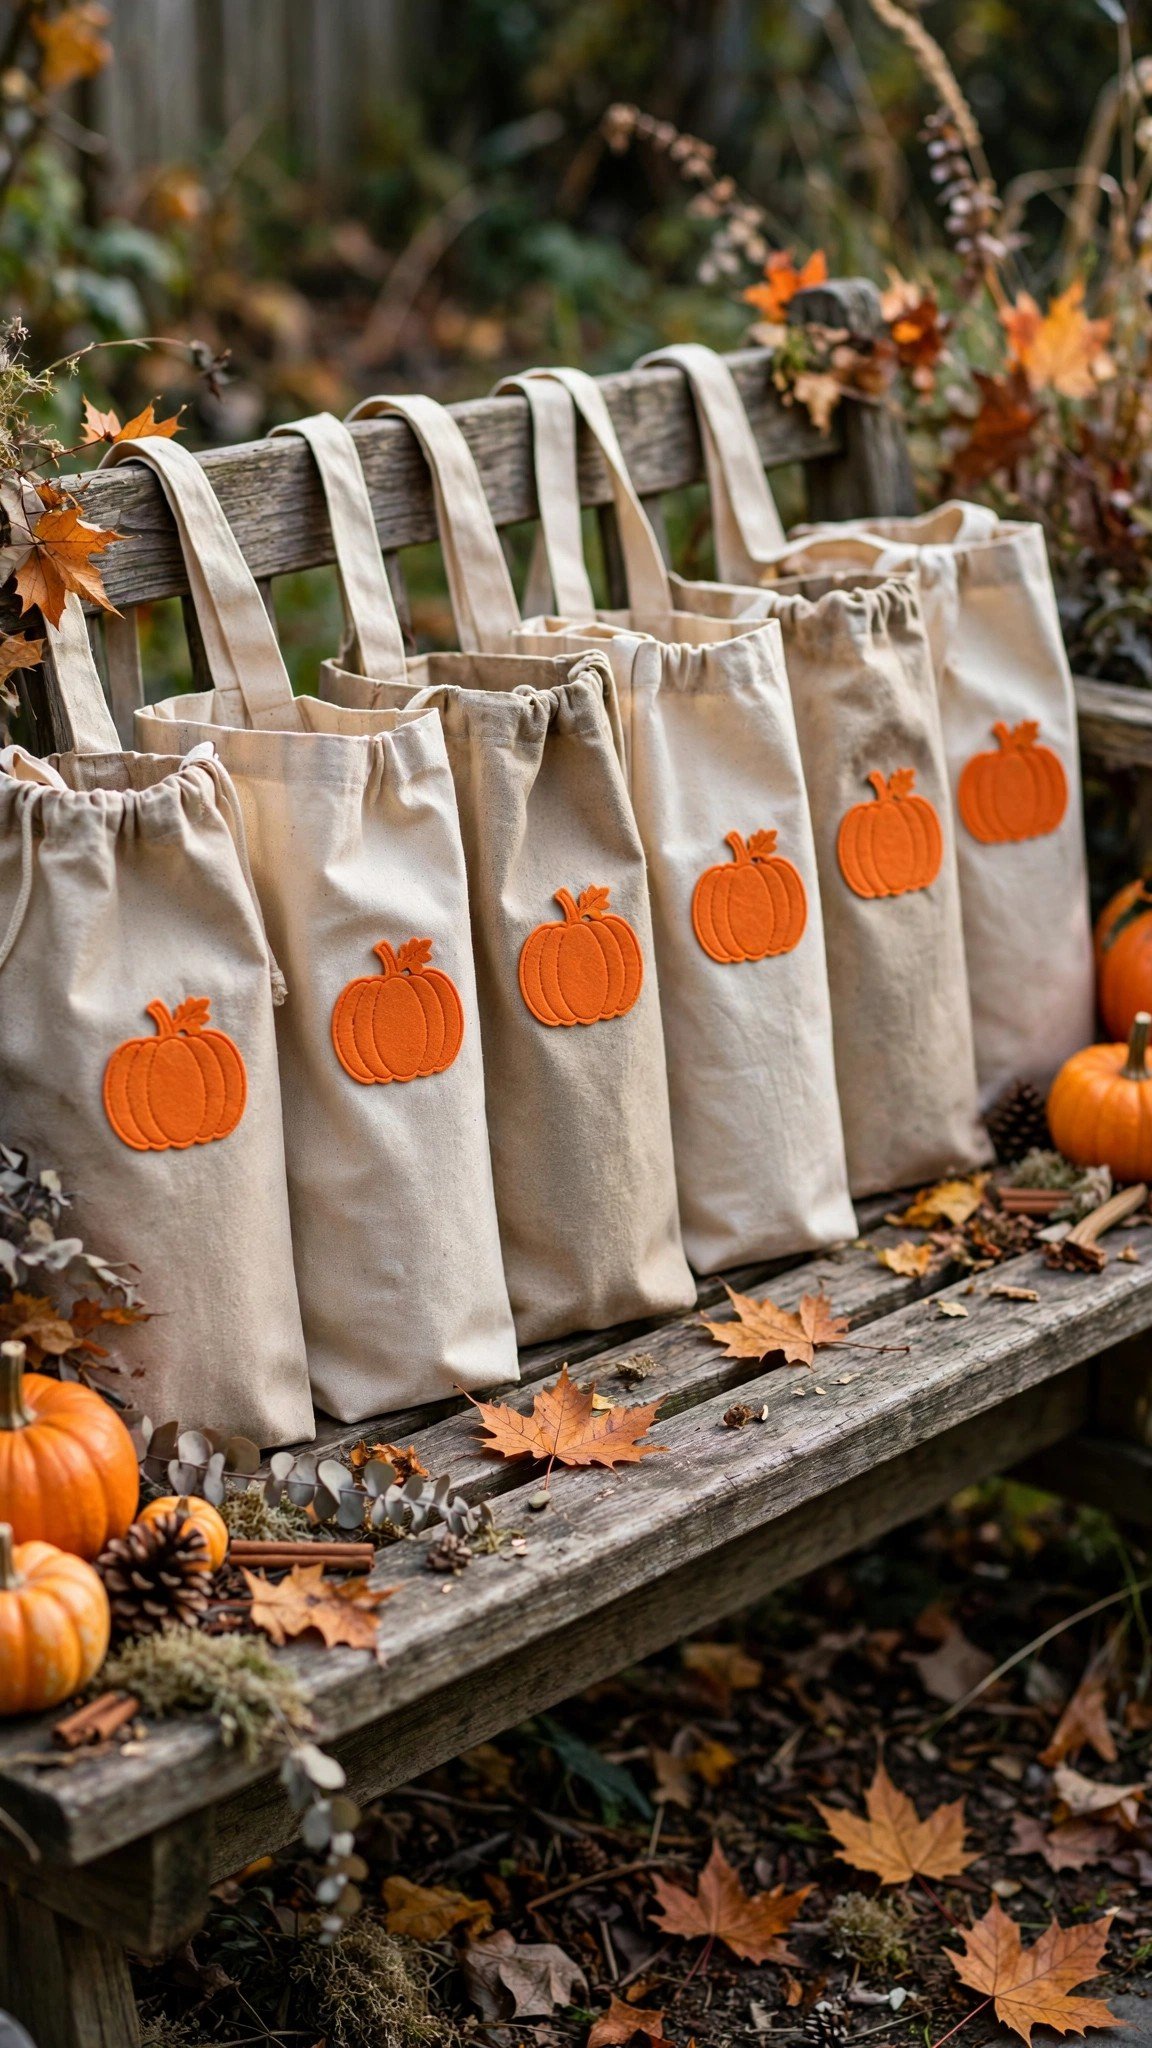
Personalized trick-or-treat bags are a hit with kids and they take minutes with iron-on vinyl. Grab plain canvas bags and cut each child’s name in a spooky font.
Orange or glow-in-the-dark iron-on vinyl shows up beautifully on natural canvas. Press at the recommended temperature, peel, and you’re done — no sewing required.
Add a small ghost or pumpkin cutout above the name for extra charm. These bags survive years of use if you wash them inside out.
More kid-friendly makes await in our easy Halloween crafts collection.
3. Create Haunted House Paper Cutouts

Layered paper haunted houses look stunning backlit in a window. Cut three or four layers from black and orange cardstock — the Cricut handles the intricate windows and rooflines perfectly.
Space the layers with foam adhesive dots inside a deep shadow box frame. When you place a battery tea light behind it, the windows glow like a real haunted mansion.
This project shows off what a Cricut does best: details too fiddly to cut by hand. Make one for every window facing the street.
Layer these with the garlands from our easy Halloween crafts for windows that stop traffic.
4. Design Custom Halloween T-Shirts

Matching Halloween shirts for the whole family start with iron-on vinyl and a plain tee. Pick a design — “Mama Ghost,” “Little Boo,” a pumpkin face — and cut it mirrored.
Weed carefully around small details, then press onto the shirt. A heat press gives the most durable result, but a household iron works if you press firmly in sections.
Let the shirt cure for 24 hours before washing, then wash inside out. Your custom tees will outlast the store-bought ones by years.
Need more wearable ideas? Browse our easy Halloween crafts for inspiration.
5. Craft 3D Paper Bats and Ghosts

3D paper bats add real dimension to your Halloween decor. Cut two bat shapes, fold one slightly along the body, and glue them together at the center so the wings pop outward.
Hang them from the ceiling with fishing line at different heights. A dozen bats swirling gently in a hallway looks far more expensive than the few cents of cardstock they cost.
Mix in 3D ghosts the same way — two rounded shapes glued at the center with the edges curled. White cardstock ghosts practically glow in dim light.
Combine these with the floating ghosts in our easy Halloween crafts for maximum effect.
6. Make Glittery Witch Hat Cupcake Toppers
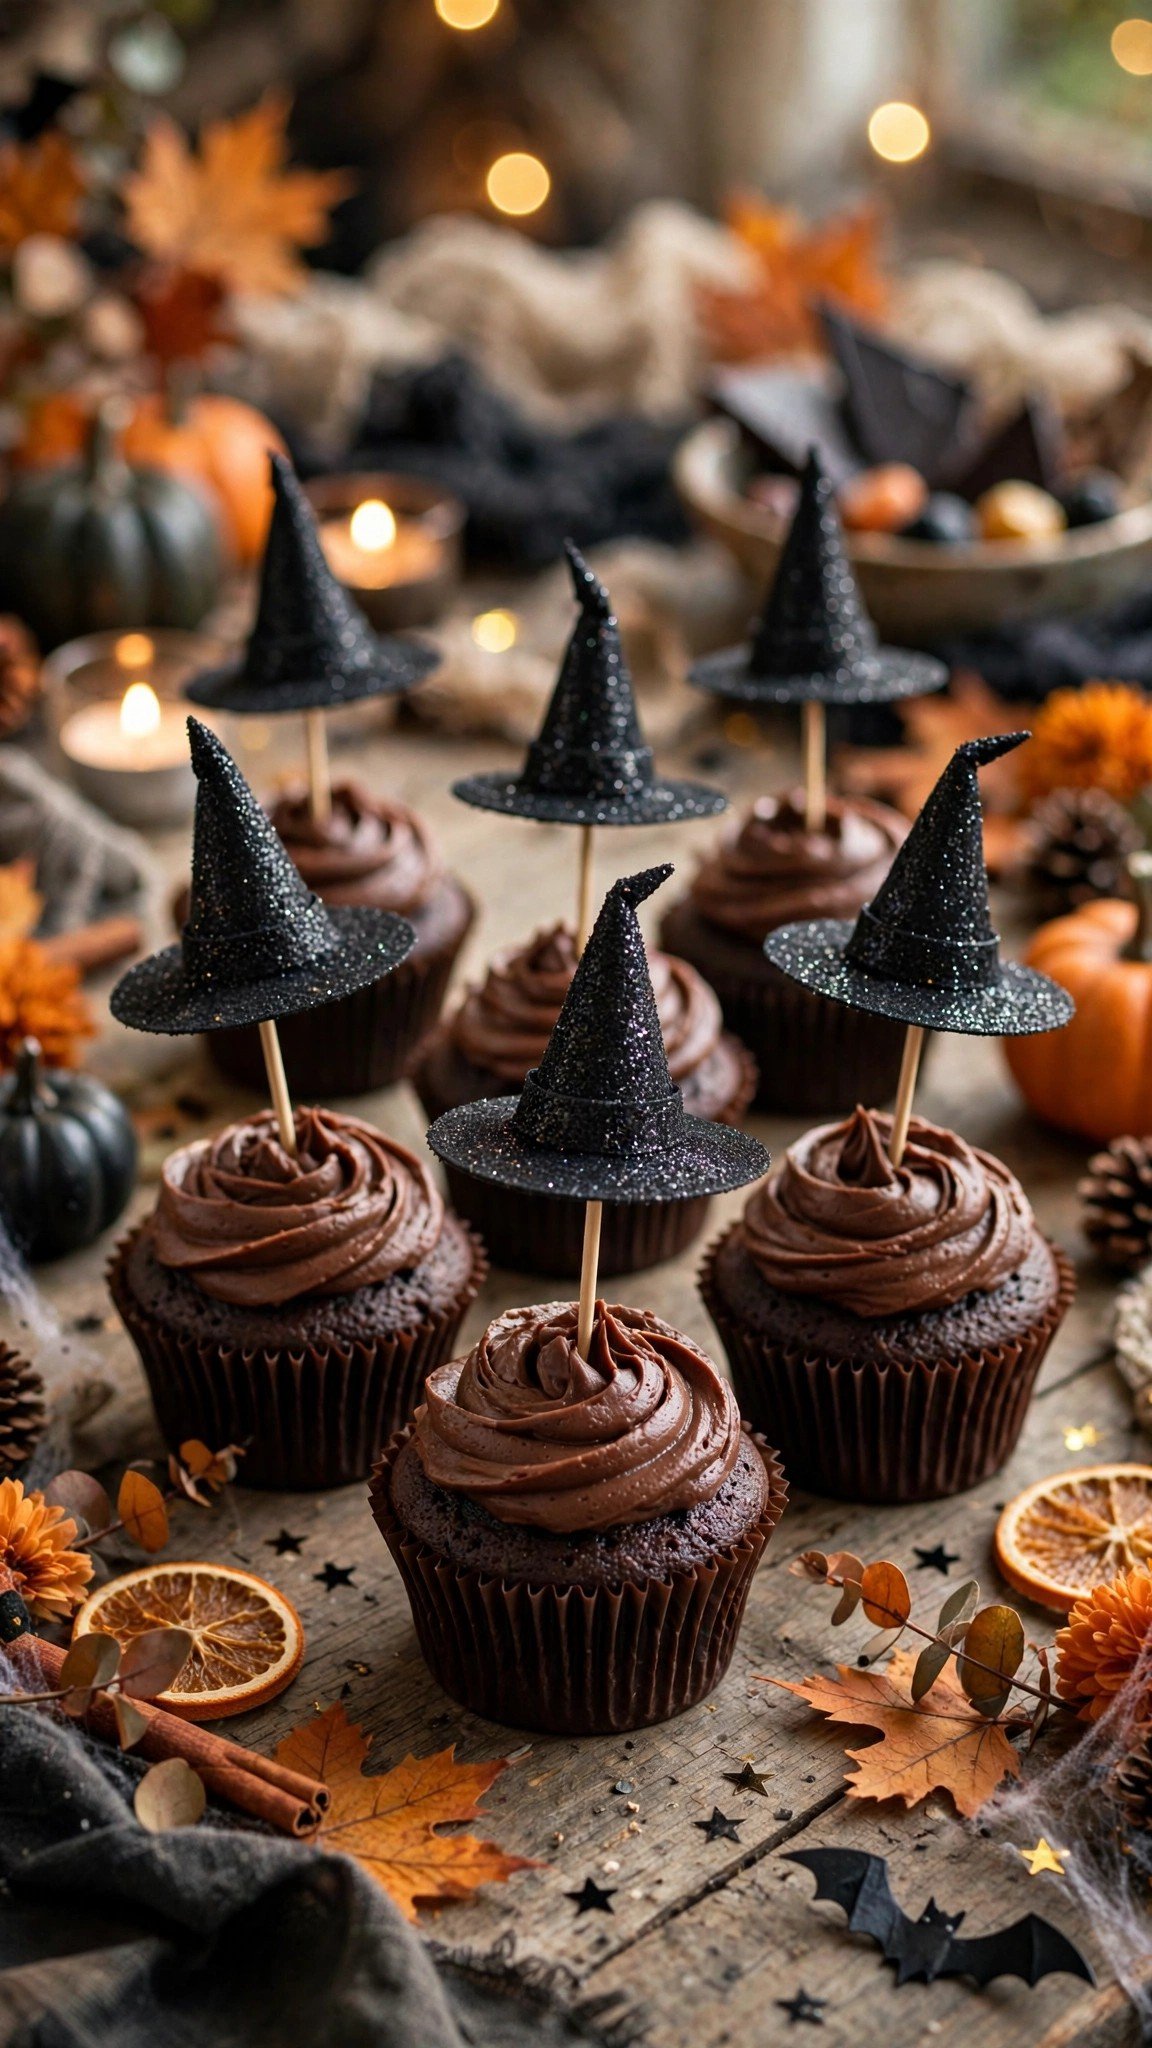
Witch hat cupcake toppers turn ordinary cupcakes into a party centerpiece. Cut small hat shapes from black glitter cardstock and cone shapes to match.
Roll the cone, glue it to the brim, and attach a toothpick to the underside. Add a tiny buckle from gold cardstock and you’ve got miniature witch hats in under five minutes each.
Stick them into frosted cupcakes right before serving so the paper stays crisp. Guests always ask where you bought them.
Throwing a party? These toppers pair perfectly with the treats styling in our easy Halloween crafts.
7. Cut Iron-On Ghost Pillow Covers
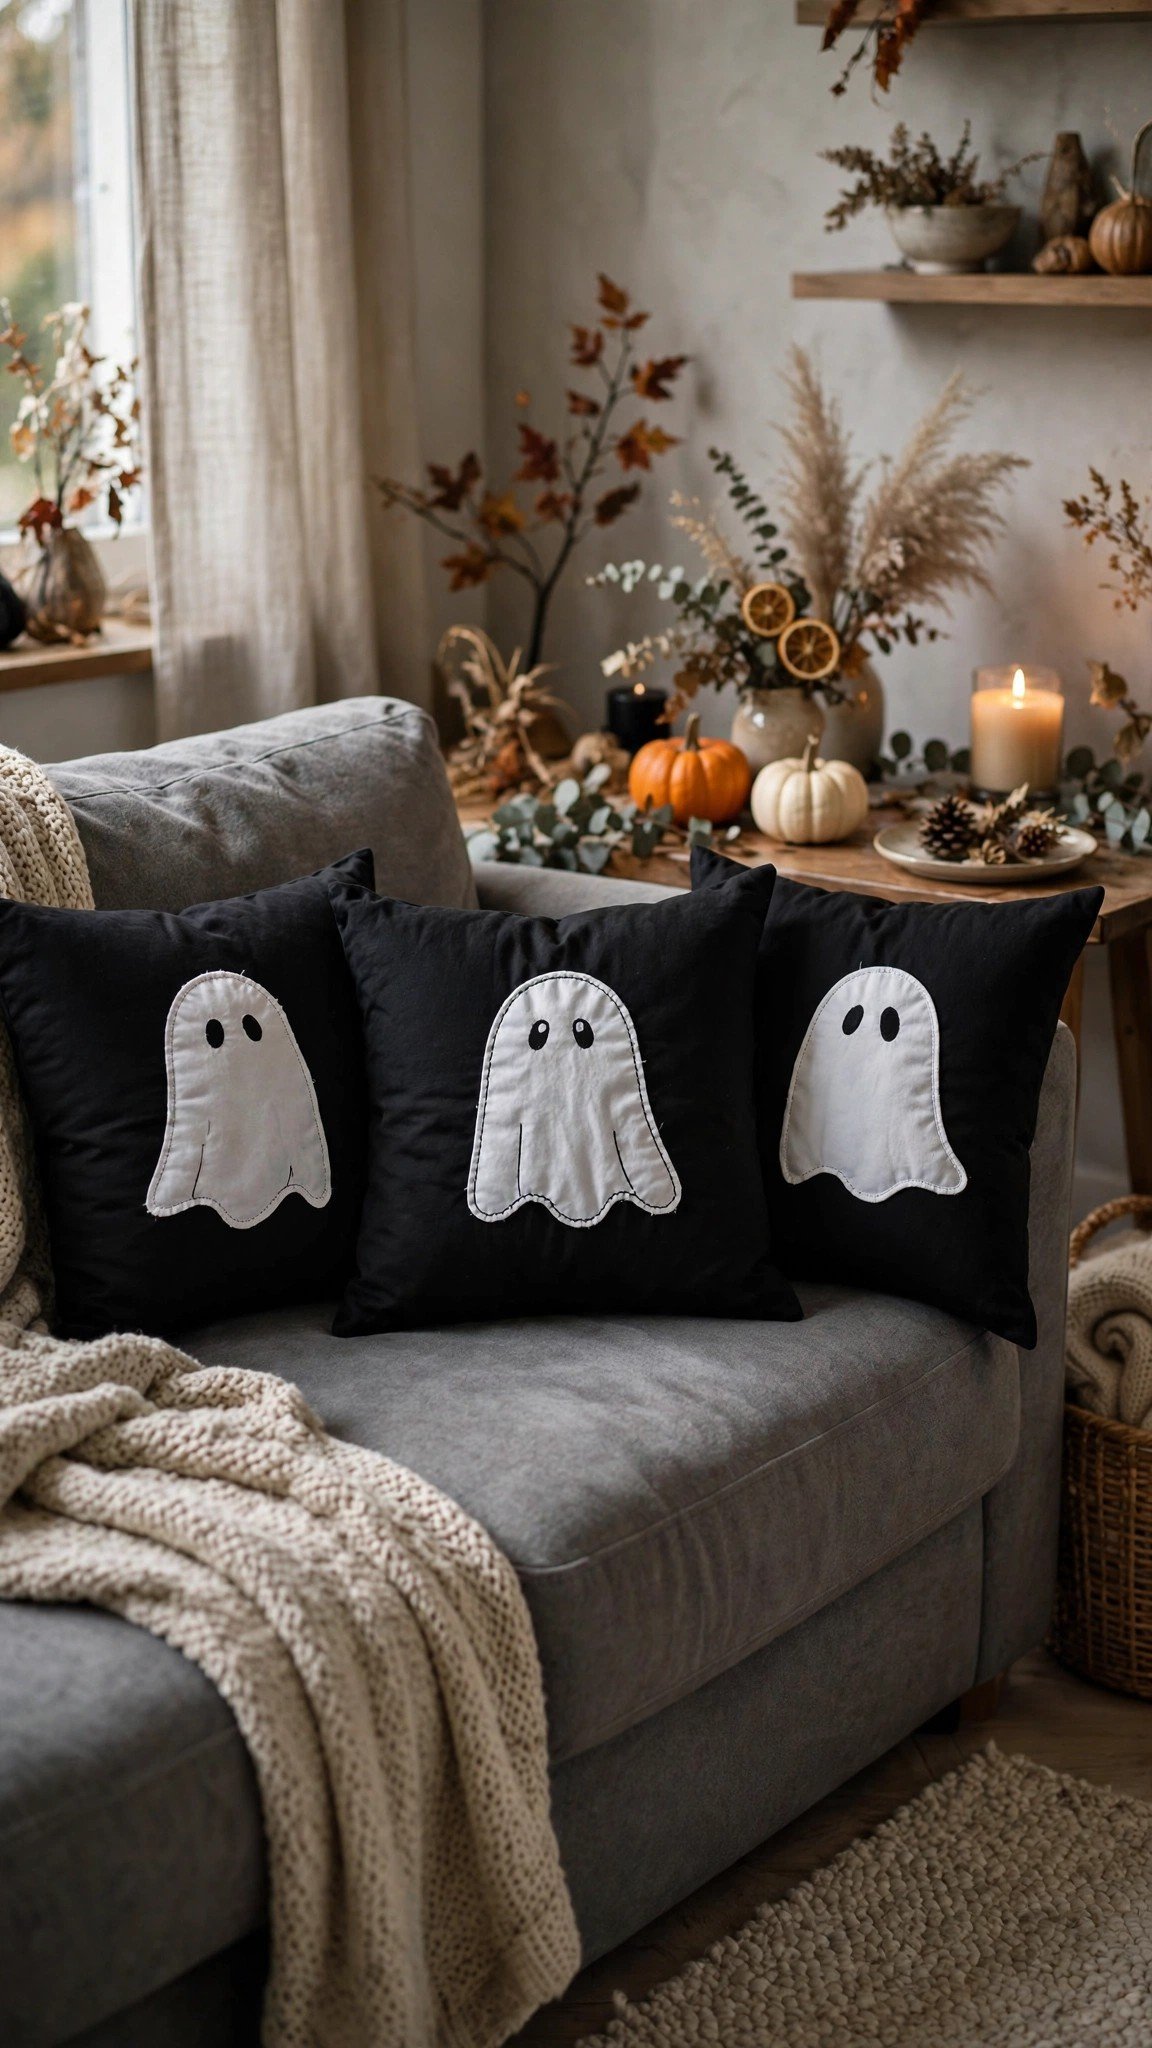
Ghost pillow covers are the coziest Cricut project on this list. Cut simple ghost shapes from white iron-on vinyl and press them onto black or charcoal pillow covers.
The contrast is striking and the project is nearly foolproof — ghosts are just rounded blobs with oval eyes, so weeding takes seconds. Make a set of three in different sizes.
Swap these in for October and store them flat the rest of the year. They take up almost no space and instantly Halloween-ify a living room.
More cozy seasonal swaps live in our easy Halloween crafts roundup.
8. Create Halloween Cardstock Banners
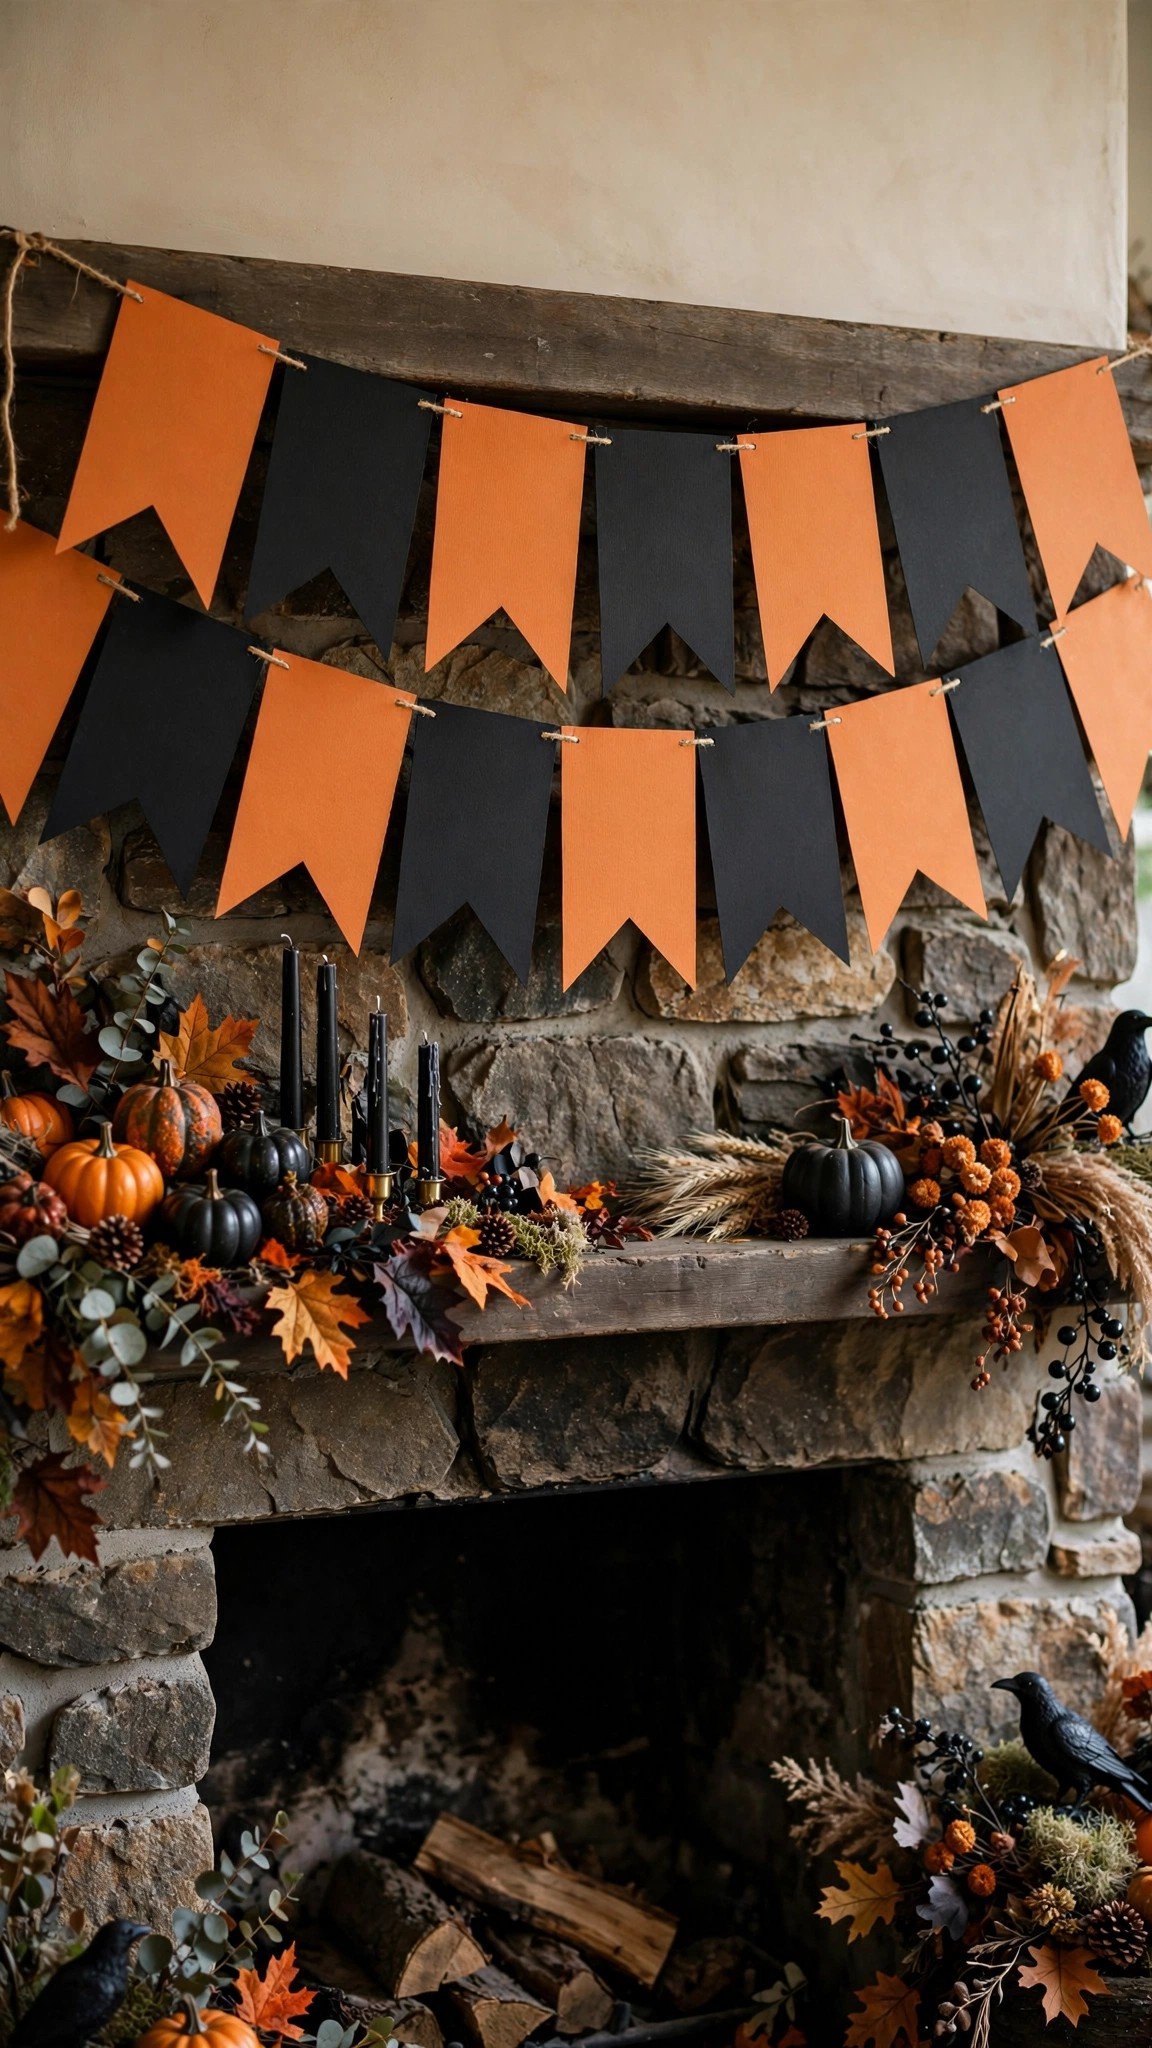
A cardstock banner is party-decor 101, and the Cricut makes the letters flawless. Cut “HAPPY HALLOWEEN” or “TRICK OR TREAT” in a bold font from orange and black cardstock.
Layer each letter on a slightly larger contrasting shape — circles or pennant flags — then punch holes and string with ribbon. The layered look reads custom, not craft-store.
Hang it across a mantel, doorway, or dessert table. It packs flat for storage, so you’ll reuse it for years.
See how to style a full mantel around your banner in our easy Halloween crafts.
9. Make Etched Glass Potion Bottles
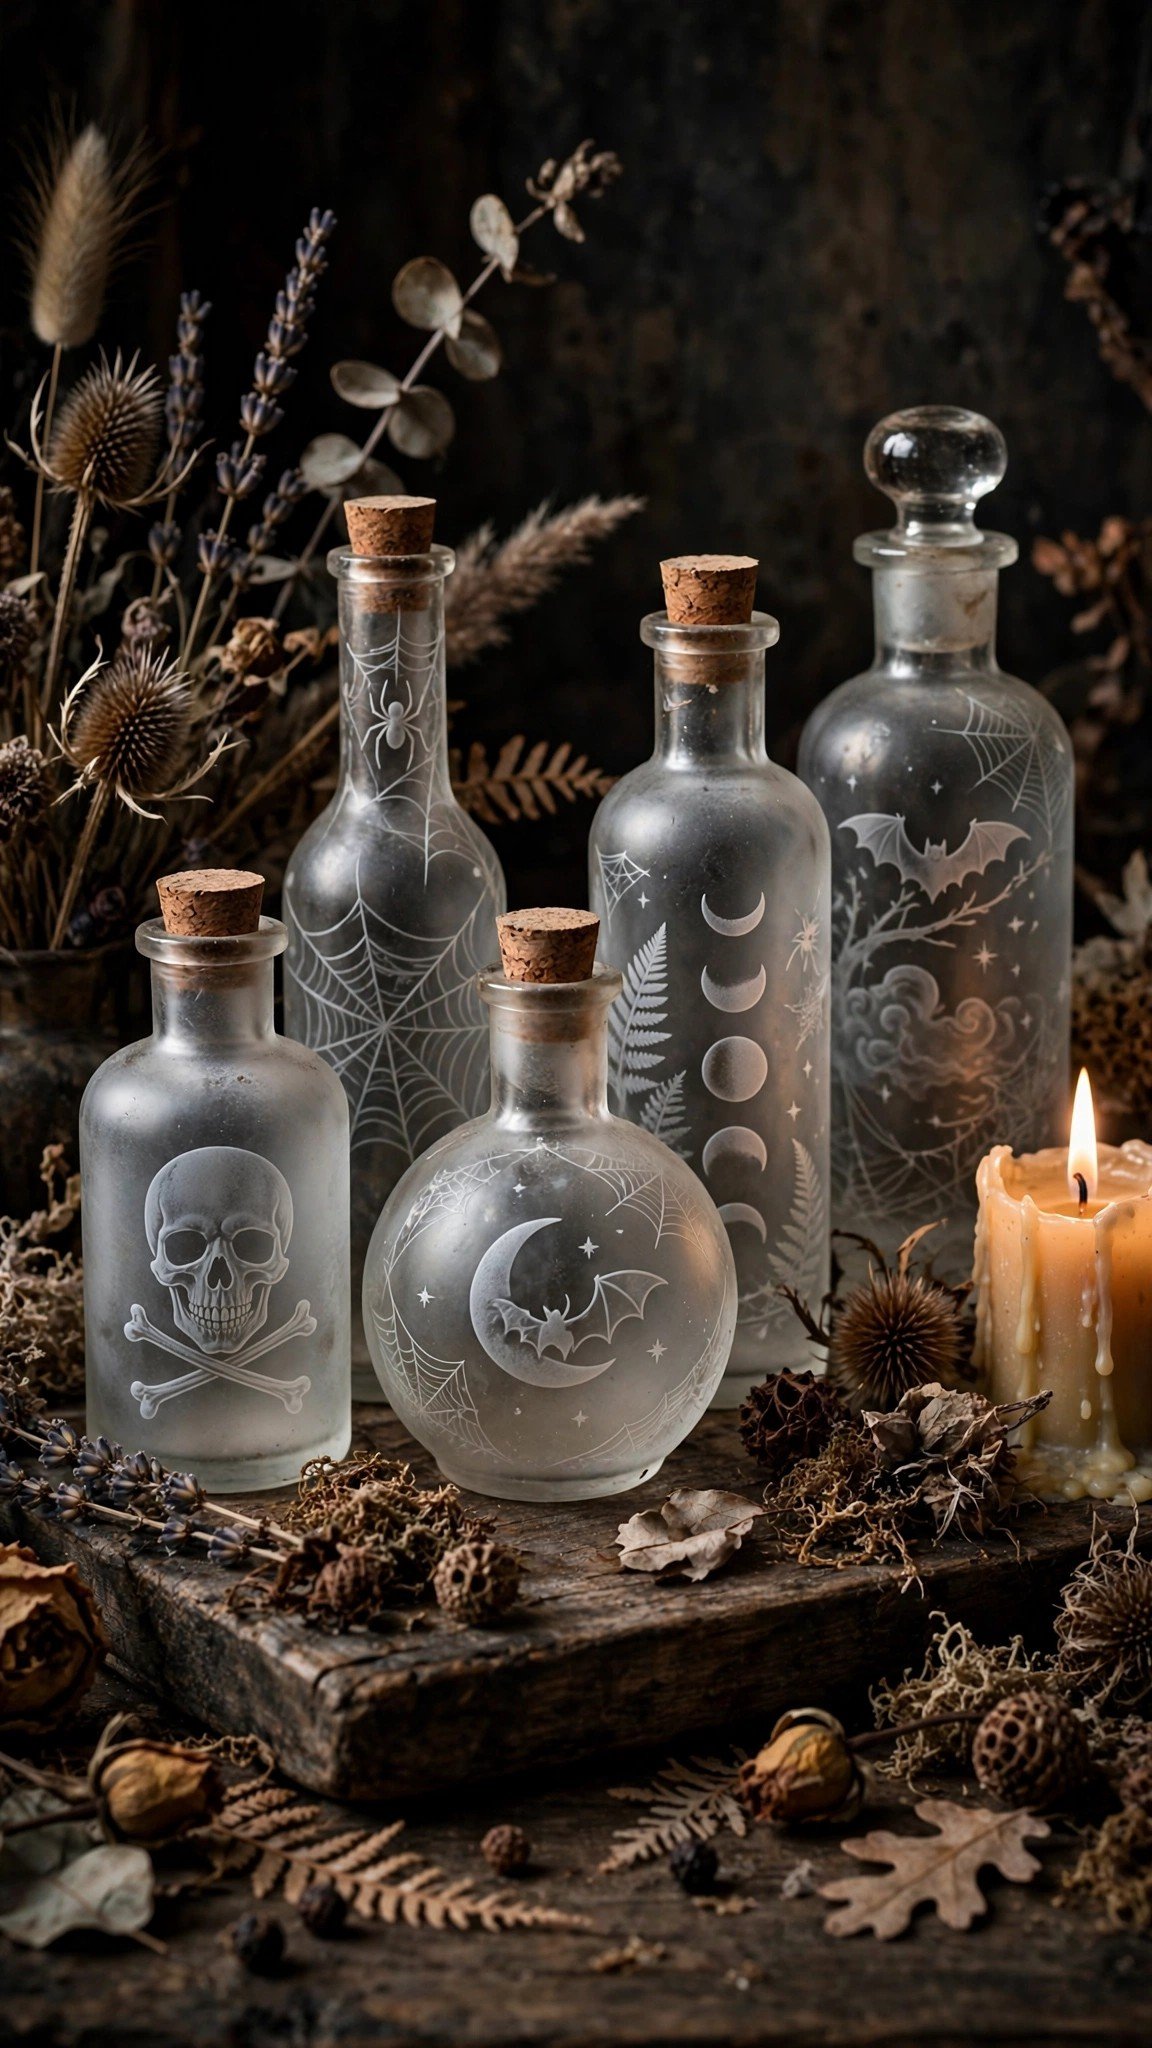
Etched potion bottles look like apothecary antiques and they’re just vinyl stencils plus etching cream. Cut spooky labels — “Witch’s Brew,” “Bat Wings,” “Poison” — from adhesive vinyl.
Stick the stencil to a clean glass bottle, apply etching cream per the instructions, then rinse. The result is permanent frosted lettering that looks genuinely old.
Group bottles of different heights on a tray with dried flowers and a candle. It’s the most sophisticated project on this list and a great gift too.
These bottles fit right into the moody vignettes in our easy Halloween crafts.
10. Design Spooky Doormat Stencils

A custom Halloween doormat greets every trick-or-treater. Cut a stencil from stencil vinyl or freezer paper — “Hey Boo,” a spiderweb corner, or a full haunted scene.
Adhere it to a plain coir mat and pounce black outdoor acrylic paint with a stiff brush. Two light coats beat one heavy coat for crisp edges on the rough texture.
Peel the stencil while the paint is slightly tacky for the cleanest lines. Seal with a clear outdoor sealer and your mat survives the whole season.
Complete the entryway with the porch ideas in our easy Halloween crafts.
Conclusion
Your Cricut is basically a Halloween decoration factory — vinyl, iron-on, and cardstock cover nearly every surface in the house. Start with one quick win like the vinyl pumpkins, then work up to the showpieces.
Which project is going on your machine first? Whatever you choose, you’ll have decorations nobody else on the block owns.